
A foam cutter is a tool that you will love if you are shaping or cutting foam in any of your projects. Years ago I built a foam cutter using nichrome wire and a battery charger for cutting model airplane wings. It worked but compared to what’s available now, mine looked like something from an old science fiction movie. If you are cutting foam, no matter what the application, you will want to know about the foam cutters available. Let’s take a look at the tool and some of its capabilities specifications. If you cut foam with a knife, you really need to check out these handy little cutters.
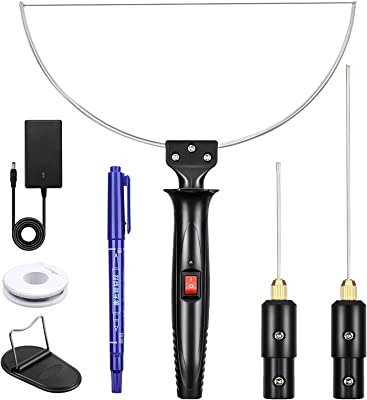
A foam cutter is really a simple tool. Most come with a foam cutting wire made of nichrome that heats up from resistance as electricity passes through it. Most also have several different tips that can poke cut and shape foam. What you look for in a foam cutter really depends on the type of crafting or work you do. Here are a few things to consider when buying a foam cutter.
What you buy really comes down to some basic considerations. For instance are you simply using it to cut foam in a straight line or to length? Sometimes, you are looking to punch a hole through foam or cut a channel, maybe to accept a conduit in a basement remodel. The key is to look at the tips available for your foam wire cutter. Spend a few minutes scrolling through the choices to see what is available to make sure you don’t miss out. Most cutters will have the wire cutting head so make sure that you get one wide enough for your intended use. You will also find foam cutters that are almost like a scroll saw which is really pretty cool if you are cutting out letters or designs from flat foam. Some of the more expensive units have variable temps on the unit as well to accommodate different types of foam. While basic models may not have temperature settings, they still may fit the bill for your project.
So who a foam cutter made for? Crafters and modelers for sure are a market for the tool. Crafters or modelers that work with foam will for sure find uses for the tool. Foam is also used in furniture work as well so that is a viable use for the tool. Small contractors will find the tool useful for shaping foam to go around outlets, wires, pipes and more. It is so much cleaner, quicker and accurate than a utility knife.
Foam cutters are another one of those little tools that you maybe never thought of. Cutting foam with a knife is a messy struggle. Cutting foam with a foam cutter is as close to cutting butter with a hot knife as you can get!
What Is A Foam Cutter?
What Kind Of Foam Cutter Should I Buy?
Check Out A Foam Cutter On Amazon
Applications For Foam Cutters
Final Thoughts On Foam Cutters
Blog


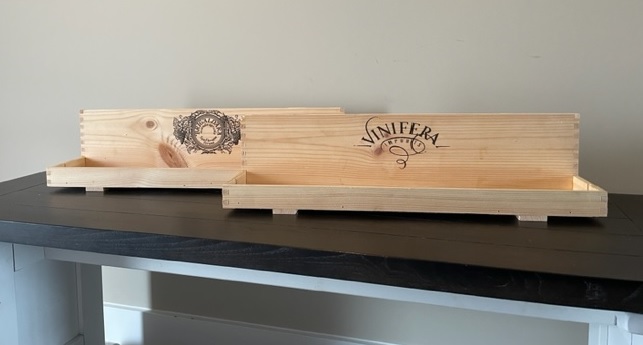
A while ago wrote a short post on making a birdhouse from old wine crates. I wanted to show how you can recycle the wood on a simple wine crate into a project. Wine crates are easy to come by and if you can’t get them for free, you can get them for just a few dollars. My birdhouse used the bottom and half of the top of the wine crate. With the rest of the crate, I had enough wood to make to simple shelves and utilize the branding on both sides of the crate.
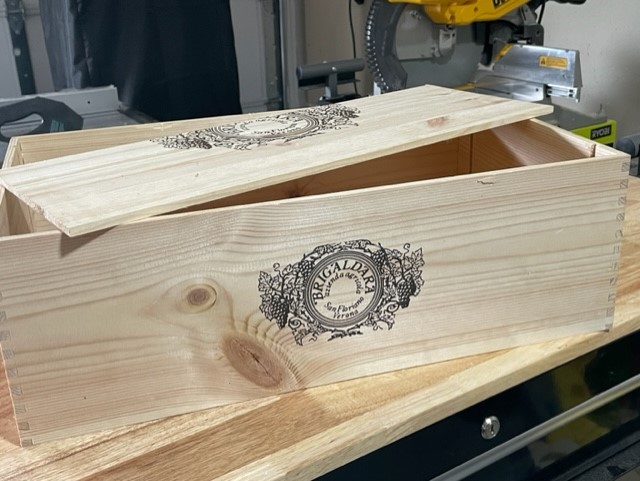
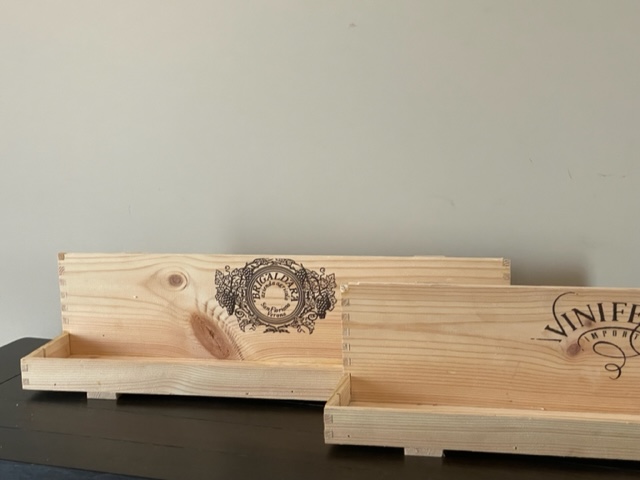
The wine crate I used had finger joints that I thought would add to the charm of the shelves. It also had branded logos on both sides that I was hoping to use. If I couldn’t make the logos work, I could just flip the boards over and go with a blank look. As it turned out, I was able use both logos. I can’t say the design of the shelf is really mine. My wife had picked up a similar shelf at Hobby Lobby and thought it was a neat little design and the dimensions lined up close to the wine crate I had.
Construction of the shelves is really pretty basic. If you have done any type of woodwork, look at the pictures and go from there. Mine are 22” long, about 4-1/2” deep and 5” tall. The little pieces on the bottom and the back (I call them straps for lack of a better term) that make it look more like a crate are 1-1/2” wide. The front of the shelf is 1-1/2” tall and so there is an edge around the whole shelf surface. This is another one of those projects that you build without plans eyeballing dimensions and details. For instance with the straps, I played with the idea of 2 or maybe 3, decided on 2 and then moved them around to find out how far to keep in from the edge of the shelf. I started by setting the fence on my table saw to 1-1/2” wide and checked again that my logos would be intact. Again not a big deal if you do not want them to display. I cut the short ends of the crate first and moved on to the long sides. Take care as you cut as the finger joints aren’t that strong and the crate gets wobbly fast. You may want to consider tacking a corner brace in place to make it more rigid. I was just careful and deliberate with the cut and it worked out well. Using my miter saw and stop blocks, I cut the shelf edge to about 4”. That was the hardest part of the project. Next I set my fence to just cut inside the front edge of the sides with the logo. You may lose one of the finger joint fingers in the cut. I actually grabbed my off the floor and glued them back in later. I then cut the bottom of the shelf to fit perfectly inside the shelf edge. Now I was ready to assemble. Using glue and my brad nailer I pinned the shelf bottom to the shelf edge and then added the back of the shelf. Work slowly and make sure your nailer is positioned correctly to avoid shooting through the thin material. I then added the straps to the bottom and finally the back.
So, from one wine crate that cost me about $3 I have a decorative birdhouse and two shelves. These are not craftsman quality project by any means. After all, they are built out of an old wine crate. These are simple projects that are simple and easy to build and that you can not only hang in your own home but give as gifts or even sell on Etsy or at craft fairs. The tools needed are minimal. A table saw, miter saw and a small brad nailer will make quick work of these shelves. I suppose you could use a jig saw or hand saw as well if need be.
Choosing A Wine Crate For This Shelf
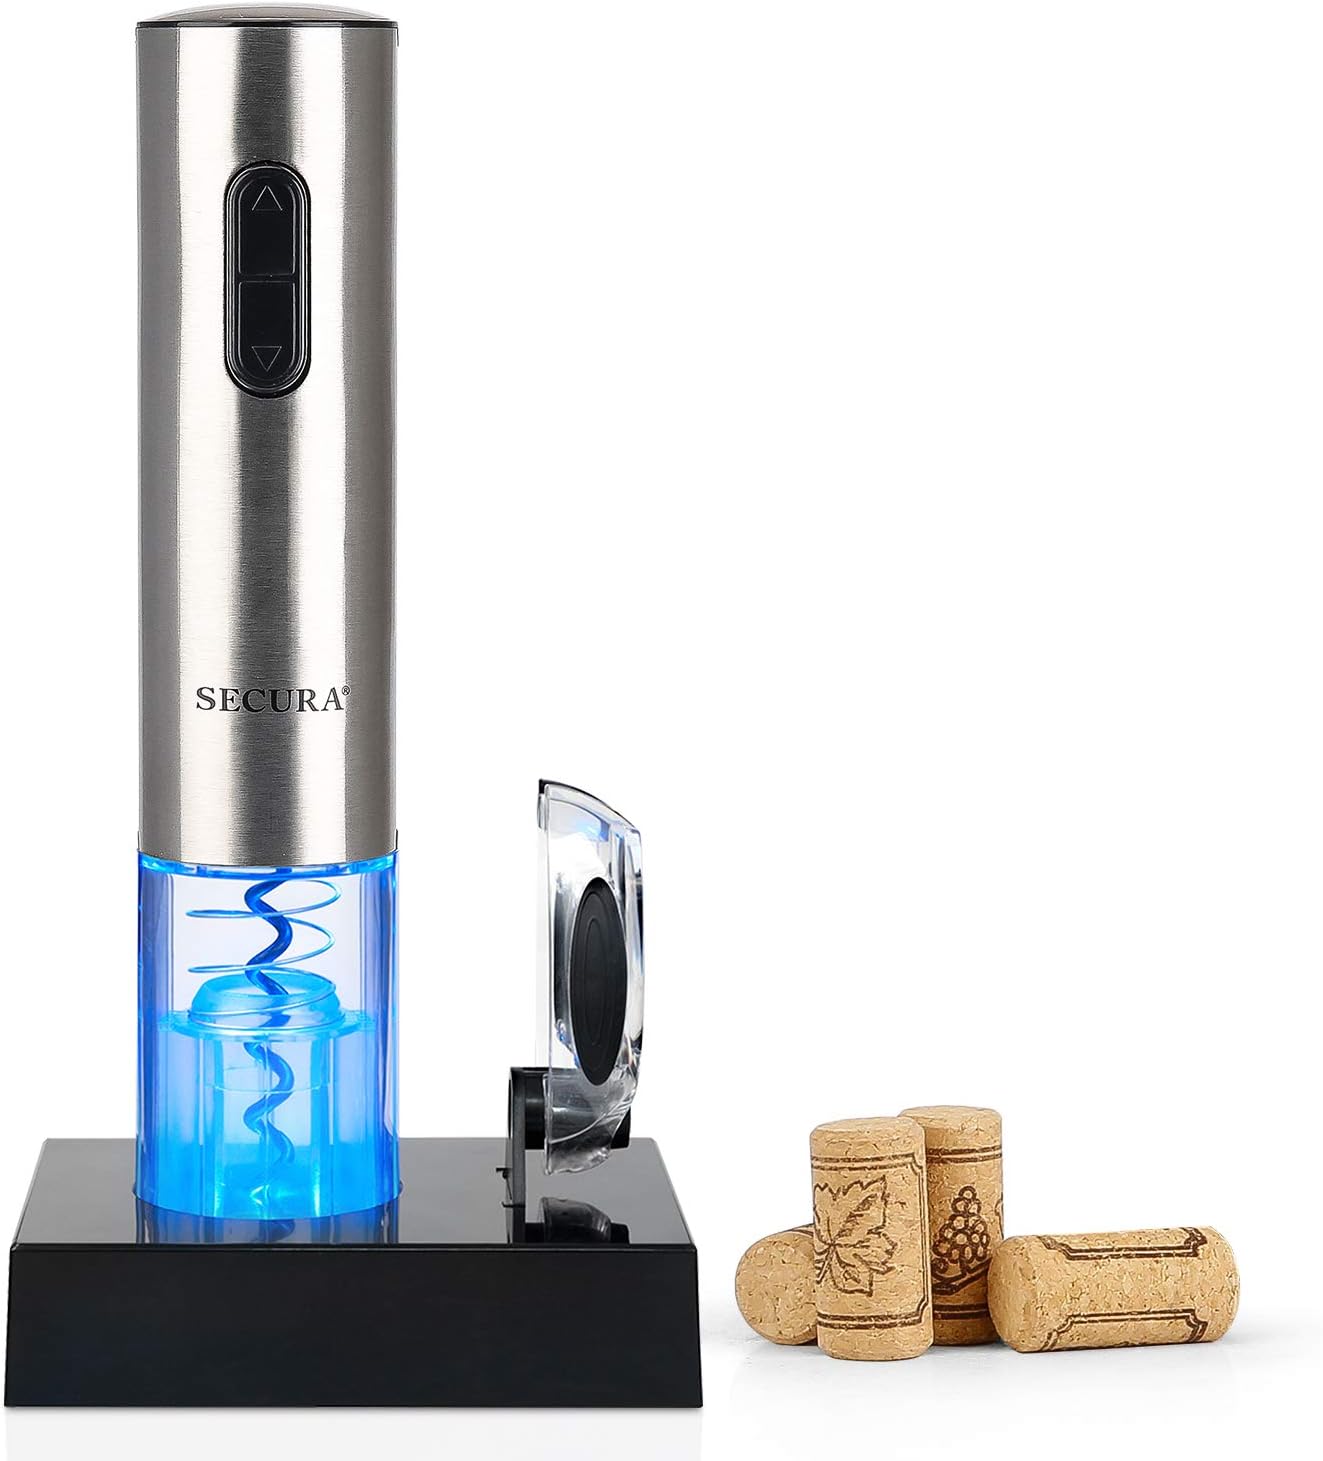
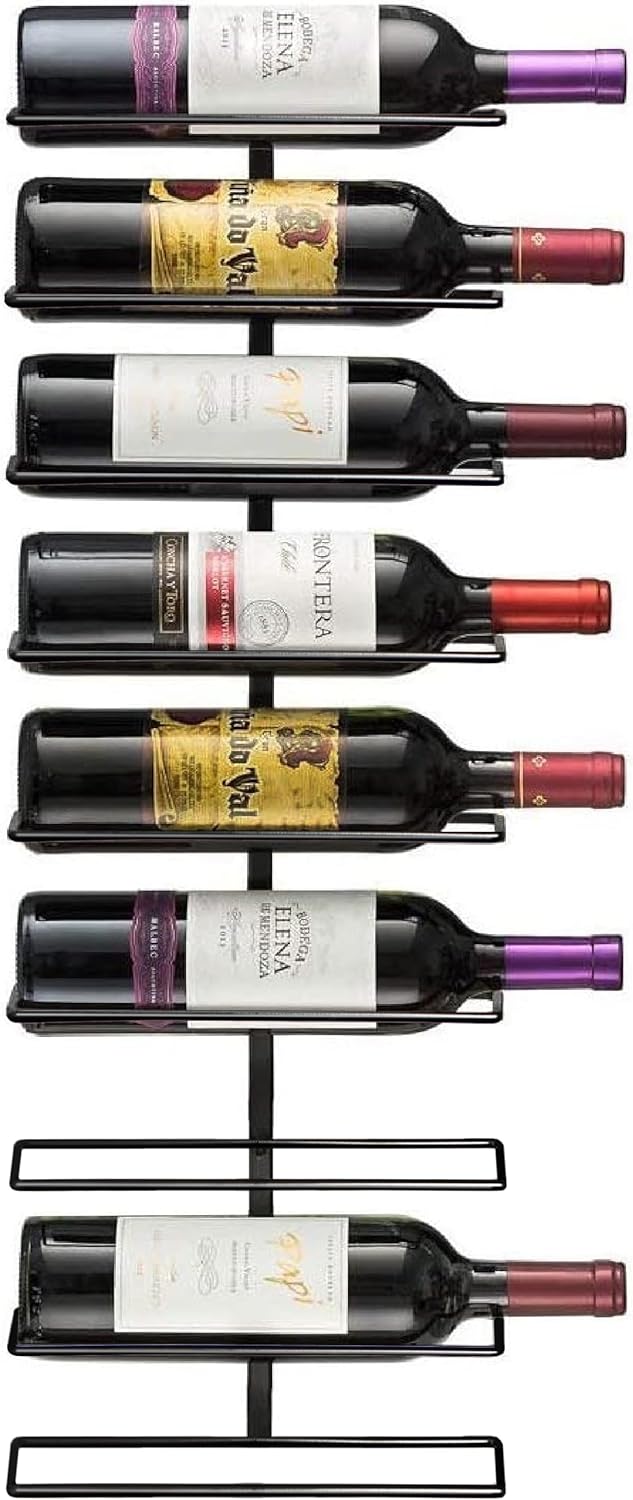
Click On Images To Shop Top Selling Wine Accessories On Amazon
Construction Of The Shelves
From One Wine Crate



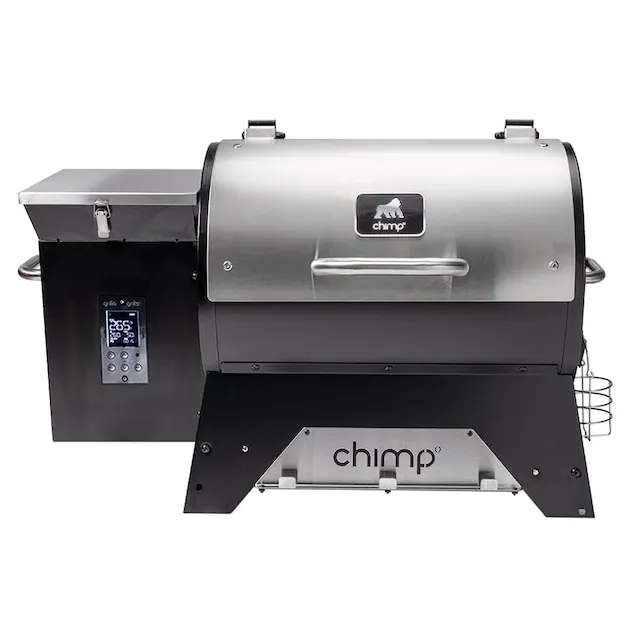
The Grilla Grills Chimp may just be the ultimate tailgate accessory. This portable pellet smoker/grill is everything you want in a pellet smoker in miniature. If you are tight on space, or simply want a smoker you can take camping or tailgating, you will want to learn more about the Grilla Chimp. Speaking of camping, can you imagine the smell of ribs smoking at your campsite! Let’s take a closer look at the Chimp.
So if you are reading this, you are obviously interested in a smaller smoker pellet grill. So here are the dimensions. One thing I like to point out is the weight. At first glance, 90 lbs may seem heavy especially compared to other small smokers and grills. The weight is a testament to the quality construction of the Grilla Chimp. It’s not just stamped out of sheet metal, it is well built.
The cooking area is split into an upper and lower rack for a total of 460 square inches. That breaks down to dimensions of 22″x15.5″ on the main rack and 22″x5.5″. The top grate is removable if you have a larger piece meat. As for cooking temperatures, you have a cooking range of 185 degrees to 500 degrees Fahrenheit. The pellet hopper will hold 15 pounds of pellets so you have plenty of run time. For instance if you are set at 250 degrees, you are looking at a range of 10-15 hours.
So yes, this is a pellet smoker/grill and so like others, you load the pellets and set your temp and the unit will feed the pellets. The Chimp features the Grilla Grills Alpha Connect WiFi Controller that functions through an app on your phone. That means you can get it set up and running and go about your business. One of the biggest challenges in smoking is maintaining temperature, running back to the smoker and checking in. Especially is this a hassle in windy or cold conditions. With the WiFi controller, you can do that from your phone. The grates are stainless steel, no corrosion or pitting of painted or chromed grates. The fire pot is also stainless steel as well for much longer life. The double wall construction helps maintain steady temps during smoking, a real plus. The unit comes with a probe for you meat so you can monitor that at the same time. Safety features shut down the grill if it drops below 150 degrees for an extended time or if the temp goes past 615 degrees. If either should occur, an error message will be displayed.
Yes, the unit does require 110V to operate. So can it truly be portable? Well, yes if you do it right. If you are camping or tailgating without power, consider a power station. Grilla Grills offer a power station that can run the Grilla Grill Chimp for over 10 hours! There are many power supplies on the market to choose from that will work as well. Other options include an inverter that you can power from you 12V car battery. So yes, this unit can truly function of the grid.
If you are looking for a portable, quality pellet smoker or grill that does justice to your meats, I think the Grilla Grill Chimp deserves you consideration. This is a truly portable unit. Heavier yes but quality sometimes weighs just a little bit more. The Chimp is equally at home on your deck, in your driveway or even camping. Adding a power source allows operation completely off the grid! We’ve uploaded the manual for the Grilla Grill Chimp below so you can take a more in depth look simple assembly and operation of the unit. Simply click on the manual below to view.
Specifications And Capacities Of The Grilla Grill Chimp
Dimensions & Weight (Folded)
Dimensions & Weight (Extended)

Features Of Note On The Grill Grills Chimp
If The Chimps Is Portable, Does It Still Need Power?
Final Thoughts On The Grilla Grills Chimp Smoker


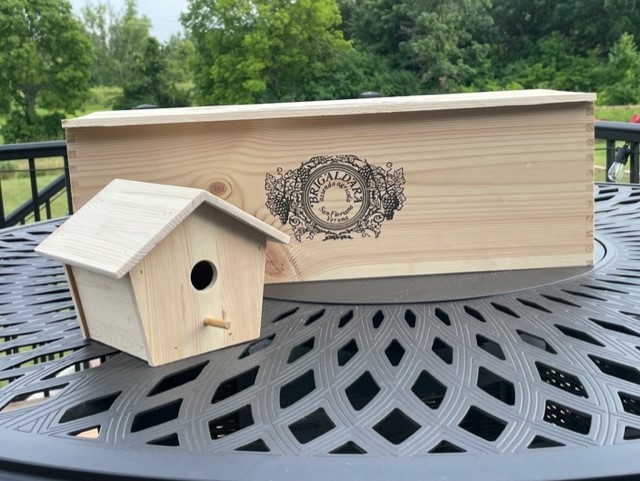
This post isn’t as much about building a birdhouse as it is about utilizing an old wine crate for the lumber. A few months ago I was at total wine and they had a few wood wine crates in the stack of boxes. Boxes are free but the crate was $3 I think. I have used wine crates in the past for wall hangings and shelves so I thought I would grab one and make something out of it. So today I was bored and wanted to try out my new table router so I went about building a small decorative birdhouse. I didn’t have any plans but had thoughts of how big it should be and what shape and so I had at it. I ended up making this cute little bird house using the lid and half of the bottom of the crate. What I like about the wood in wine cases is that it’s usually super dry, relatively clear and any knots are usually pretty solid. The wood is around 5/16” or so not as clunky as ¾” pine. It’s easy to cut and sand and the price is right. I started by pulling the nails of the lid to make sure I didn’t bump them with my saw. The bottom was stapled so I knocked the bottom out and then cut off the areas with the staples.
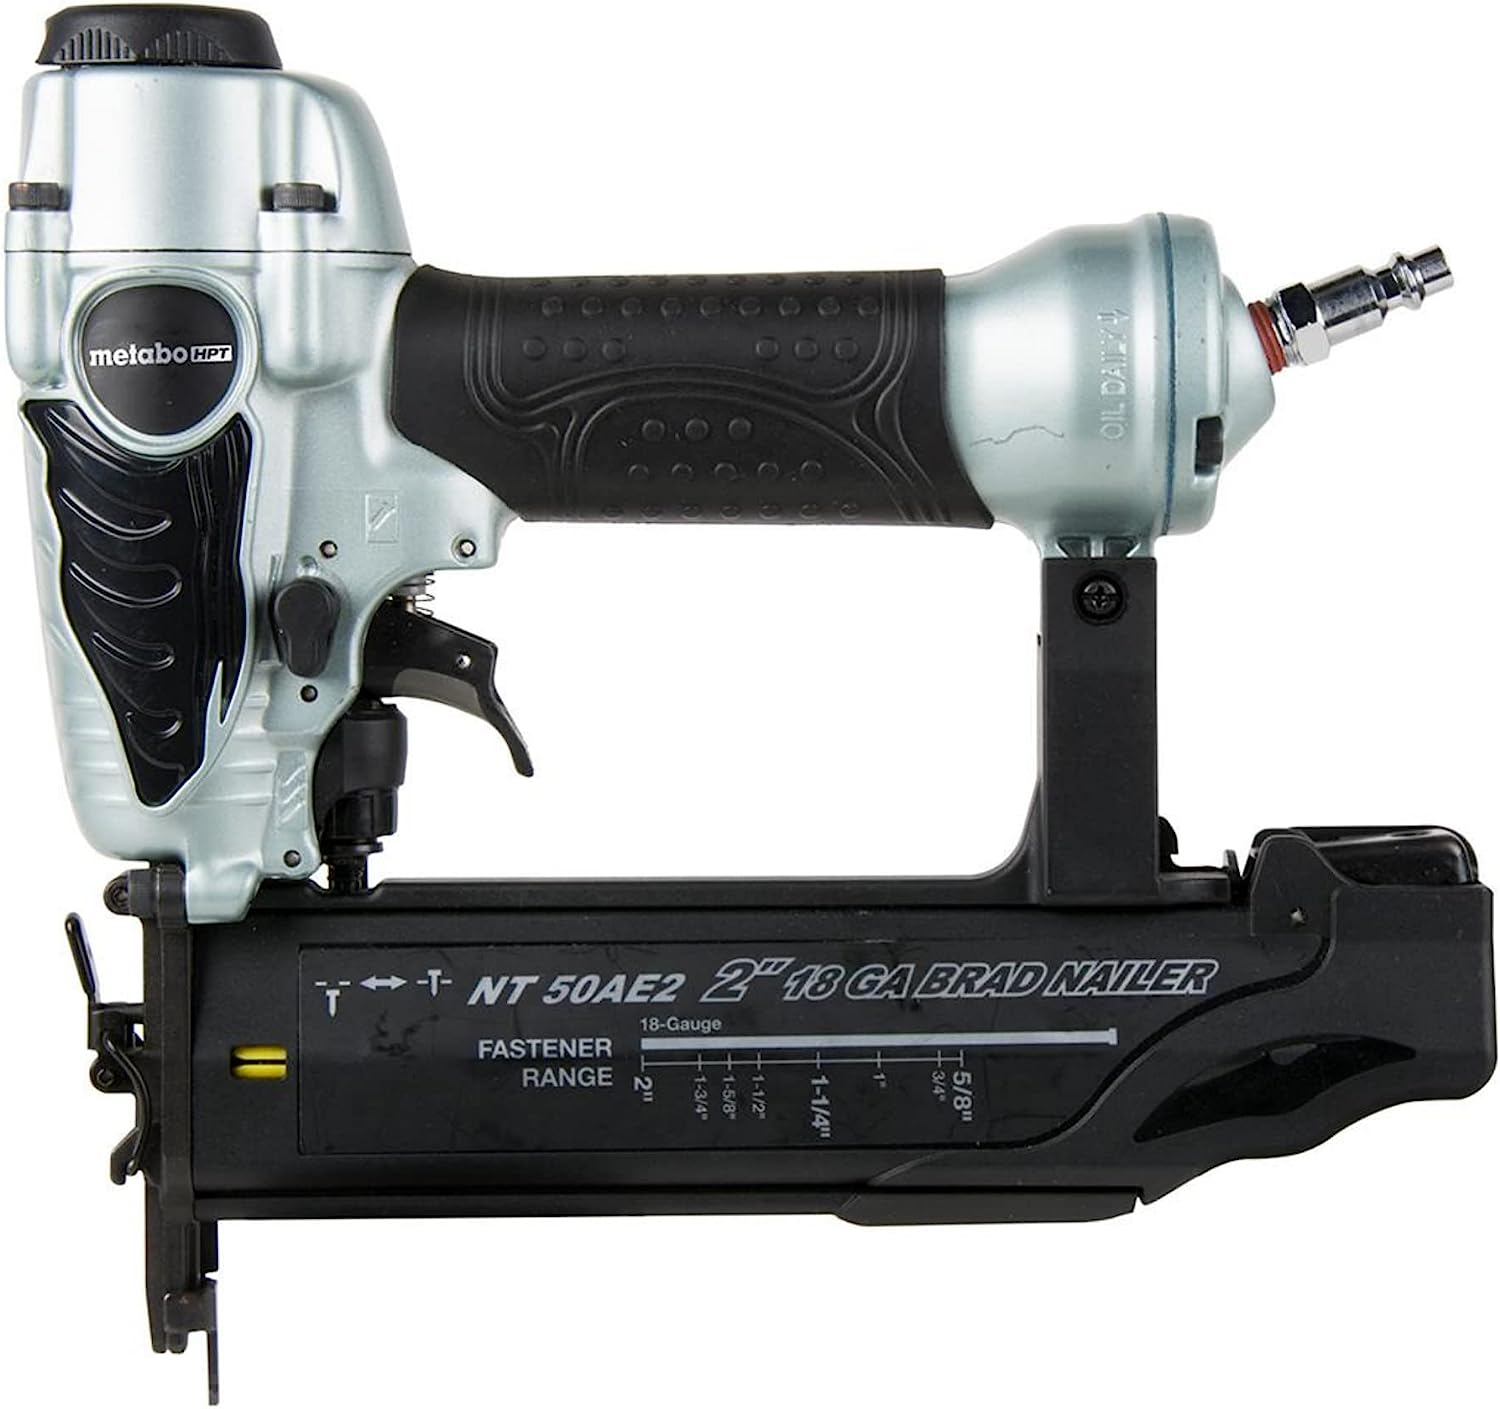
I used would glue and pinned the bird house together with my trusty Porter Cable brad nailer and 5/8” nails. You can find a lot of different brad nailers online at Amazon. The Porter Cable I have was super inexpensive and I have been really happy with the tool. I gave the birdhouse a quick sanding and it’s ready for paint. Being it will be an indoor birdhouse, I will paint it with simple acrylic or latex and I may add a little sign and a front porch light from my model railroad supplies. All and all, this was a fun little project. I enjoy building simple one off projects without plans as I can change on the fly to whatever fits my whim. If I wanted to make more than one, I would create some simple templates and record measurements. But again the purpose of this project was to fight off boredom, try my new router table and show how useful wine crates can be in creating projects. I know I accomplished the first two objectives, hopefully the last as well.
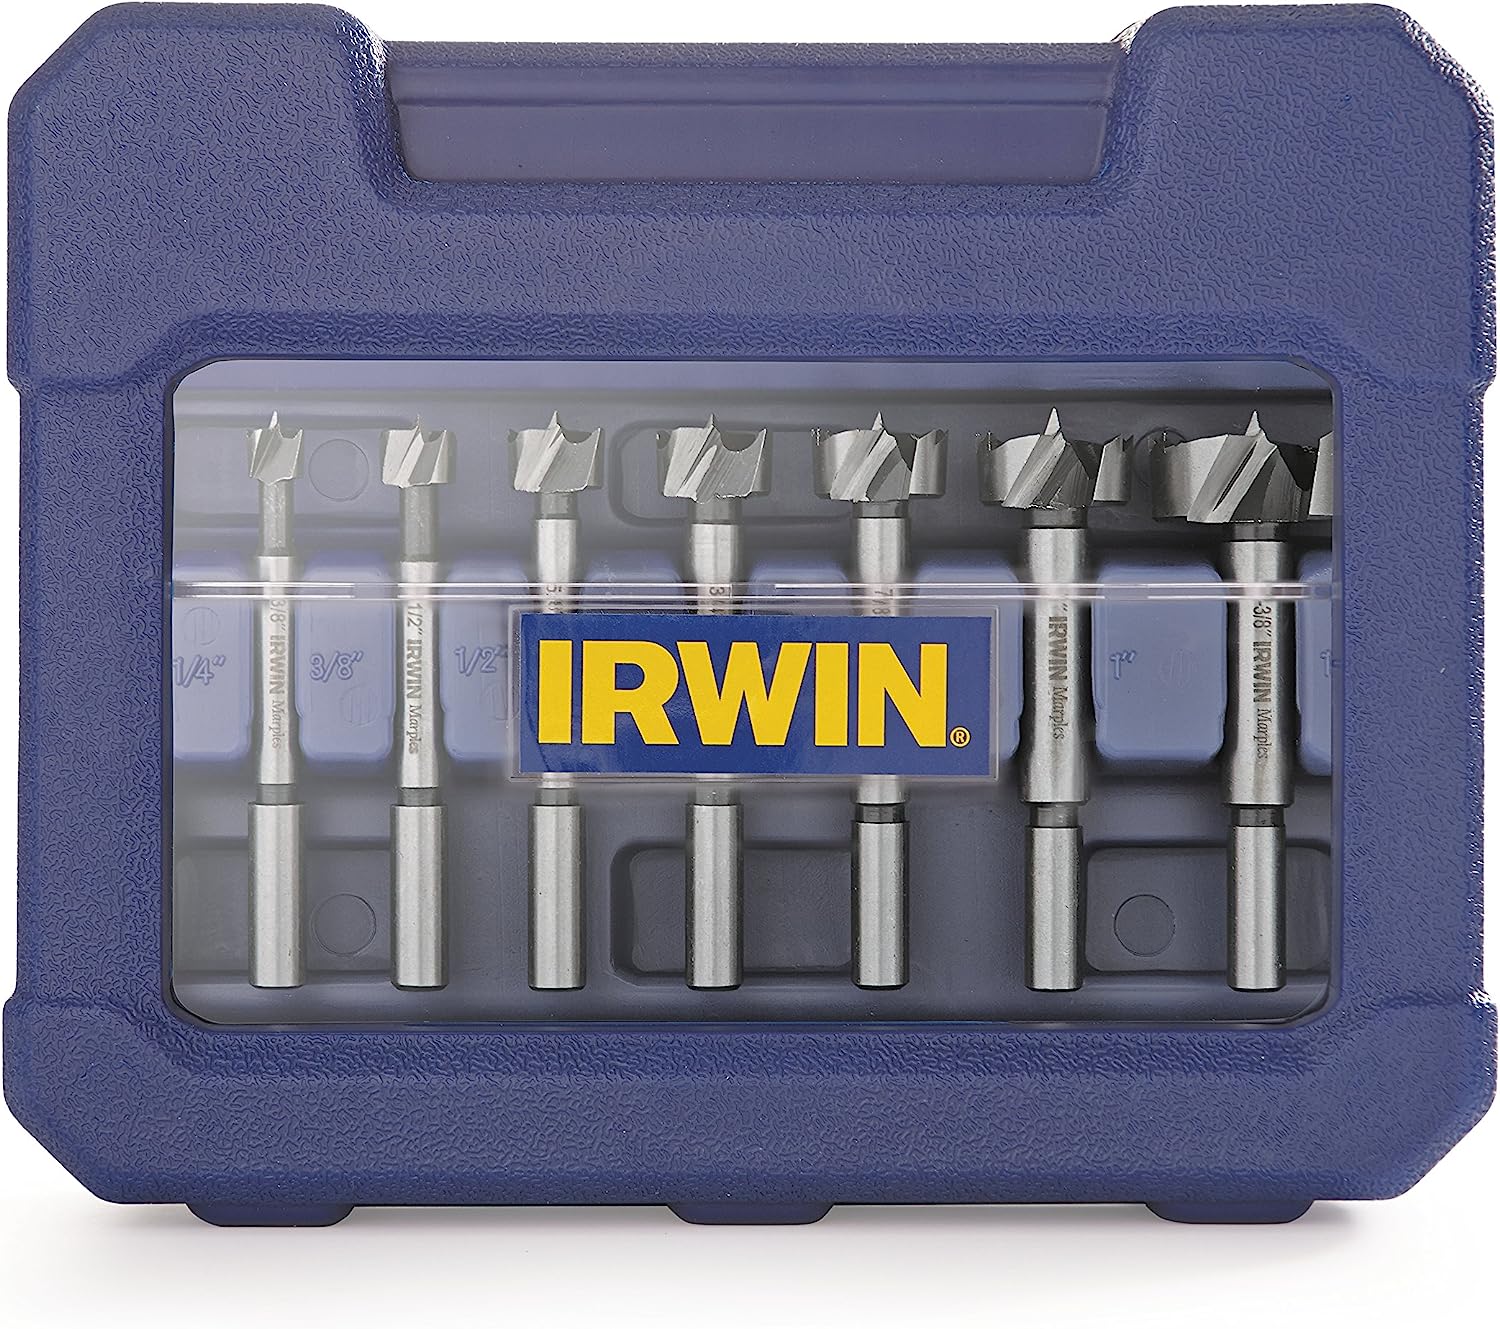
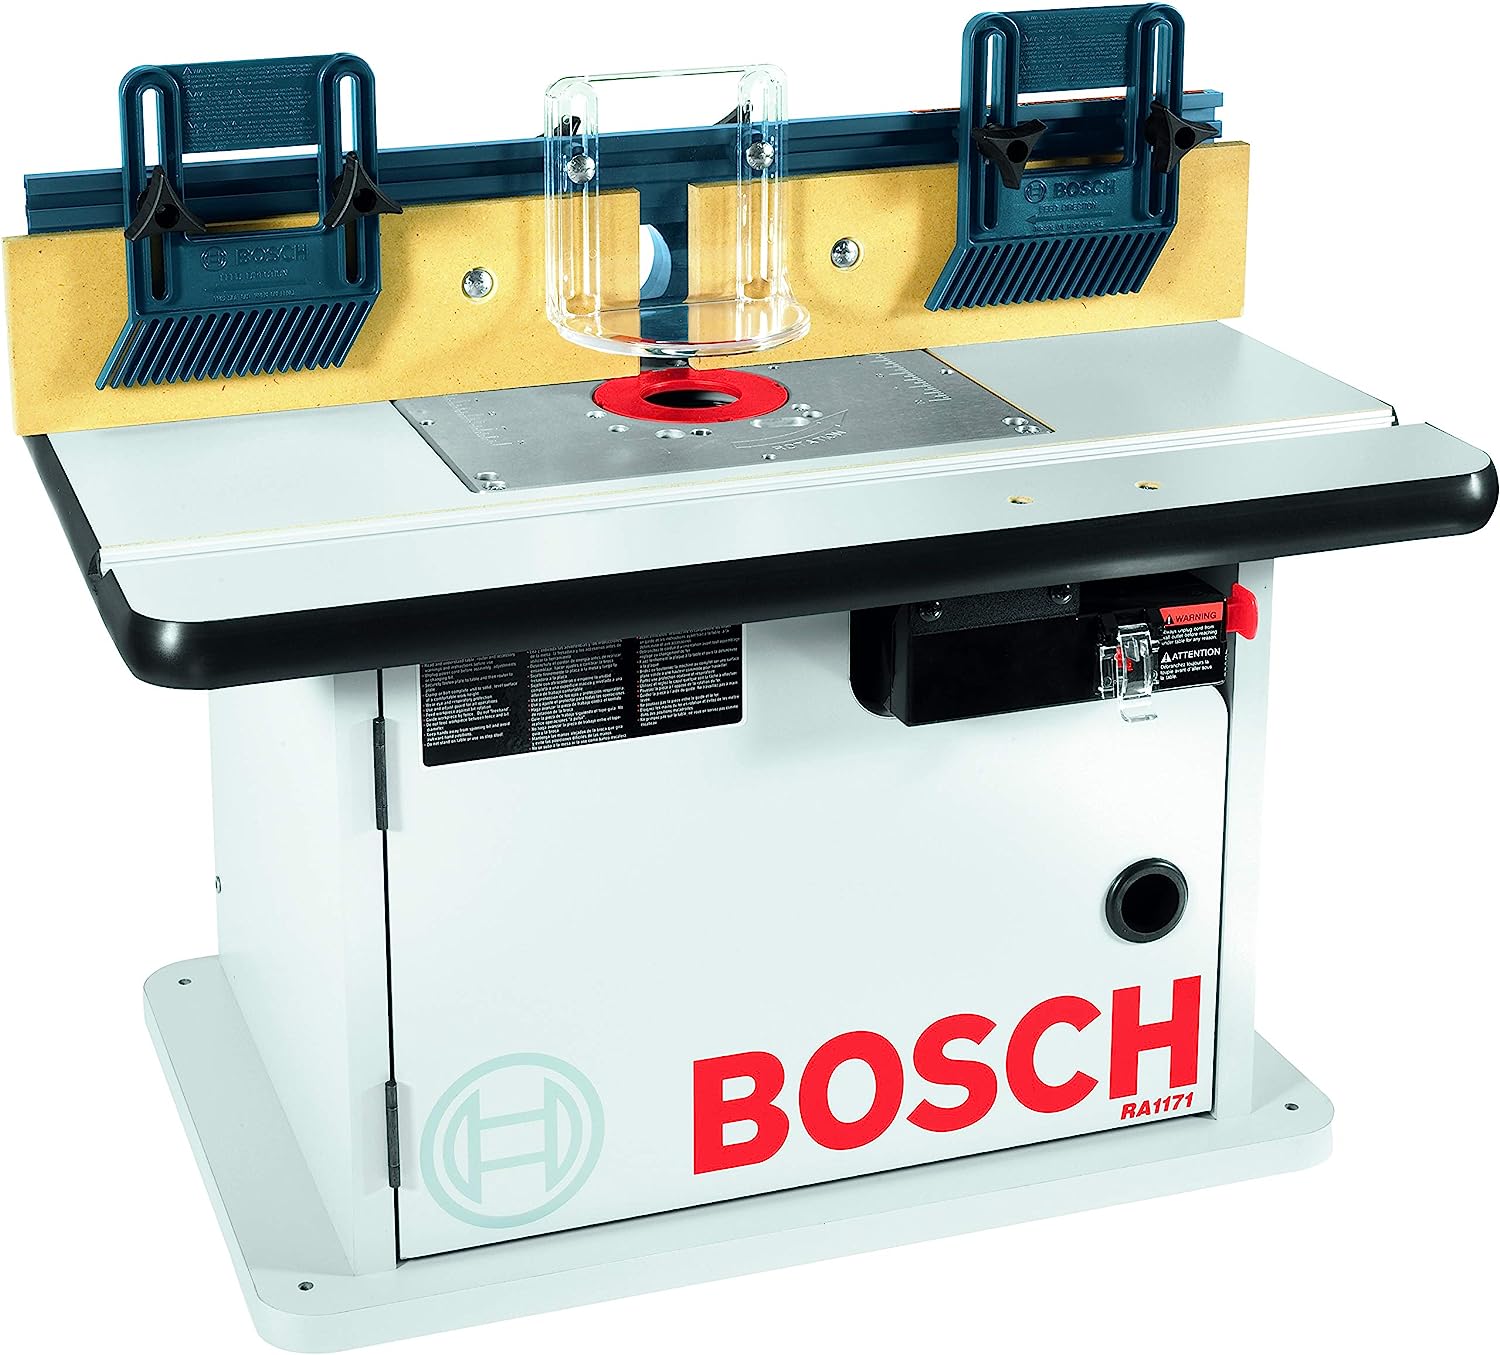
 I wanted more than just a square box so I tapered the front and back about 10 degrees and guessed on the roof angle. Size came in around 4” wide by 5” deep and 5-1/2” tall. Again I didn’t have plans just built what I thought looked right. I used a ¼” straight bit on my Bosch router table using the fence to make a groove to accept the sides. I did have to make two passes, shifting the fence as the wood is wider than the bit I had, but no big deal. Using the front as a guide for my table saw blade angle, I cut the bottom from a scrap of ships lap I had laying around. To cut the hole in the front as well as the hole for the perch, I used a forstner bit. If you don’t have a set of these, get one they are awesome for cutting clean holes.
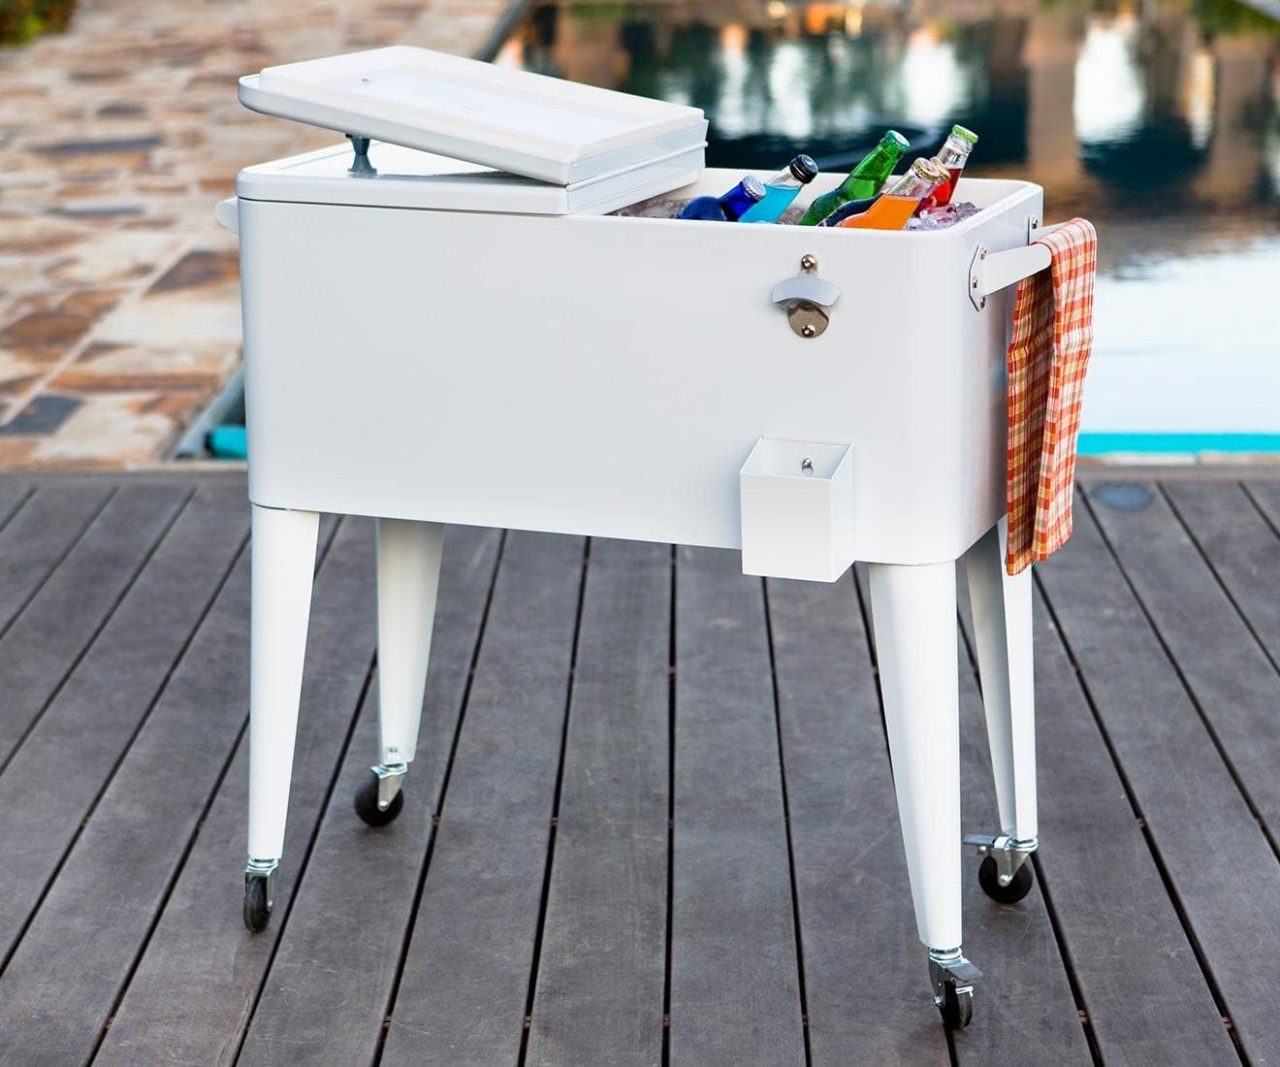
If you are looking for a truly useful piece for your patio this summer, checkout some of the top rated patio coolers available on Amazon. While something as simple as a bucket with ice can keep refreshments cool for you and your guests, you will want to take a look at some of the patio coolers available, they are very cool (pun intended). I will show you the one we decided on later in the post.
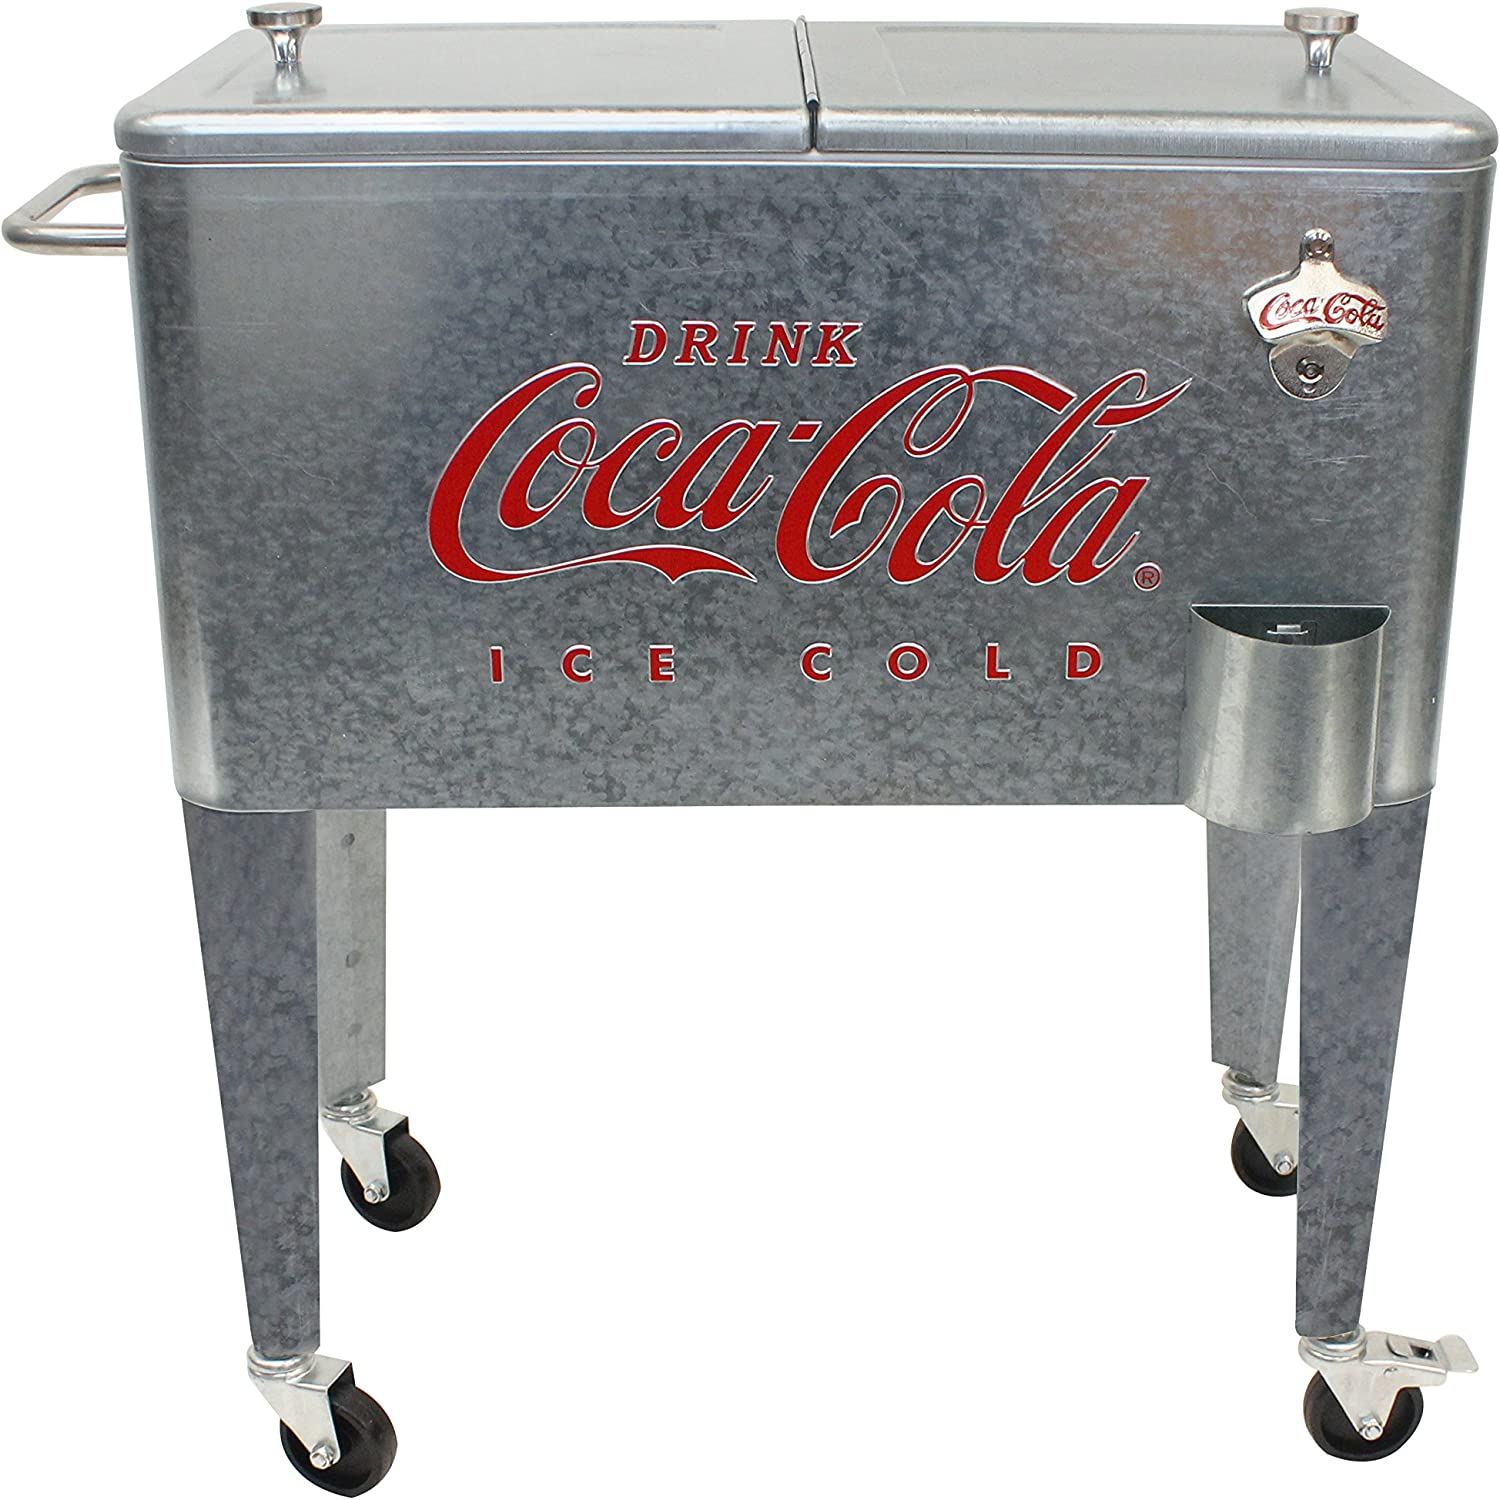
You will find many of the patio coolers available have a certain vintage look to them. These are my favorite. They are available in a variety of colors and most are raised up and have casters for moving around. It looks like many of the coolers have come off the same drawing board and according to the reviews; most are of fairly nice quality. Most have a bottle opener on the side with a catch box for the caps. Look for one with locking casters if you can to keep them in place on the patio if you have a little bit of a wind. You will also find some need branded units available. There are some very nice Coca Cola patio coolers with a true vintage look, almost like an old time soda pop machine. You will also find them branded in popular beer brands as well.
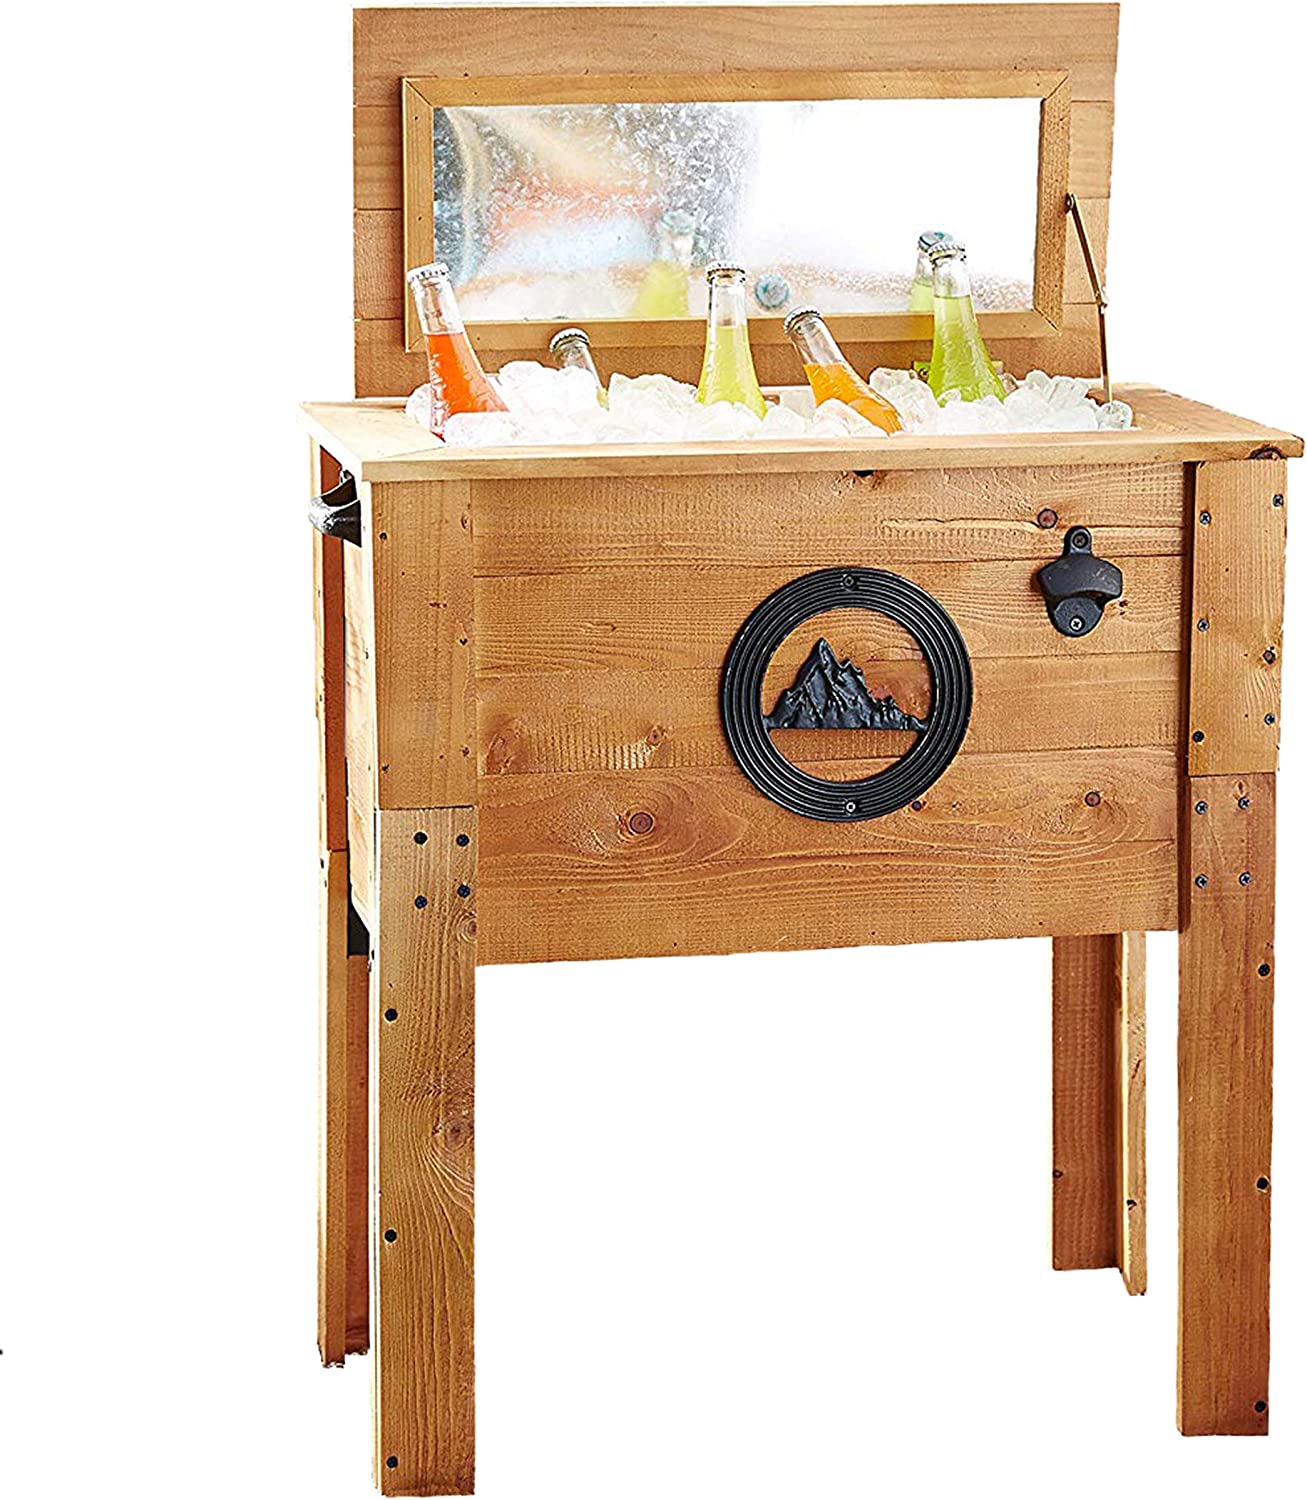
So what do you look for when you are shopping for a patio cooler? It really comes down to your style as well as your space requirements. There looks to be several types of patio coolers. First the retro look that has a couple of lids that fold open and that are raised up on legs with wheels. Most have handles, a bottle opener, cap catcher, and a drain which is nice to have. You will also find a variety of rustic patio coolers made of wood and other materials if that fits your décor. There are a lot of people who buy a standard cooler and then build around it to create their own design. You will also find some branded units like the Coca Cola ones mentioned earlier and a fair amount of smaller ice chests with different beer logos that offer a vintage look. If you want something with a more modern look, you will find them along with some whimsical units as well.
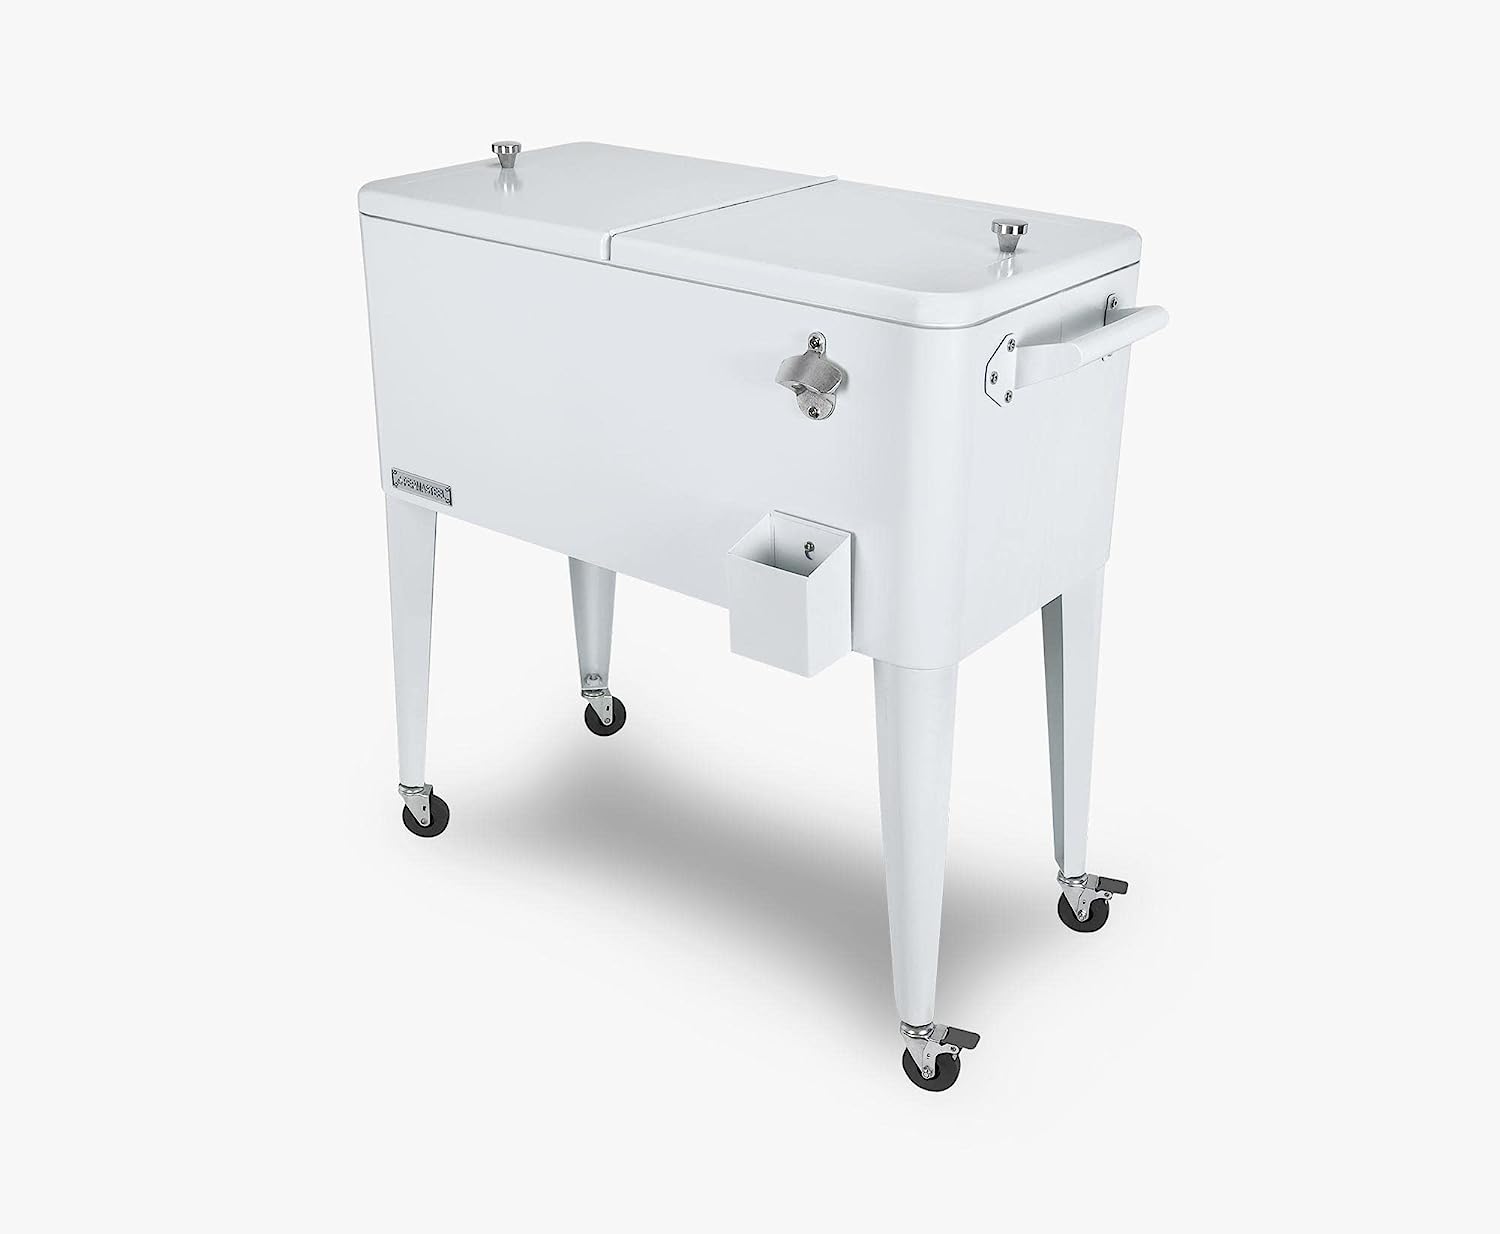
We opted for the Permasteel 80-Quart Patio Cooler in white and we are very pleased with it. It seems well built and was very easy to assemble. It held plenty of drinks for our last get together. It’s easy enough to maneuver, and when empty it is light enough that we can store for the winter. I am going to have our name made in a vintage font at Sticker Mule to give it a unique personalized look. I have used them before for some projects and have very satisfied.
If you shop on line at Amazon, you will have plenty of patio coolers to choose from. It’s really just a matter of picking the looks style and capacity you like. Most all of the reviews across the board are high for all of them. You may want to consider a cover especially if you plane to keep the unit outside year round. You will find the addition of a cooler to you patio a very good investment for entertaining.
Retro Look Patio Coolers
Click Image To Shop Patio Coolers On Amazon
What To Look For In A Patio Cooler
The Patio Cooler We Bought
Your Patio Cooler


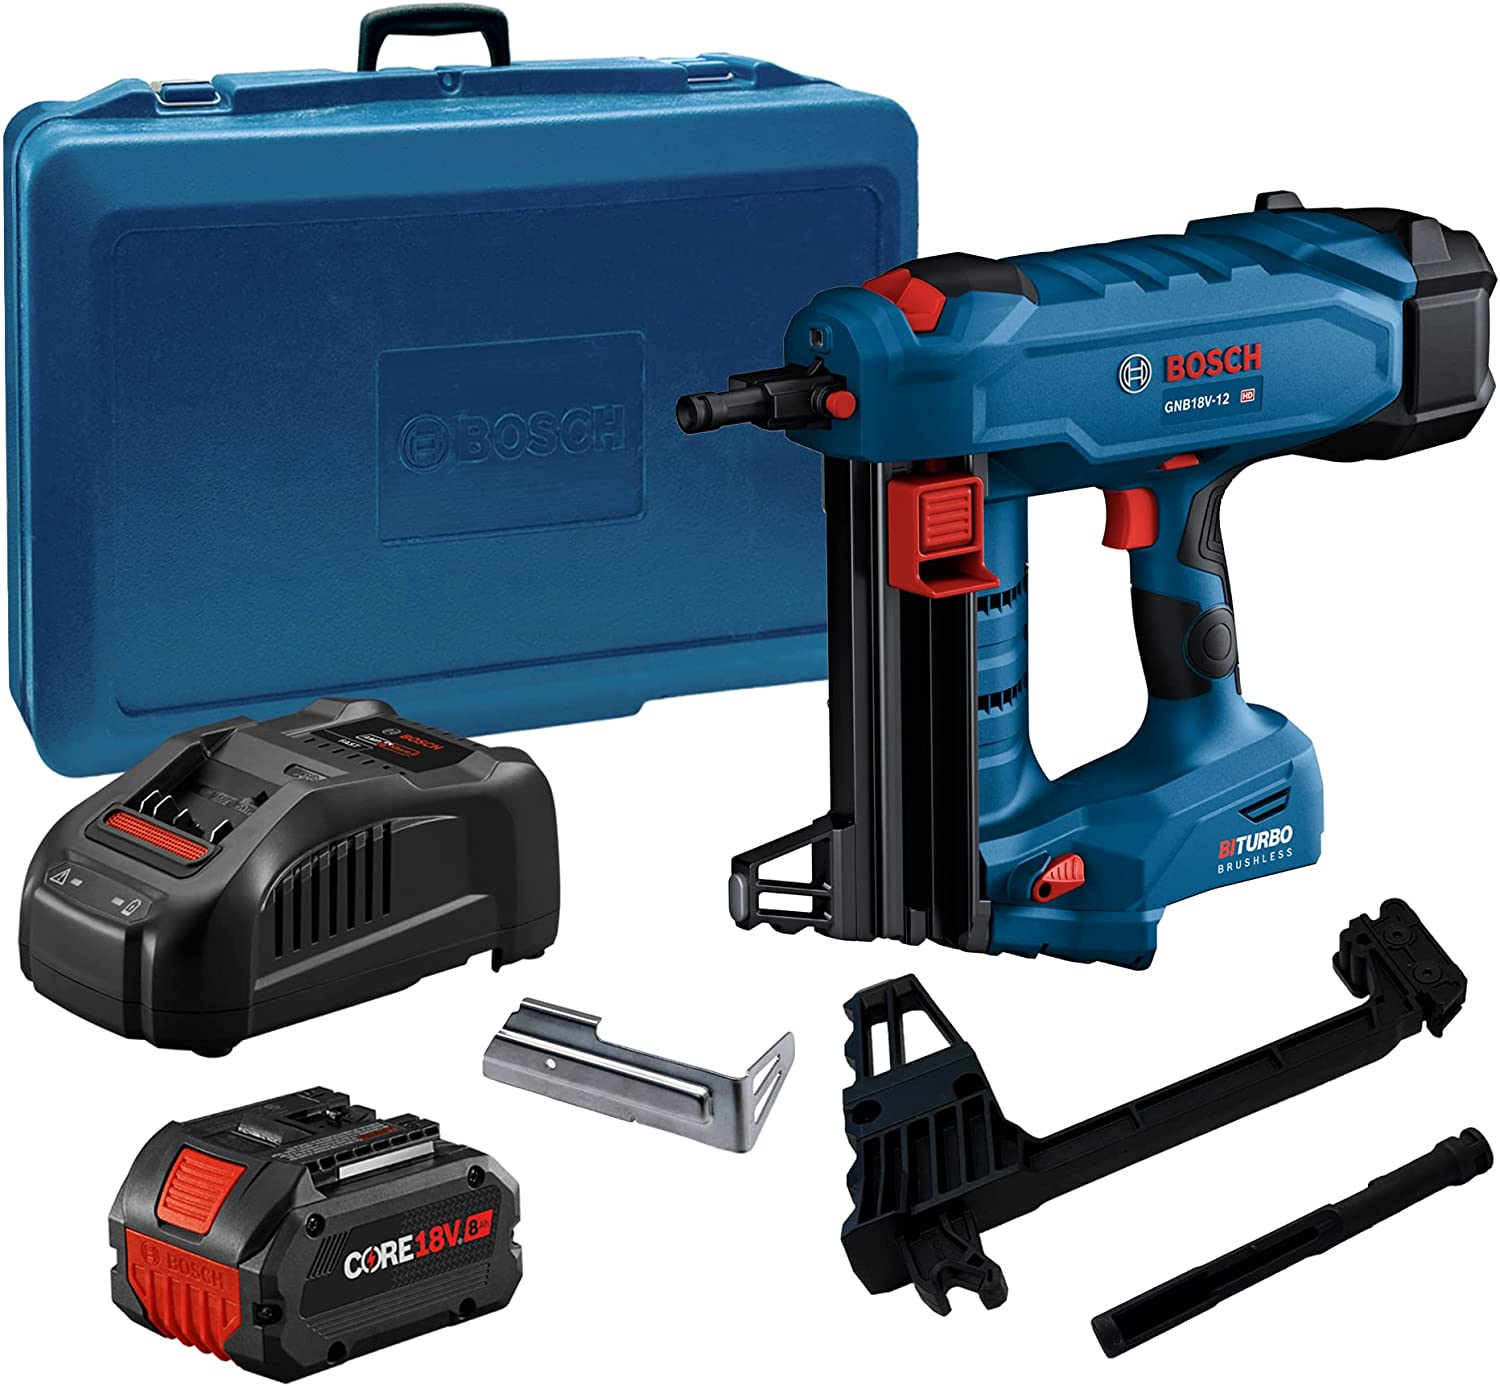
The BOSCH GNB18V-12K14 18V concrete nailer is Bosch’s entry into the direct fastening market. The tool is designed to fasten to concrete and steel using an air spring design. Battery concrete nailers are somewhat new. Hilit was one of the first followed by DeWalt and now Bosch. Battery powered concrete nailers require no fuel cell or powder charges so there are instances where this will be the tool of choice.
The BOSCH GNB18V tool weighs in at 9 pounds and is just under 16” long and about 5-1/2” wide. The included magazine can handle up to 22 nails in lengths from ½” up to 1-1/2”. An optional 44 nail magazine is available for the tool. One thing unique to the Bosch battery concrete nailer is that you can take off the magazine and shoot single shot nails that you would typically shoot in powder actuated tools. Think of ceiling clips, EMT clips, studs and more. The tool uses an 18V lithium battery. Any of the current Bosch 18v batteries will slip into the concrete nailer but an 8.0 mah is recommended and included in the kit. Smaller mah batteries will run the tool and you will save weight but sacrifice run time. Bosch has nails for both concrete and steel applications. The NB series is for concrete and the NM series is for metal and are packed in boxes of 1,000.
The Bosch battery nailer, part #GNB18V-12K14 is comes with the tool, 22 nail magazine, single shot nosepiece, 8.0 mah 18V lithium battery, charger, utility hook and case. If you already have a collection of Bosch 18V batteries and chargers, you can buy the tool bare, part #GNB18V-12N. The bare tool does not include the battery, charger or case.
Probably the most common application for battery powered concrete nailers is drywall track to concrete. It is also a good choice for shooting to concrete block as you don’t have the blowout issues you have with powder actuated tools. As mentioned above, switching to the single shot nosepiece allows you to shoot single shot PAT pins including ceiling clips, EMT assemblies, tie wrap mounts, studs and more. This really opens up the uses for the tool. The Bosch BOSCH GNB18V-12K14 is a nice entry for Bosch into the direct fastening market. See current price on Amazon.
Bosch GNB18V Specs And Capacities
What’s Included In The Kit
Applications For The BOSCH GNB18V Tool

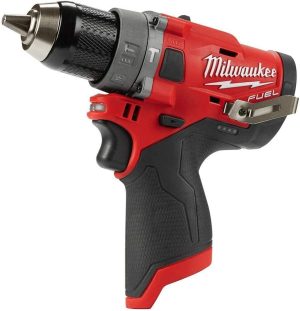
Are factory refurbished Milwaukee Tools a good deal? Let’s take a quick at what a refurbished or renewed Milwaukee tool (or any other brand for that matter) is and what you can expect when you buy one. As you are searching you may want to use the term “renewed”, “refurbished” or “reconditioned” as they can be listed different ways.
When Milwaukee, Bosch, DeWalt, Makita, Metabo or any major tool manufacture offers a refurbished tool, the logical question is where did the tool come from? In these days of ecommerce and easy returns, many of these tools are purchased and then returned without even being used. Most tool manufactures have a 30 day no questions asked return policy so, a customer may try the tool and just not like the feel or want something with more power or whatever. Some tools will fail right out of the box. Usually it something simple like a bad solder joint on the motor or switch or a battery may have become damaged in shipping. It can even be something like the tool is missing a component that was supposed to come with the tool. At that point, the tool is not new and the manufacture will run through the tool, clean it up and refresh the packaging and offer it as refurbished.
I have about 5 different refurbished tools in my collection. Most of them are Bosch. Every refurbished tool that I have bought looked brand new. Maybe they had a scuff or two but really they were in excellent shape. Sometimes they will have a brand like an “R” on them to signify that they are a reconditioned tool. When you consider that you intend to put the tool to work, any minor blemishes will soon be covered by new ones.
Yes! Reconditioned or renewed tools for the most part have a full 1 year warranty. Most new tools have a three year warranty but you will need to register the tool to qualify for that. Rest assured these tools are put through the paces by the manufacture during the refurbishing process. There is now way Milwaukee or any other tool manufacture wants a sub-standard tool floating around out there ruining their reputation in a very competitive market.
In my opinion, refurbished power tools are definitely worth checking out. Often times you can step up from a big box brand tool to a brand name like Milwaukee, Bosch, DeWalt, Makita or Metabo for just a little more. I think you will be pleasantly surprised by the quality of reconditioned tools. As I mentioned earlier, most of my collection is refurbished and I haven’t had a single issue.
What Is Refurbished Tool?
What Kind Of Condition Are Refurbished Milwaukee Tools In?
Do Refurbished Tools Have A Warranty?
In My Opinion

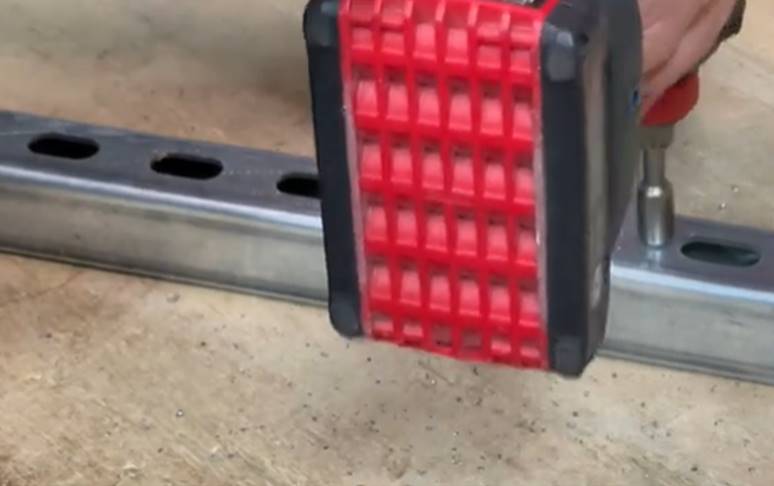
If you are looking for self-tapping screws that will drill their own hole and then tap threads into steel, there is couple of things to consider. Self-tapping screws are available that can drill and tap standard steel like maybe 12 gauge steel relatively easily. These have what is called a #3 point. There also self-tapping screws that can drill and tap into steel up to ½” thick! These screws have what is called a #5 point. See the videos below, it’s pretty cool. Here are few things to consider with self-tapping screws.
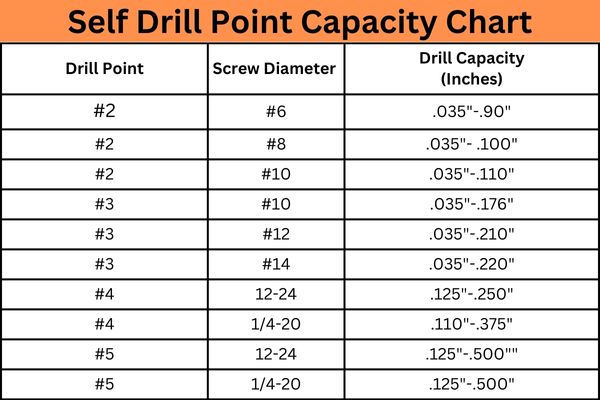
This first thing to consider with self-tapping screws is how thick of steel are you going to fasten to. Self-drill and tap screws have drill points ranging from #2-#5. The most common is the #3 and #5. A number 3 drill point is usually for steel ranging from .035” to .176”. A number 5 point can drill steel ranging from .125” to .5”. Put simply a number three point would be for steel under 3/16” and. After that you will need to jump up to a #4 or #5 point. Check out the chart for a list of how thick of steel each drill point can handle.
Once you have decided on what drill point you need, consider the length you need. This may seem like a pretty simple thing to mention but you want to keep in mind that the first part of a self-tapping screw is a drill point so it has no thread on it. This is especially pronounced with the number 5 point self-tappers as the drill point is around ¾” long so make certain to compensate for that. In addition to the length choose your diameter and head style. If you are fastening 2x material to thick steel, consider a self-tapping screw that is a flat head and has wings to aid in the install. You can read more about that screw here. Also consider if you screw will need an exterior coating either for outdoor use or use in treated lumber.
For installing self-tapping screws, I prefer an impact driver. They spin faster and can help set the screws faster. Make certain you have the right size socket or phillips tip. Setting self-tapping screws will take a little bit of pressure, you will need to get behind the driver and push so again it really helps to have the right bit tip or socket.
This post really just provides a basic overview of self-tapping screws. There are stainless steel self-drillers, some with seal washers, low profile heads, counter sunk flat heads and more. Hopefully this post shows you how handy these screws are. Make sure you have them on hand for your next project!
How Thick Is The Steel You Are Fastening To?
Choosing The Right Self Tapping Screw
Driving Self Tapping Screws
Just The Basics

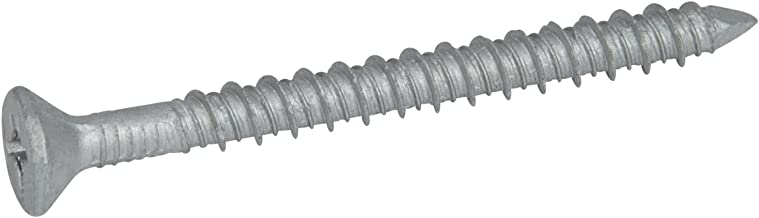
The name Tapcon is synonymous with small concrete screws. You can find them just about anywhere but you will have to look a little harder to find stainless steel Tapcon screws. Below you will find install information for all types of Tapcon including stainless steel as well as some info on a few different brand names that will help in your search. This post is looking at the standard smaller diameter namely 3/16” and ¼”. There are larger concrete screws including some by ITW/Redhead called Large Diameter Tapcon or LDT. We are looking at the more common smaller diameters.
Installation of stainless steel Tapcon is the same as for standard. Tto the right you will see a very simple chart showing proper installation. The number one issue while installing these fasteners is snapping. The main reason a Tapcon screw will snap is that the fastener is too long. The second reason is the hole is either the wrong diameter or it isn’t deep enough. These handy little fasteners get such a bad rap but most of the time it is improper fastener selection or hole issues. Here is the gist of proper installation. Select the proper length fastener by adding 1”-1-1/4” to the material thickness. Drill the hole with the proper diameter bit, 5/32” for 3/16” Tapcon and 3/16” for ¼” Tapcon. Drill the hole at least ¾” to an 1” beyond embedment. You will need a hammer drill or SDS hammer drill. I still lean towards the ¼” diameter to ensure less chance of snapping and the 3/16” bit is less likely to get broken during drilling. Choose your head style either flat head or hexhead. Drive the Tapcon home with a drill or impact driver. You can find more install info here.
Stainless steel Tapcon and other smaller concrete screws are made out of 410 stainless steel. You will not find them in a 304 or 316 in the smaller diameters as they would not hold up to the installation process. Three hundred series stainless can’t be hardened enough to cut threads in the concrete. Because they are 410 stainless steel, they will have some magnetism. In addition to being made out of stainless, they will have an exterior coating applied. So if you buy stainless steel Tapcon or another smaller 316 stainless steel concrete screw don’t be shocked if they stick to a magnet.
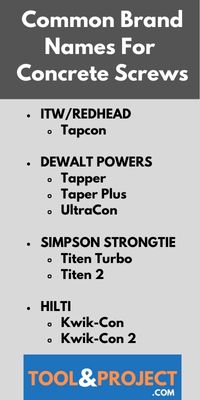
As mentioned at the outset, Tapcon is the name you think of when you consider concrete screws. Here a few other brand names. DeWalt/Powers has the Tapper, Simpson has Titen 2 and Titen Turbo and Hilti has the Kwik Kon. You will find some generics out there as well but those are mainly standard type concrete screws, not stainless.
Installing Stainless Tapcon Screws
What Type Of Stainless Steel Are Stainless Steel Tapcon Made Out Of?
What Are Common Brand Names Of Stainless Steel Concrete Screws

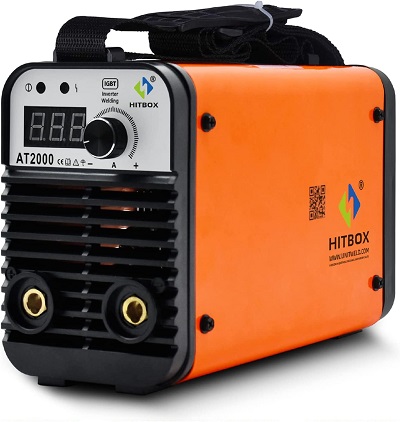
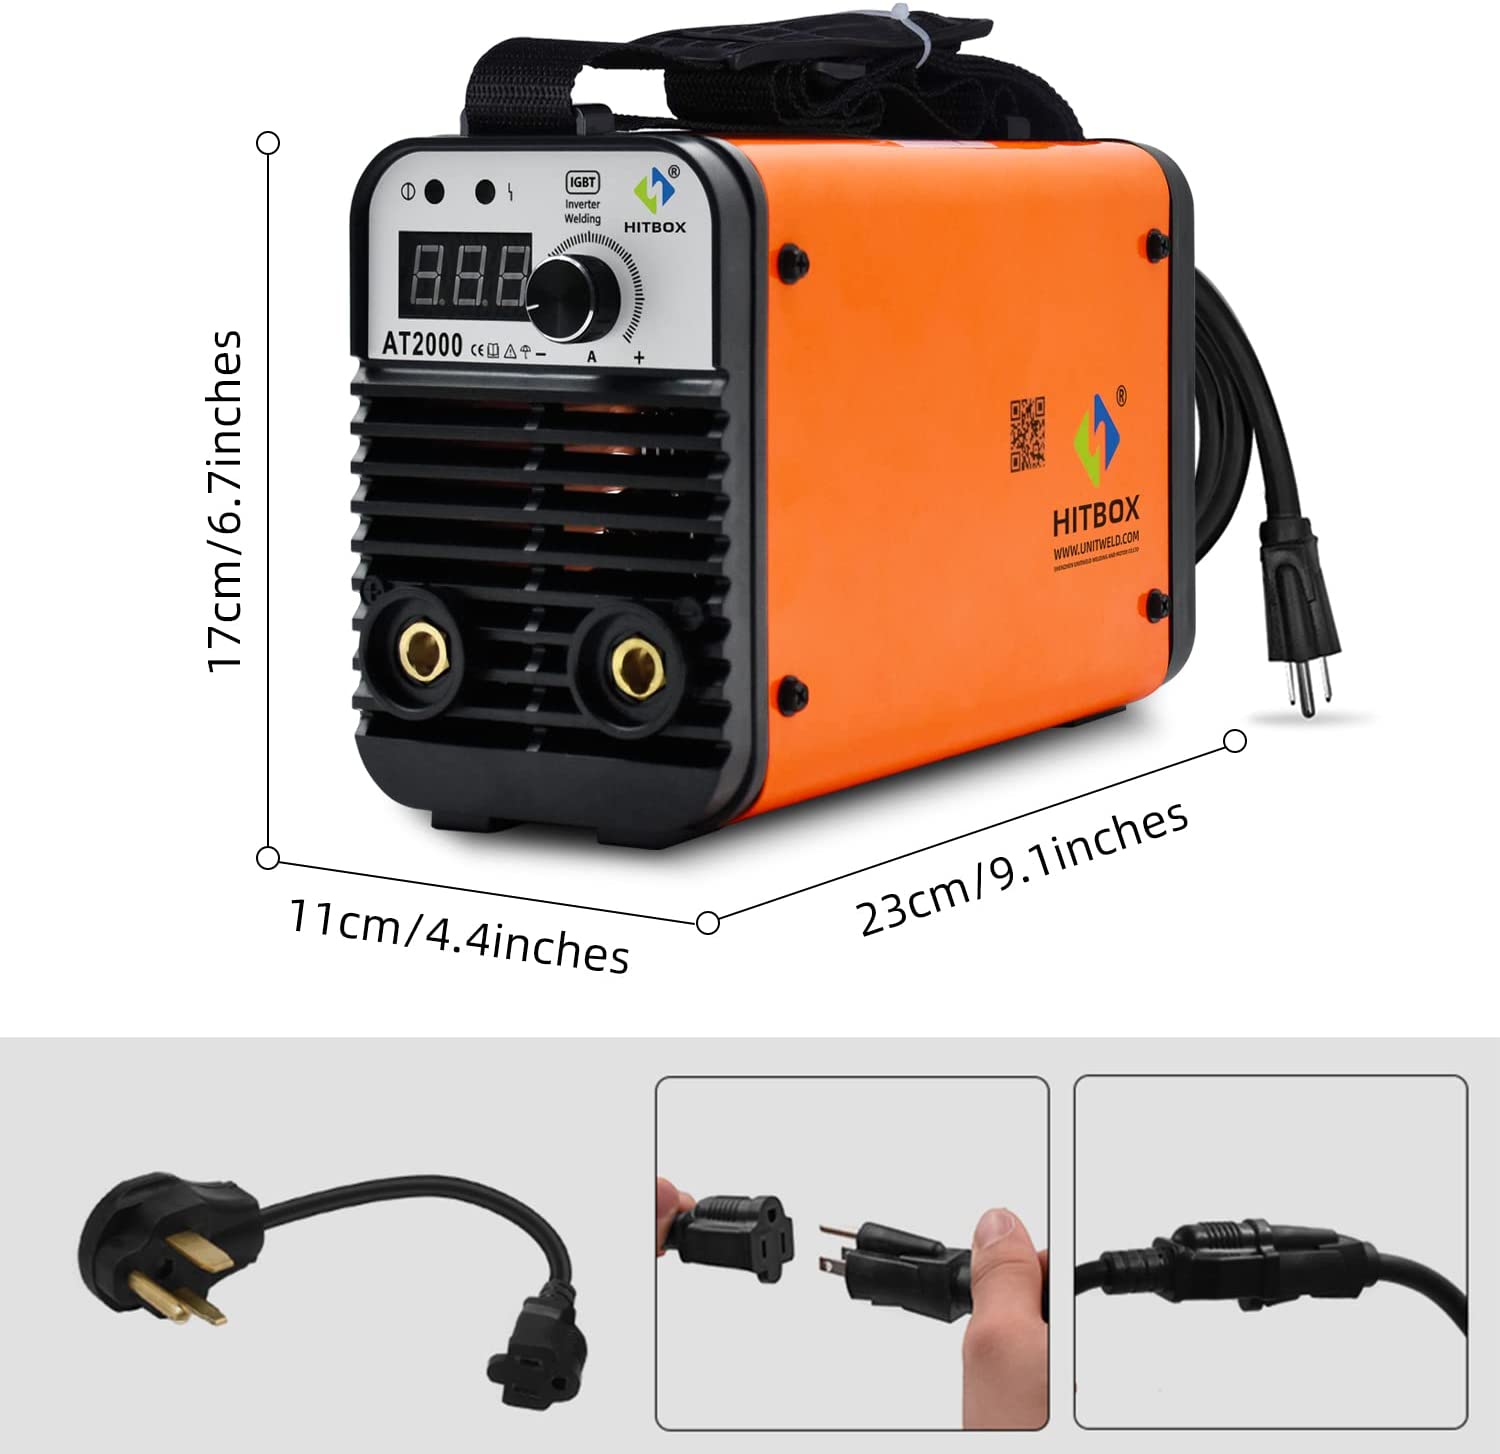
Here is a review of the HITBOX UW-AT2000J arc welder. Is this tiny little inexpensive stick welder worth having? For many this HITBOX is just what the doctor ordered. Let’s take a look at some of the key features of the unit and see if the UW-AT200J it is a tool you should make a little room for in your shop.
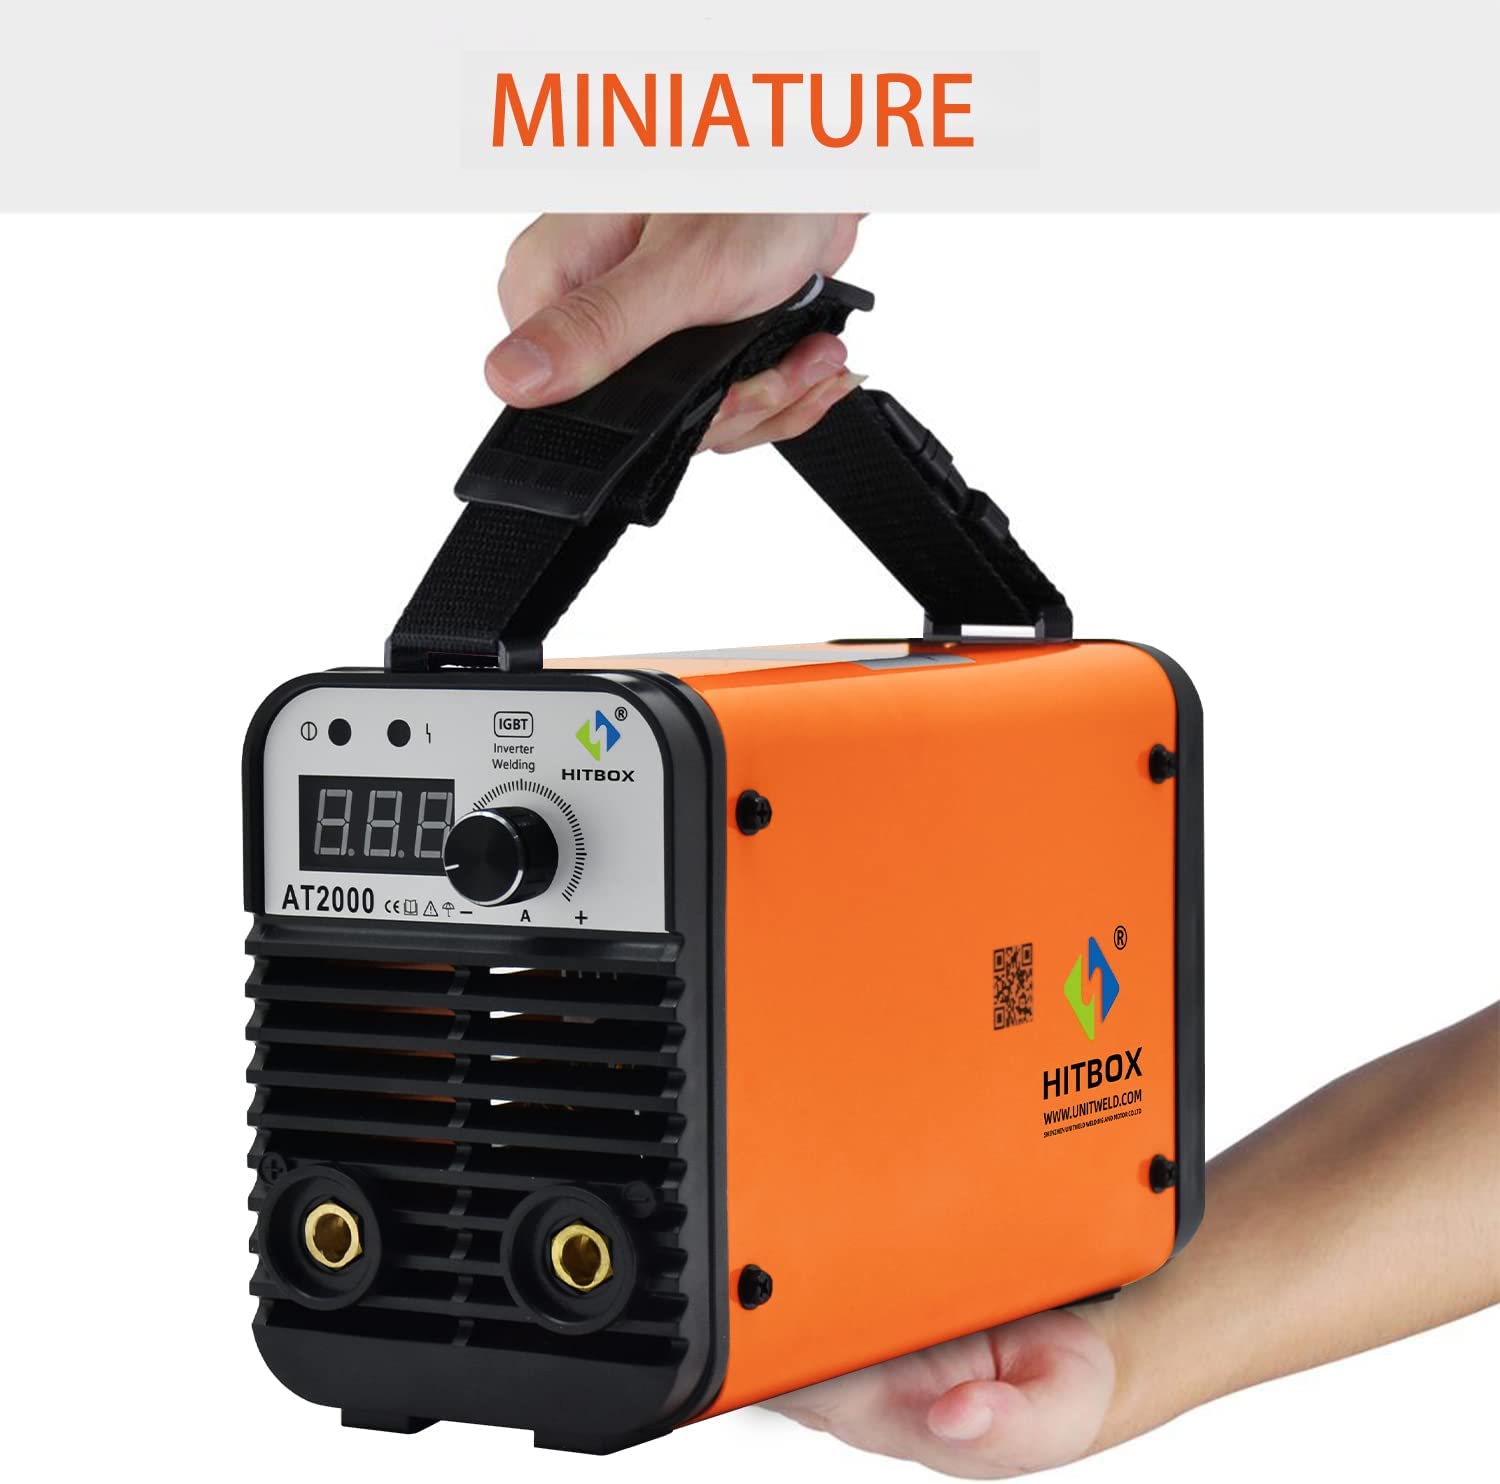
Speaking of making a little room: the first thing that struck me about this particular welder is how small it is. I am not a big welder, I actually don’t care to weld but when you need to weld, you need to weld! Growing up my dad’s stick welder was the size of a mini fridge. The HITBOX UW-AT2000J is the more like the size of a small lunch cooler. It has a foot print of about 4.5” x 9” and is about 17” tall. Weight comes in at under 7 pounds. So yes it is a small welder but can it really weld? First, check out some basic features of the welder.
The HITBOX UW-AT2000J is dual voltage, 110V/220V. It does a nice job with both 7018 and 6013 welding rods. I remember my first welding experience trying to strike an arc. I really struggled. This little welder is designed with the beginner in mind as it is easy to strike your arc and the stable voltage and hot start feature aids with that as well. It’s a safe little unit featuring overload and overcurrent protection.
So what market is the HITBOX UW-AT2000J welder going after? Well it’s not an all day long industrial welder. That is a totally different market. In my opinion this little welder has a home in many shops. If you are just starting out doing some metal craft work, this welder is a great way to start. If you are new welder, it will be some time before your skills will outperform the welder. Basic repair is another reason why you may like this little HITBOX welder. For instance, let’s say you break a bracket on your lawnmower deck. To hire an onsite welder won’t be cheap. The cost will likely be more than the welder! You may have a buddy who has a welder. So now you take your deck off, load it in your trunk, drive it over to your buddies, have him weld it up, put it back in your trunk, drive home and bolt it back on. Welding in place in this instance is obviously a better option. Use it once or twice and this welder will have paid for itself.
Don’t forget when you buy your welder to buy a good helmet. Do yourself a favor and make sure you get a auto-darkening helmet. You may find an old style helmet laying around but an auto-darkening helmet is the way to go and there really are some inexpensive ones out there that will get the job done.
The HITBOX UW-AT2000J Arc Welder Is Tiny
Features Of The Welder
What Is The Welder Good For?
Don’t Forget
From MN
