
Ok, so you want to frame your basement and you want to use a powder actuated tool like a Hilti or Ramset tool. What kind of tool should you get, how much will it cost and how in the world do I use it? Well here is a little guidance for you. One of the more popular tools for a homeowner to use for framing is the Ramset Mastershot tool. You will also find the same tool marketed by ITW Brands. This is a good tool for getting your a basement project. If you are going to do this for a living, spend more on a true contractor grade tool with readily available replacement parts. The Ramset Mastershot will handle your basement project just fine. So what do you need?
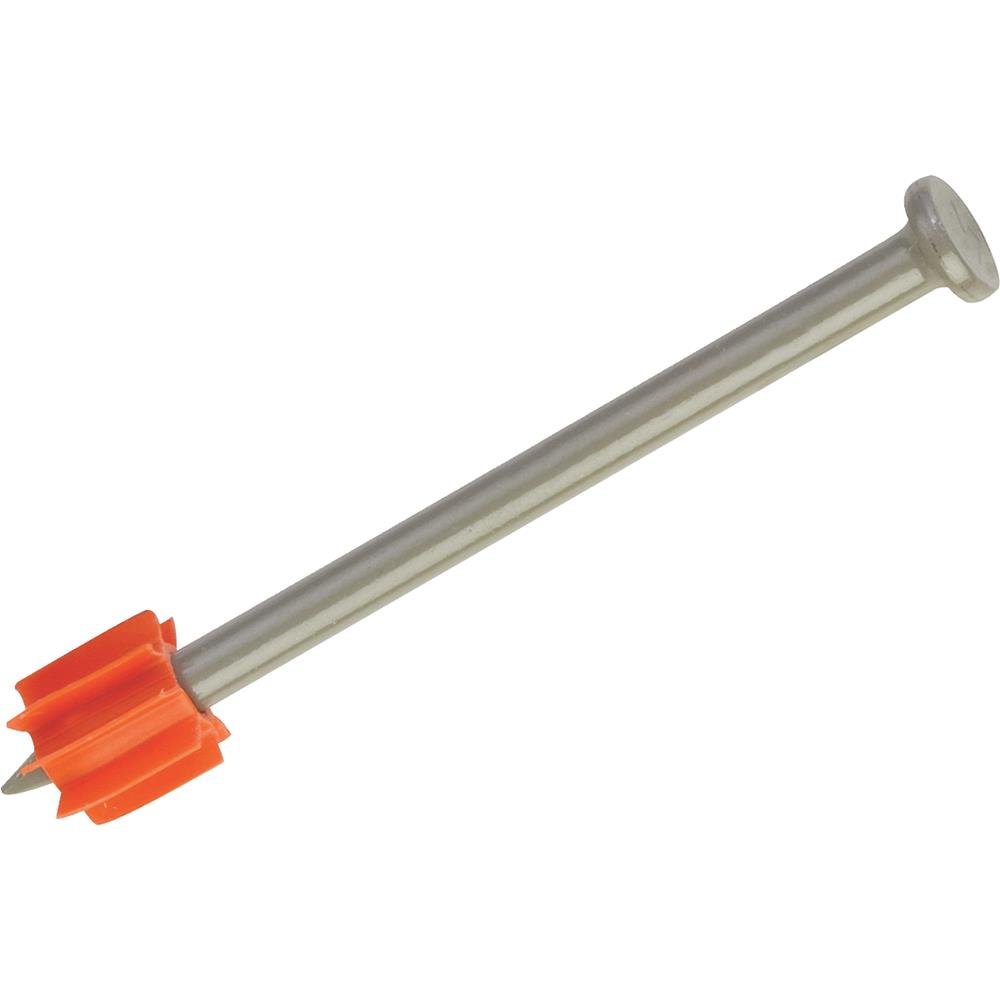
First the tool of coarse. Expect to pay around $100 or so on Amazon for the Ramset Mastershot Tool. The nail you want to use for fastening 2x material to concrete is a 2-1/2″ nail. A nail with a washer will increase the bearing area on the 2x but not required. What is required for mounting treated lumber is a nail that is compatible with treated lumber. Use a Ramset part number 1516SDE (with washer) or a Ramset 1516E. Both have a coating (Ramguard) for use with treated lumber. If you are going to mount a 2x to a steel beam, I would recommend the Ramset SP178 pin. It does not have a coating so don’t use it with treated 2x material. You will need powder loads or charges as well. The theory is use the lightest power load needed to sink the fastener. The loads are numbered and color coded as follows: Power Level 3 GREEN, Power Level 4 YELLOW and Power Level 5 RED. These are the most common loads. You will likely use yellow, but it is a good idea to start low and work high. Red may be needed shooting to steel. These are all .22 caliber.
Firing is simple. I recommend watching the video as it will show you all the steps in the correct order. First with you safety gear on, safety glasses and hearing protection, load the nail into the end of the tool. Now select your charge, starting again with a lower level. Place the tool against the work surface at a right angle (you can’t toenail with the tool!) press the tool down and then pull the trigger. Pull out the front barrel and repeat the process. Pin first, load second.
Safety when using any powder actuated tool including the Ramset Mastershot tool is a priority. You should go to Ramset.com and take a simple test for certification. You will definitely want safety glasses and hearing protection. Consider the work environment as well. Make sure there are no flammable fuels in the area and everyone knows what you are doing. The tool is a gun that shoots nails into concrete and it sounds like one. Please take the time to visit the site and get certification.
Using The Ramset Master Shot Tool For Framing Your Basement
What You Need To Use The Ramset Mastershot Tool
Firing The Tool
SAFETY FIRST!
Video


Here’s a simple little jig I burned on my Sculpfun laser for aligning wing ribs. I made these from standard 3mm plywood. They are approximately 1-1/2″ long by 3/8″ wide. The slot for the ribs is .79mm that seems to work well for 1/32″ balsa ribs. I have used them on 1/16″ balsa but I think I will make some with a bigger slot. The pin holes are 1mm. I made two to keep the ribs from pivoting. These little wing rib jigs work well to keep the ribs at a right angle to the work surface and make it easy to lock the ribs in place when you are gluing. If you are using CA glue, make sure not to get carried away or you will have the jig permanently mounted to your rib! These are super easy to draw in Lightburn and for me the work great! The wing in the video is for a Sterling peanut scale Fokker D-8. All though this isn’t a laser cut kit, it was very relaxing to cut out the pieces. Having the wing rib jigs kept everything nice and true.

The Lego Technic McLaren (set #42172) is an awesome build! Here is a cool little overview of the set. You can find it here along with some cool accessories like lighting kits and display cases. We bought this for our son who is usually a big Star Wars Lego builder. He has built a few very big kits, but the Lego McLaren P1 was just another level completely. You can see more specific details below. What stood out in my mind is the transmission and a real differential!
LEGO Technic McLaren P1 (Set 42172) – Key Features and Insights Build Experience Model Details This set is recommended for adult builders and car enthusiasts seeking a challenging, realistic project.
The build time is approximately 25 hours, which includes some reworking. (Your time may obviously vary) If you think about the fun-per-hour value, it’s definitely worth it! The set offers a highly immersive experience, including constructing a transmission and a differential rear end.
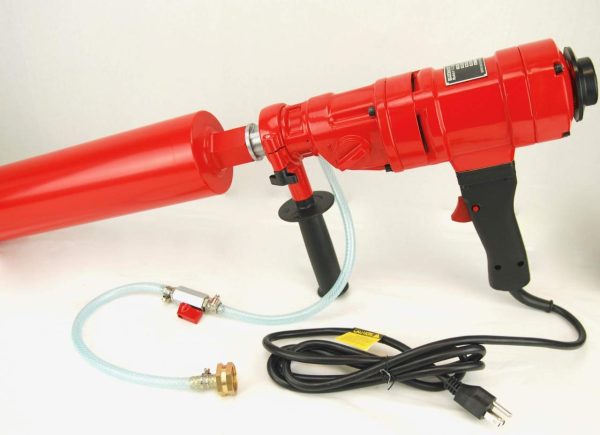
This post will hopefully help you decide if a core drilling machine is a tool that you should add to your arsenal. There are a few different types and sizes of core drilling machines. We are going to take a look at hand held units but the principles will apply to any size core drilling machine you may be considering. When you need to diamond core a hole in masonry material, you have a a couple of choices. You core it yourself or you hire it out. While there are some benefits to hiring it out, you may find in your case, that you may come out ahead, way ahead by owning even a very basic hand held core drilling machine. Let’s take a look at a very affordable unit from Blue Rock Tools as an example.
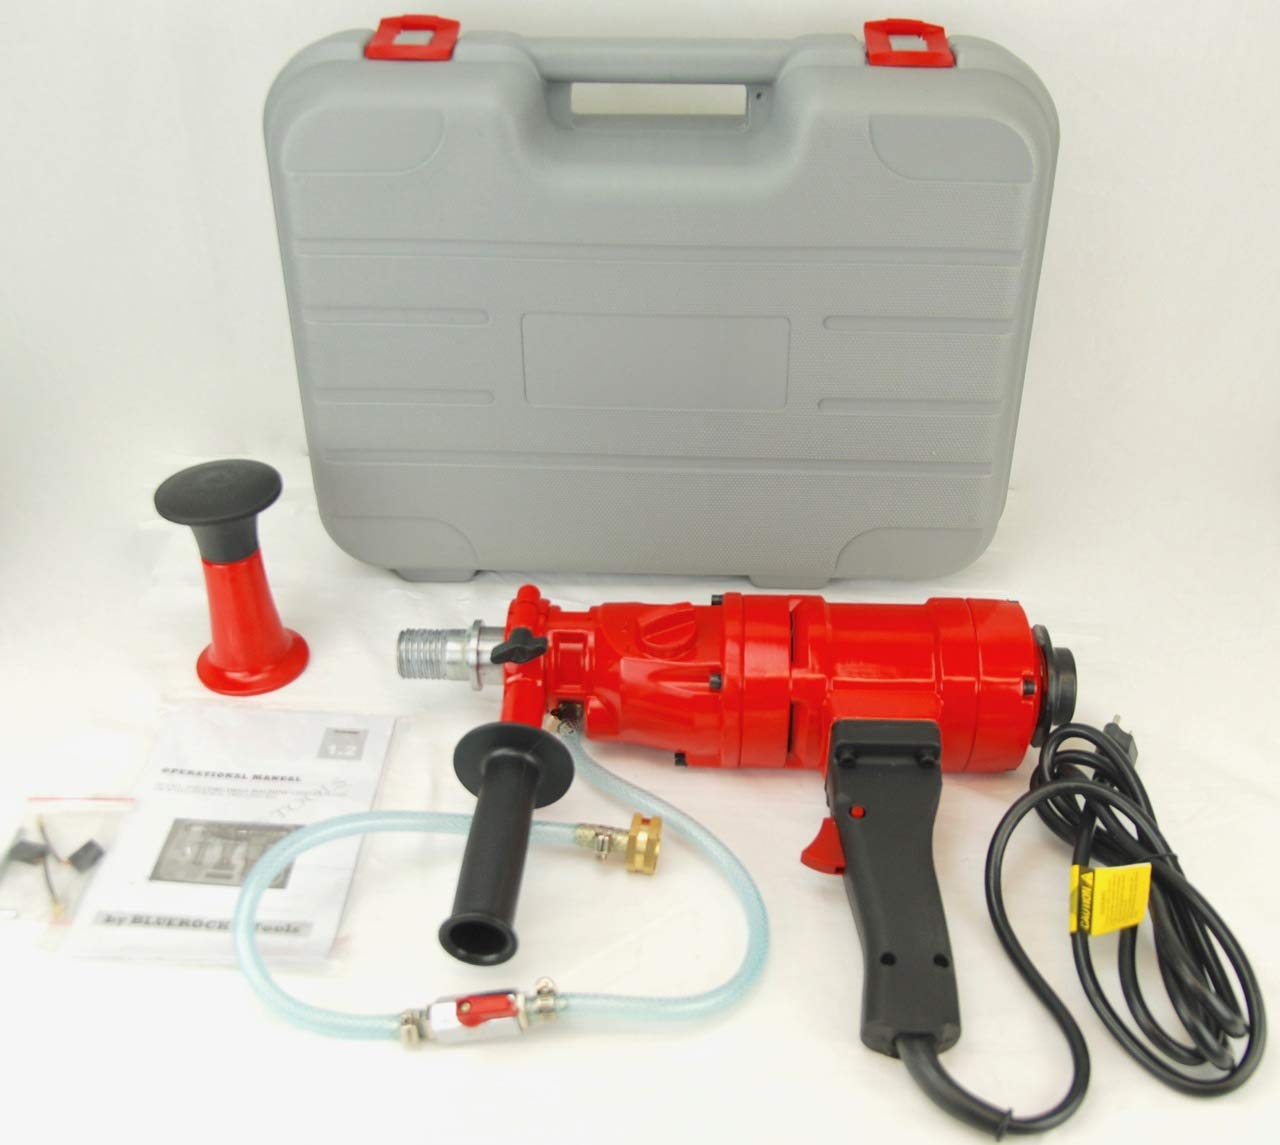
The Blue Rock Tool hand held core drill machine, model number 4Z-1, is a great example of a low cost unit. As with most hand held units it is meant to hand diamond cores up to 4″. If you need bigger holes, you really need to look at a drill rig that either bolts to the concrete with anchors or uses a suction device. The 4Z-1 uses industry standard 1-1/4″ thread diamond core bits and has a water attachment. It has two speeds, 2100 RPM and 950 RPM. A built in safety clutch protects you and the machine if you bind up the core. A couple of little things I thought were cool were the removable shoulder stock and the bubble level on the side of the unit to keep you hole level. Reviews really are pretty good for the tool. Most agree it’s well worth the price. But the real point of featuring this core drill machine is to show drilling your own core holes can really save you money in a couple of ways.
So can you save money coring your own holes? Yes! Considering having a couple of core holes drilled would likely cost you a couple hundred bucks or more. If you can drill 5 or 6 hole in a month or two, the unit is paid for. If you need a bunch of holes cored, you will likely be able to get a better price per hole, however, often times, you only need 2 or 3 holes. The second thing to keep in mind is if you are coring your own holes, you can do it now rather than setting up with another contractor and working with their schedule. I think this actually gets to be one of the biggest plusses of having your own core drilling machine. Now I am sure that if you are a core hole drilling contractor you can make some great arguments as to why you should hire them out instead of doing it yourself. As matter of fact if you are a diamond coring contractor, you may be steaming right now. In fairness, let’s take a look at a few reasons you may hire a professional at times.
One instance where you would really benefit from a pro is drilling in post tension concrete. Post tension concrete has cables embedded in the concrete under tension and if you hit one, you have big problems. A pro can X-ray the slab to find the cables and drill safely. Another advantage is if the diamond core bit gets damaged for any reason, it’s their bit not yours! Good quality diamond bits are spendy. A pro also has the ability to core some pretty big holes with their drill coring machines. I have seen some huge bits on the job! A coring contractor will also have more than one unit so if they have an equipment issue, they know how to keep the job moving. And I don’t care how smart you are, a pro will know more about diamond coring. You just can’t beat experience.
So there are a few things for you to think about if you are looking at a core drilling machine. Consider how often you could use it and if you can pay it off on a couple of jobs it may be worth it. Consider the hole sizes you drill, how many you drill on a job and what type of application you have. Don’t hesitate to use a pro. They know what they are doing and it may be a better fit for you. Or, get a core drill machine for smaller easy jobs and set up with a reliable pro and you will have all your bases covered.
Blue Rock Hand Held Core Machine
Saving Money By Coring Your Own Holes
Benefits Of Hiring Out Your Core Drilling
Final Thoughts On Buying A Core Drill Machine
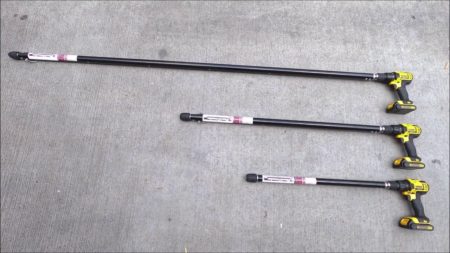
An extension for a drill chuck can mean different things. If you are looking for just an extension for a drill bit, bit tip or nut setter that is one thing. If you are looking for an extension for your drill that has a chuck on the end, well that is something altogether different. The Chuck Extender is an extension pole that is available in 3 different sizes and has all kinds of uses. It’s such a simple tool but one that can be hard to find simply because it may be hard to describe what exactly you are looking for to someone. Hopefully this post will help out.
As mentioned above, the Chuck Extender is an extension pole for your drill. It has a stud on one end that will chuck into your drill and on the other end of the pole is a chuck. So ultimately as the name indicates, it extends the reach of your drill. The tool is available in 3 different sizes. The CE-2 has a fixed 27.5” length and is typically used for drilling holes from above as well as drilling screws from above. This is a great back saver! The CE-6 version is telescopic from 40.5″- 64.5 and the CE-12 extends from 77″ – 139.5″. The longer versions are typically used for overhead work. Because they have the keyless chuck on the end, they are a true drill chuck extension tool. You can chuck in anything you would chuck in your drill.
I have heard of all types of uses for the Chuck Extender extension tool. They include cleaning brushes, magnetic sockets for adding more screws to overhead track, and trailer deck repair. My favorite application and I wish I had a picture, is a customer who was installing a polished DC-3 wing half on end as a chimney for his fireplace. He was going to use the drill chuck extension with a hole saw to drill through the ribs of the wing. By the way if you are reading this and you are that person, send me a picture please!
This is such a neat tool, but it can be hard to find as it really can be hard to search for and find. All three sizes of the Chuck Extender drill chuck extension are currently available here on Amazon. I posted a video below with a nice overview of the tool as well.
Chuck Extender Drill Chuck Extension Overview
My Favorite Drill Chuck Extension Application
Where To Find The Chuck Extender Drill Chuck Extension


From MN
