Blog

thumbnail_IMG_1844.jpg

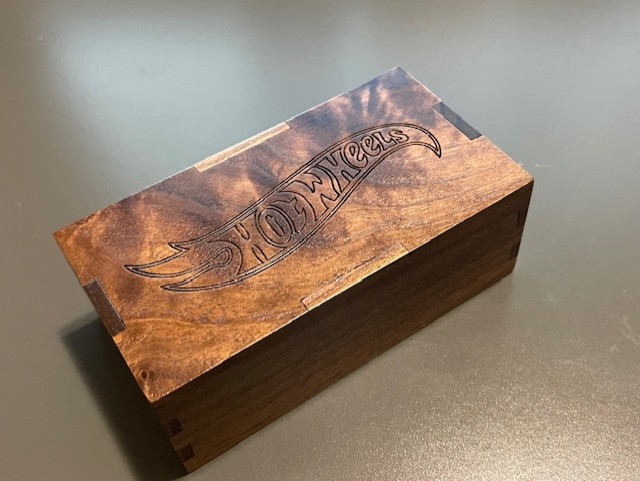
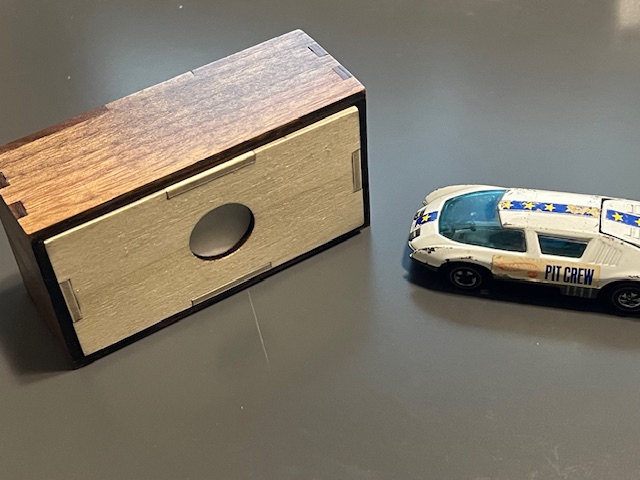
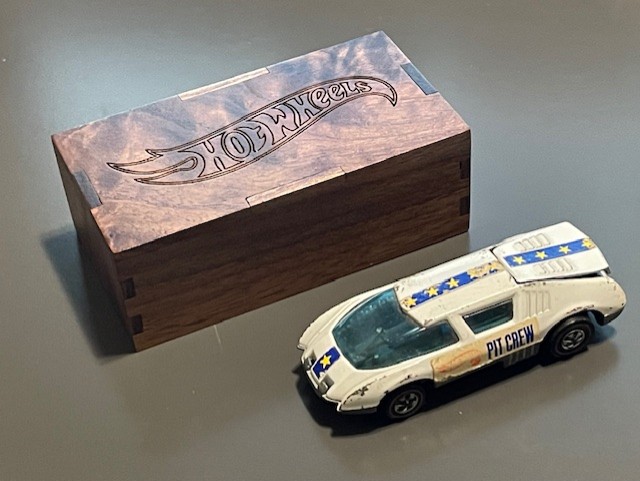
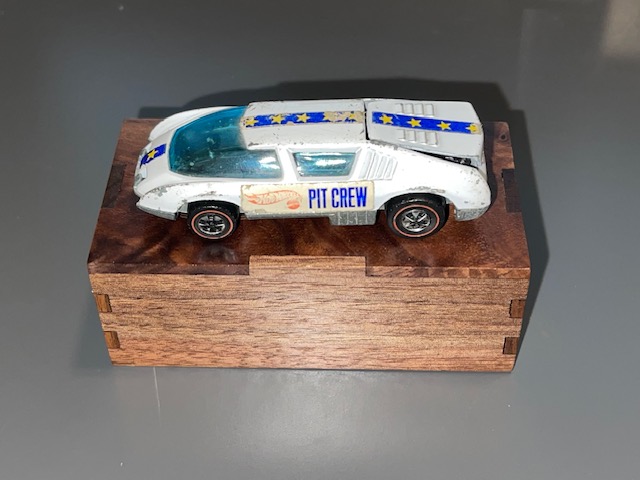
This little Hot Wheels gift box taught me more basics about laser cutting and engraving.  It also helped me learn a little more about Lightburn software.  It also taught me that I need to slow down, measure twice and cut once.  Something I still hear ringing in my ears form my high school shop teacher.  It’s a simple design that fit’s a good share of Hot Wheel cars.  I took a picture of it with my battle worn Pit Crew.  You could easily make the design a little bigger to fit your needs or even double or triple it.

Right Now on eBay Vintage Redline Hot Wheels
Clicking a link to eBay may result in a referral commission being paid if a purchase is made.

Loading…

About The Hot Wheel Gift Box

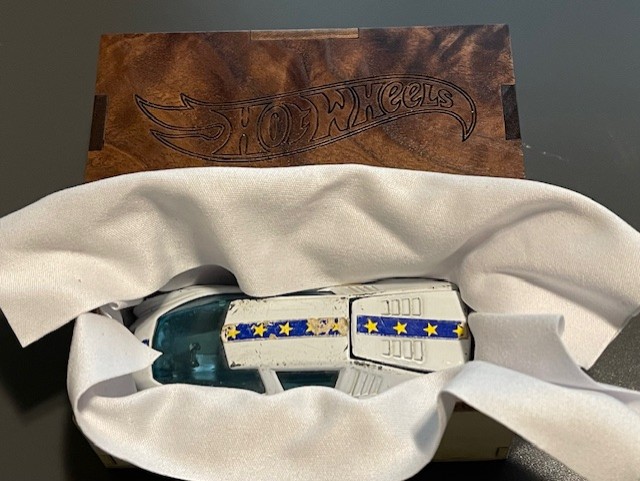
As mentioned above, this is a simple box but is just a little cooler for a gift box when you call it a Hot Wheels gift box!  The bottom of the box is 1/8″ light ply with finger joints.  I also added a 3/4″ hole to make it easy to slide the top off.  The top is 1/8″ solid walnut.  I prefer solid wood as it just look nicer than a plywood box.  I burned in the Hot Wheels logo for my personal use.  I wouldn’t include it in a file or for sale.  I don’t want Barbie coming after me.  The finish is a simple rust o leum clear coat semi gloss.  Give it a couple of light coats and then sand with 320 before a final coat.  It comes out so nice!  I used a lens cleaner cloth to wrap the car in.  Outside dimensions of the box are 3-3/4″ x 2″ by about 1-3/8″.  Again as mentioned before get a cheap calipers to measure the thickness of the solid wood top, it will make your sanding much easier!   If you want to contact me at jrk7841@msn.com, I can try to send you the Lightburn file, less the logo of coarse!

What I Use

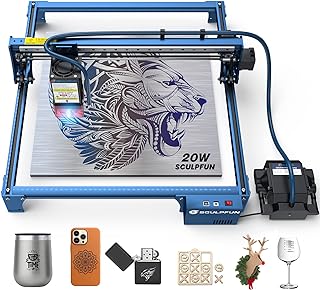
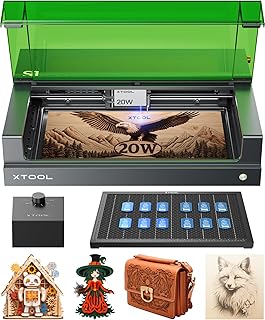
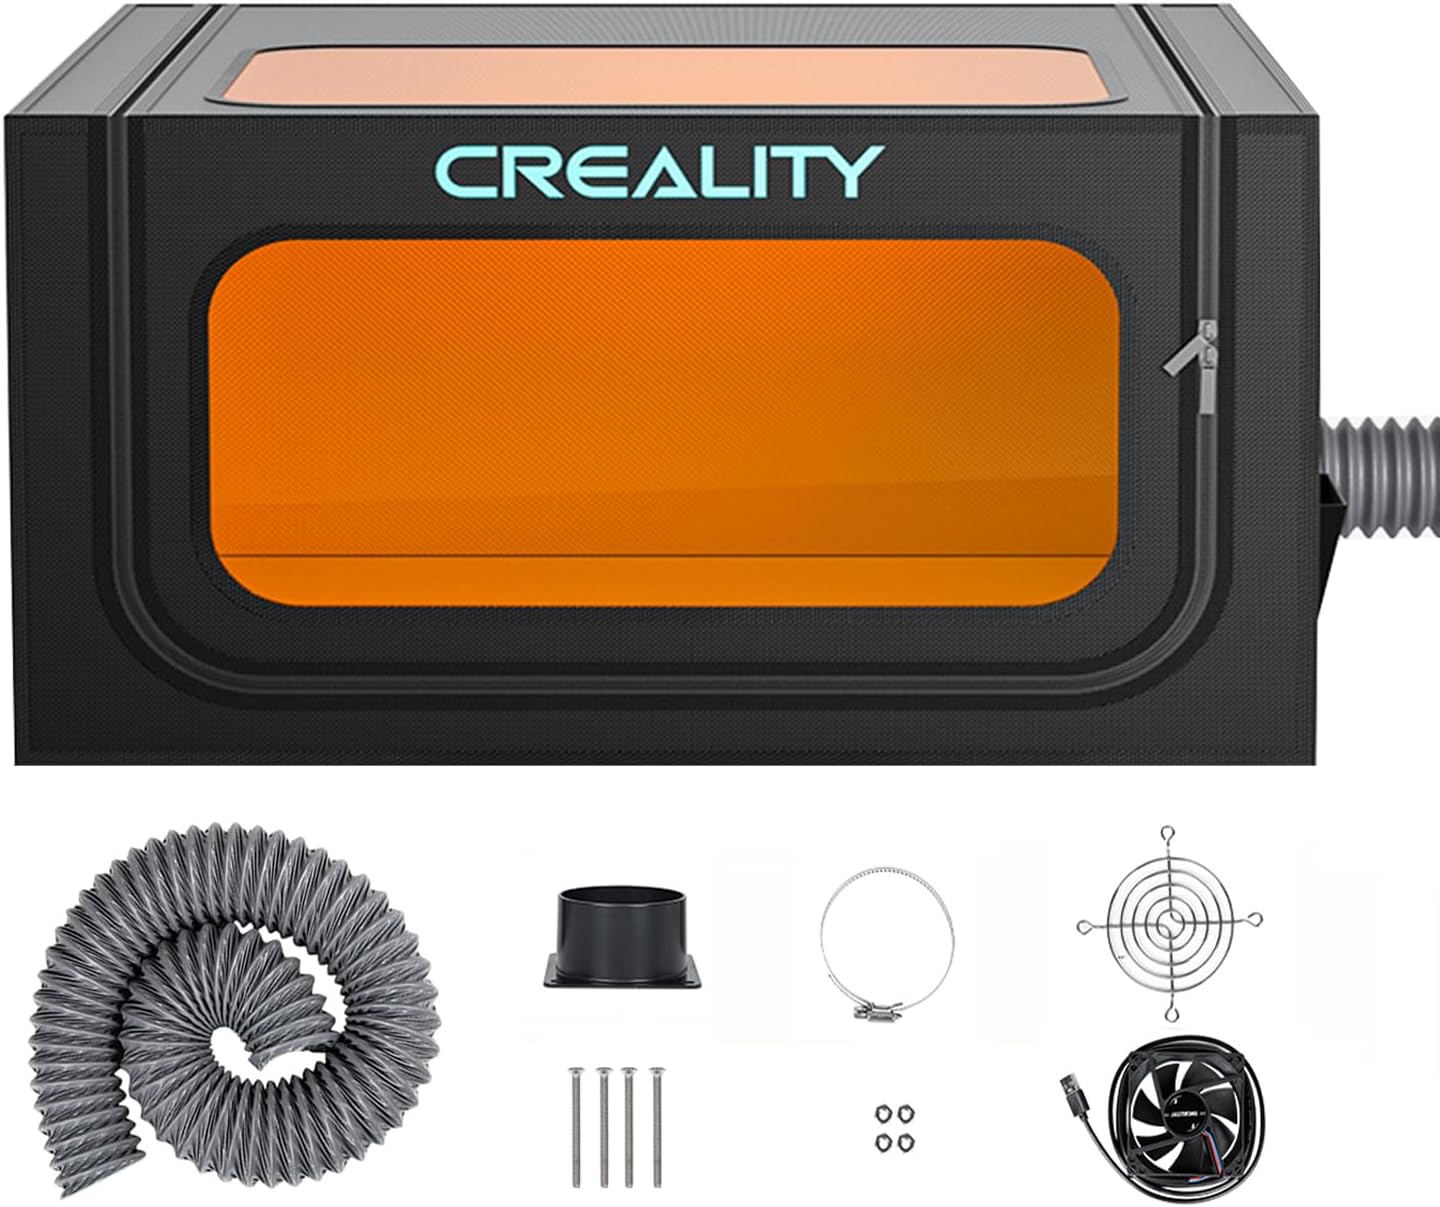
I use a Sculpfun 20 Watt with air assist.  For me, the price point and power matched up nicely.  I added a Creality cover and cutting platform.  Calipers are a must.  Amazon has a nice selection of 1/8″ lumber available as well. I like the Lightburn more and more as I use it but I know XTool has their own software that is getting good feedback as well.

Get Price On Amazon

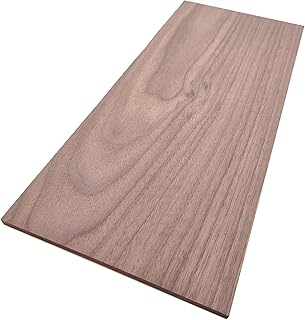
Solid 3mm Wood

1/8“ Solid Wood On Amazon


thumbnail_IMG_1800-1-1-e1728005845454.jpg

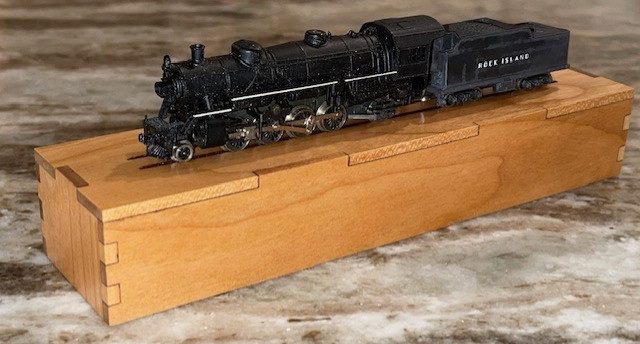
Here is a simple little project that I made using my Sculpfun S30 PRO MAX Laser.  It’s a simple design that allows me to display an old Atlas N Scale 2-8-2 Mikado Locomotive.  It could certainly be used for other locomotives as well.  Below I will give an overview of the experience.  I am relatively new at laser work and so I hope some of the info will help you along the way. The project helped me learn a few tricks with the laser in both layout and settings.

A Little Bit About The Box

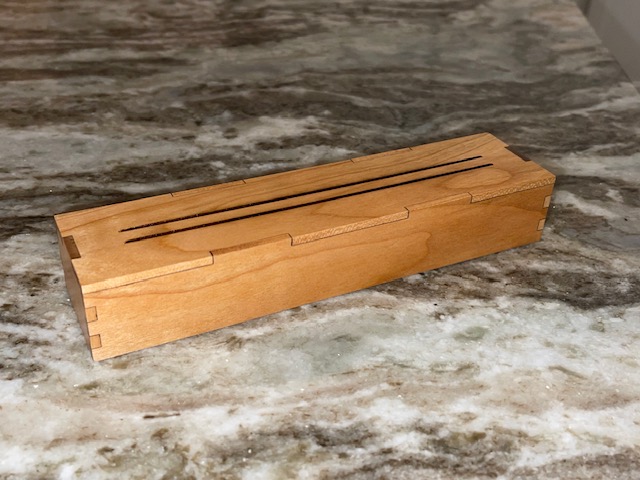
The box itself is of a fairly straight forward design laid out using Lightburn.  If you have a laser engraver, you probably own Lighturn or equivalent software.  The box top is solid cherry, not plywood.  Solid wood may be a little more inconsistent in thickness and a little more money but the look is so much nicer.  The bottom is just a standard cheap hobby plywood.  Both where bought as 3mm but actual thickness varied.  More on that a little later, it does make a difference in layout.  The goal was basically to recreate a plastic jewelers case that Atlas used for many years for their n scale locomotives in wood.  My goal was to utilize the plastic tray inside the jewelers case inside my wooden case.  So with careful measuring and adjusting, I was able to get the bottom sized correctly.  From there I created the top to slide over the wood bottom.  If you have a plastic case bottom, I imagine you could just use that for the bottom.  If you don’t have plastic tray insert, you could just wrap the locomotive in soft cloth for storage.  I added a couple of engraved grooves in the top to serve as rails to display the locomotive.

N Scale Locomotive Storage And Display Box

Materials Used

I had been using walnut on a few projects but on this one I decided to use cherry.  I am really pleased how the wood finished out.  With the clear coat, it really has a classic look.  The cover is 1/8″ or 3 mm cherry from Amazon.  The wood actually measured out at 3.4 mm (but a cheap caliper!) so I made my tabs at 3.mm which proved just about perfect.  I may increase to 3.6 mm as I would rather have the tabs a little tall and then sand down.  The bottom of the box was just made from standard project ply at 3 mm.  It measured out a little shy of that, I made the tabs at 3.01 mm.  The light ply sands very easy so not a big deal if the tabs are a little tall.  I glued the box up using a medium CA glue and then sanded all the tabs flush.  The finish is a simple rust-o-leum semi gloss.  I sprayed a couple of light coats and then sanded with 320 sandpaper and gave it one last coat. The finish is super nice.

A Few Things I Learned About Laser Cutting And Engraving

I am no way an expert on laser cutting and engraving.  But if you google what you want to know in regards to laser choice, how to use the software and designing projects, there is no end to the info.  I will add a list of essentials if you are new to laser cutting and engraving below for you to review.  My laser is a Sculpfun S30 Pro Max, 20 WATT.  I am very happy with it thus far.  Would I go bigger?  Yes, I could always use more power.  For a project like this, I would think a 10 WATT or even a 5 WATT could work, It’s just a little slower.  I think to cut the top of this project was about 13 minutes, the box bottom probably 3 minutes or so.  I don’t think I would go below a 10 WATT.  My software is Lightburn.  The license is good for three machines.  Again there is so much help on line for this software, you will find the help you need.  One thing that tripped me up a couple of times is when switch back and forth between inches and MM.  It can do some strange things to your layout!  Watch it.  Also, when laying out your finger joints, you should really have a inexpensive micrometer to measure the material as it does affect how you size you tabs.  You have much less sanding!  There are ways to reduce your cutting and engraving time, again, spend some time on youtube.  I shaved a bunch of time off on the engraved rails just by flipping the top 90 degrees in the software.

Check Price On Amazon

Check Price On Amazonb

Honeycomb Laser Bed

Check Price On Amazon

Must Haves For Laser Engraving & Cutting

My Laser Set Up

  • Laser, 10 WATT or better
  • Lightburn software or other
  • Air assist for cutting
  • Laser goggles
  • Enclosure for laser with ventilation
  • Honeycomb laser cutting board
  • Inexpensive micrometer
  • Stable work surface
  • Plastic push pin clamps and magnets to hold material.

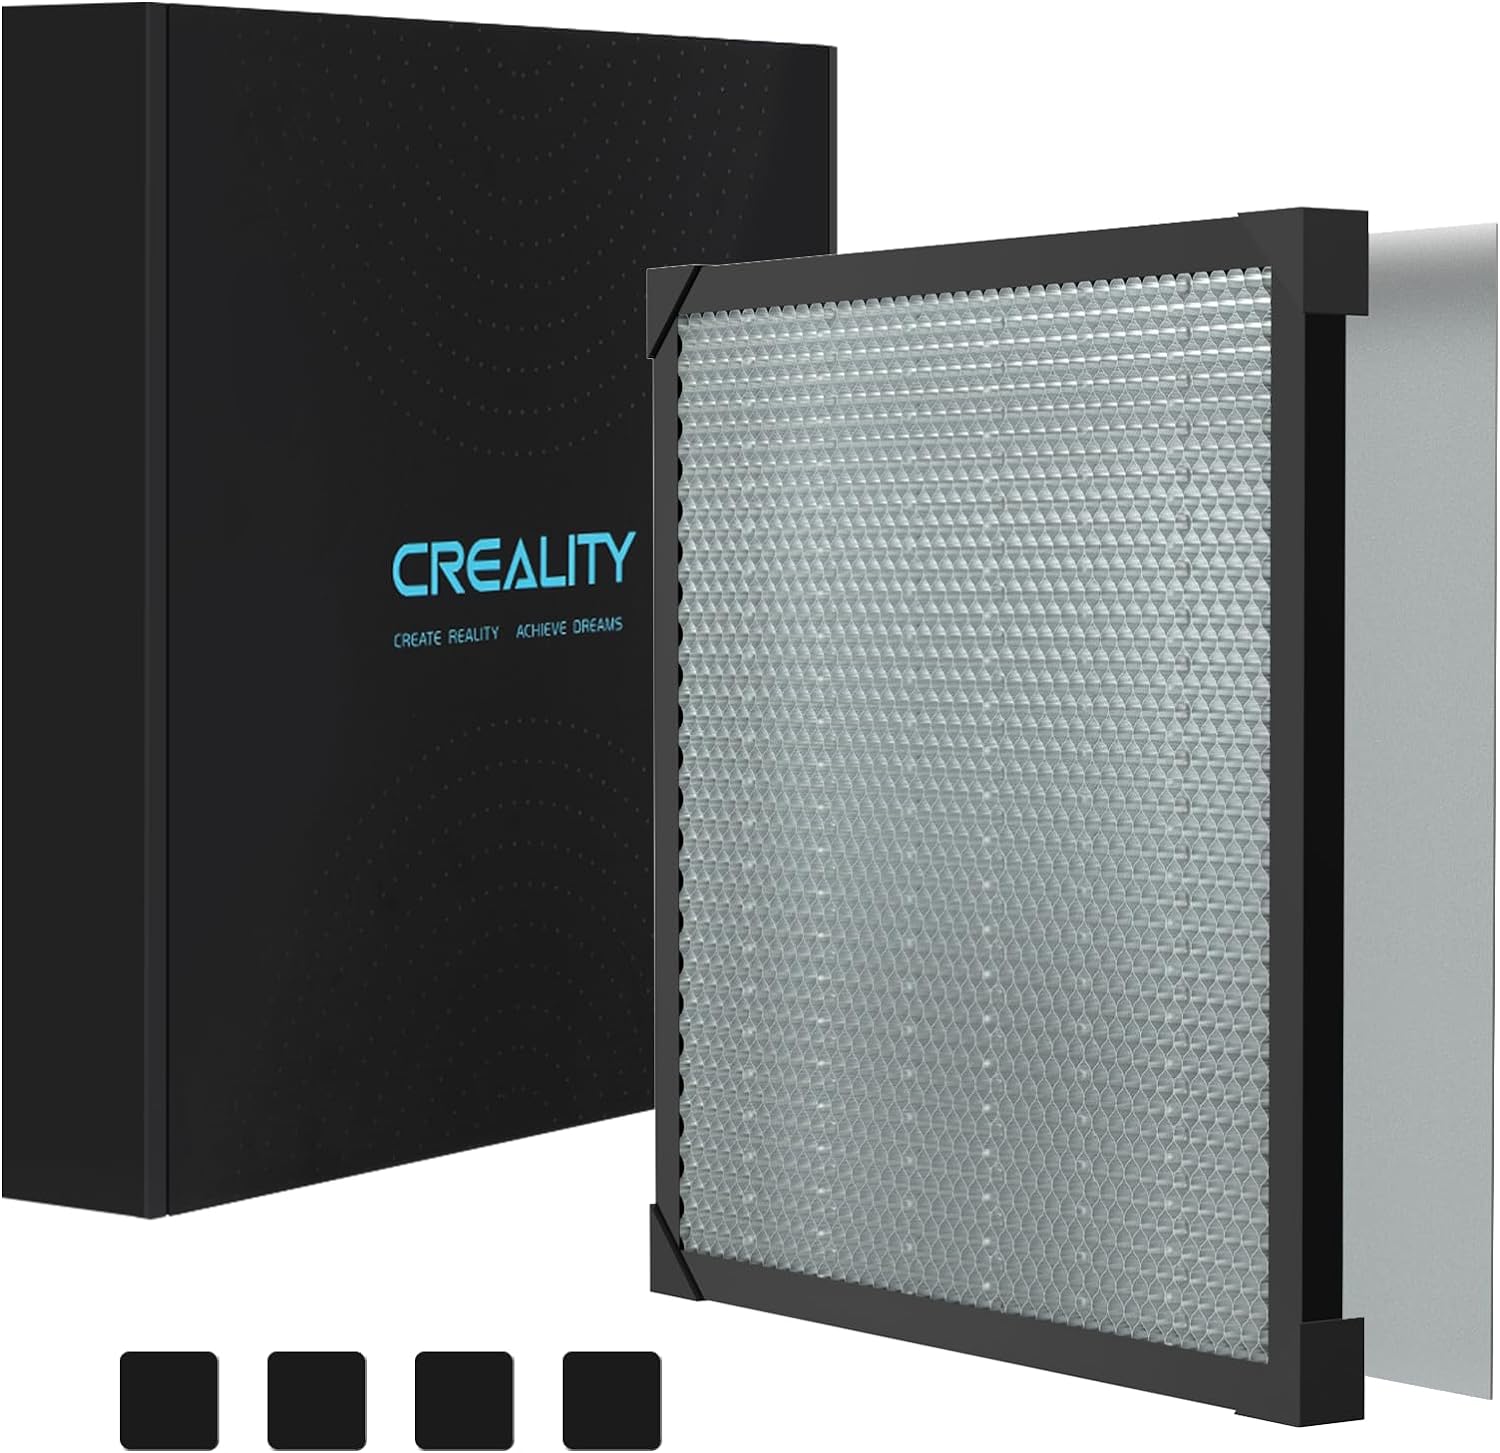
My laser is the Sculpfun S30 PRO MAX 20 WATT with air assist.  I added a Creality laser cover with an exhaust fan that I mounted to a base so it opens like a convertible.  I have a 400MM x 400MM honeycomb cutting board that I mounted to the work base as well.  This assists me with jig alignment.  I use Lighburn software on my laptop computer.  I have the software on my PC as well so often times I will create the file and then transfer with a thumb drive to my laptop.  I use the standard glasses that came with the laser, but the cover also has protective viewing windows.  I use plastic push clamps and heavy magnets to hold material in place.  I also have a inexpensive calipers that I measure wood thickness when making box tabs.


vega-driver.jpg

What Do You Use A Torgue Limiting Screwdriver For?

When it comes to achieving optimal results in assembly and repair work, precision is key. A torque limiting screwdriver is a crucial tool for professionals and hobbyists alike, designed to ensure that screws are tightened to the exact specifications required. This article explores what a torque limiting screwdriver is, its benefits, and the various applications where it excels.

What is a Torque Limiting Screwdriver?

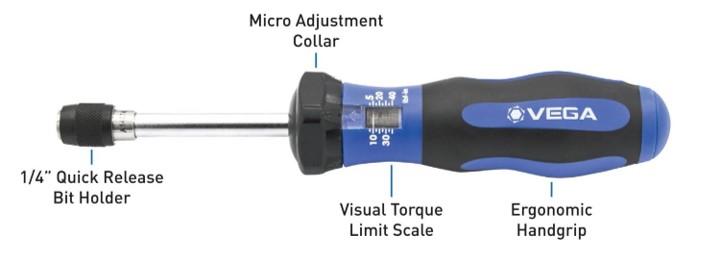
A torque limiting screwdriver is a specialized tool used to apply a predetermined amount of torque to a screw or fastener. Unlike a standard screwdriver, which relies solely on the user’s hand strength and feel, a torque limiting screwdriver incorporates a mechanism that disengages or slips when a specified torque level is reached. This feature prevents over-tightening and ensures consistent and accurate fastening.

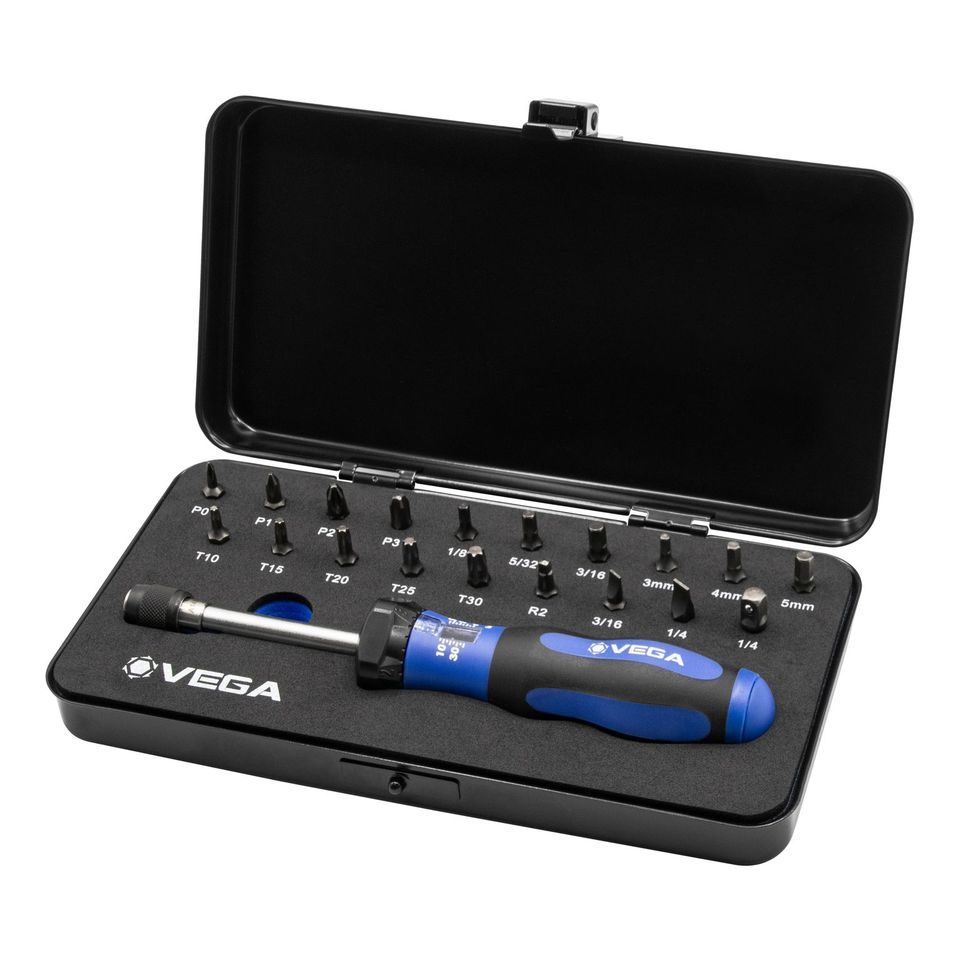
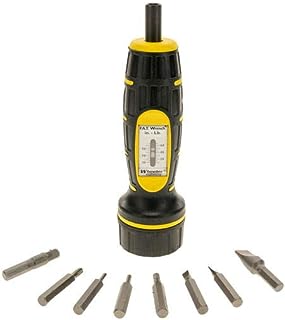
Vega TLS-20 Torque Limiting Screwdriver
Vega Torque Limiting Screwdriver

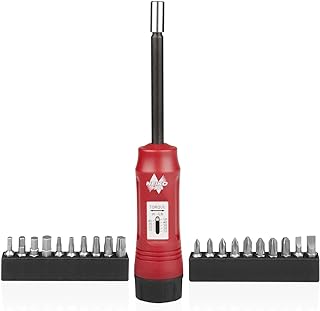
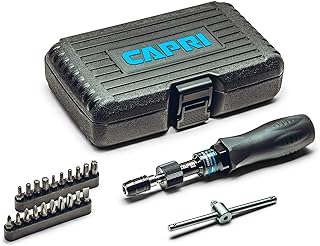
Torque Limiting Screwdrivers On Amazon

Benefits of Using a Torque Limiting Screwdriver

  1. Precision: One of the primary advantages of a torque limiting screwdriver is its ability to deliver precise torque settings. This precision is crucial in applications where specific torque values are essential for the integrity and performance of the assembly.
  2. Consistency: With a torque limiting screwdriver, every screw is tightened to the same torque specification, which improves the consistency of the assembly process and helps maintain uniform quality across multiple products.
  3. Preventing Damage: Over-tightening screws can lead to damaged components, stripped threads, or even breakage. A torque limiting screwdriver helps mitigate these risks by stopping the application of torque once the set value is reached, thereby protecting sensitive materials and ensuring proper assembly.
  4. Enhanced Safety: By controlling the amount of torque applied, these tools reduce the likelihood of accidents caused by excessive force. This is particularly important in high-precision or high-stakes environments.

Applications of Torque Limiting Screwdrivers

  1. Electronics and Electrical Work: In electronics and electrical assembly, components such as circuit boards and connectors require precise torque settings to avoid damage and ensure proper function. A torque limiting screwdriver helps maintain the delicate balance needed for reliable electrical connections.
  2. Automotive and Aerospace Industries: In the automotive and aerospace sectors, maintaining the correct torque on fasteners is critical for safety and performance. Torque limiting screwdrivers are used for assembling engines, chassis, and other critical components where precision is non-negotiable.
  3. Manufacturing and Assembly Lines: On assembly lines, consistency and efficiency are paramount. Torque limiting screwdrivers streamline the assembly process by providing uniform torque across numerous fasteners, which enhances both the speed and quality of production.
  4. DIY and Home Improvement: For DIY enthusiasts and home improvement projects, a torque limiting screwdriver can be an invaluable tool for assembling furniture, installing fixtures, or working with delicate materials. It ensures that screws are neither too loose nor too tight, leading to better results and longer-lasting projects.
  5. Medical Devices and Instruments: In the medical field, precision is crucial, especially when assembling or repairing medical devices and instruments. Torque limiting screwdrivers help ensure that these critical devices are assembled correctly, meeting strict safety and performance standards.

How to Choose the Right Torque Limiting Screwdriver

When selecting a torque limiting screwdriver, consider the following factors:

  • Torque Range: Choose a screwdriver with a torque range suitable for your specific needs. Different applications require different torque settings.
  • Build Quality: Opt for a tool made from durable materials to withstand frequent use and maintain accuracy over time.
  • Calibration: Ensure that the screwdriver is properly calibrated and check for calibration certificates if precision is critical.
  • Ease of Use: Look for a design that is comfortable to handle and easy to use, especially if it will be used frequently.

Top Sellers On Amazon

Top Rated Torque Limiting Screwdrivers On Amazon

Top Rated Torque Limiting Screwdrivers On Amazon

Top Rated Torque Limiting Screwdrivers On Amazon

Top Rated Torque Limiting Screwdrivers On Amazon

Top Rated Torque Limiting Screwdrivers On Amazon

Top Rated Torque Limiting Screwdrivers On Amazon

Conclusion

A torque limiting screwdriver is more than just a tool; it’s an investment in precision, consistency, and quality. By providing exact torque settings and preventing over-tightening, it enhances the reliability of your work and ensures that every assembly is performed to the highest standard. Whether you’re working in a professional setting or tackling a DIY project, incorporating a torque limiting screwdriver into your toolkit is a smart choice for achieving exceptional results.


61abIkI5AbL._SL1280_-e1709347503119.jpg

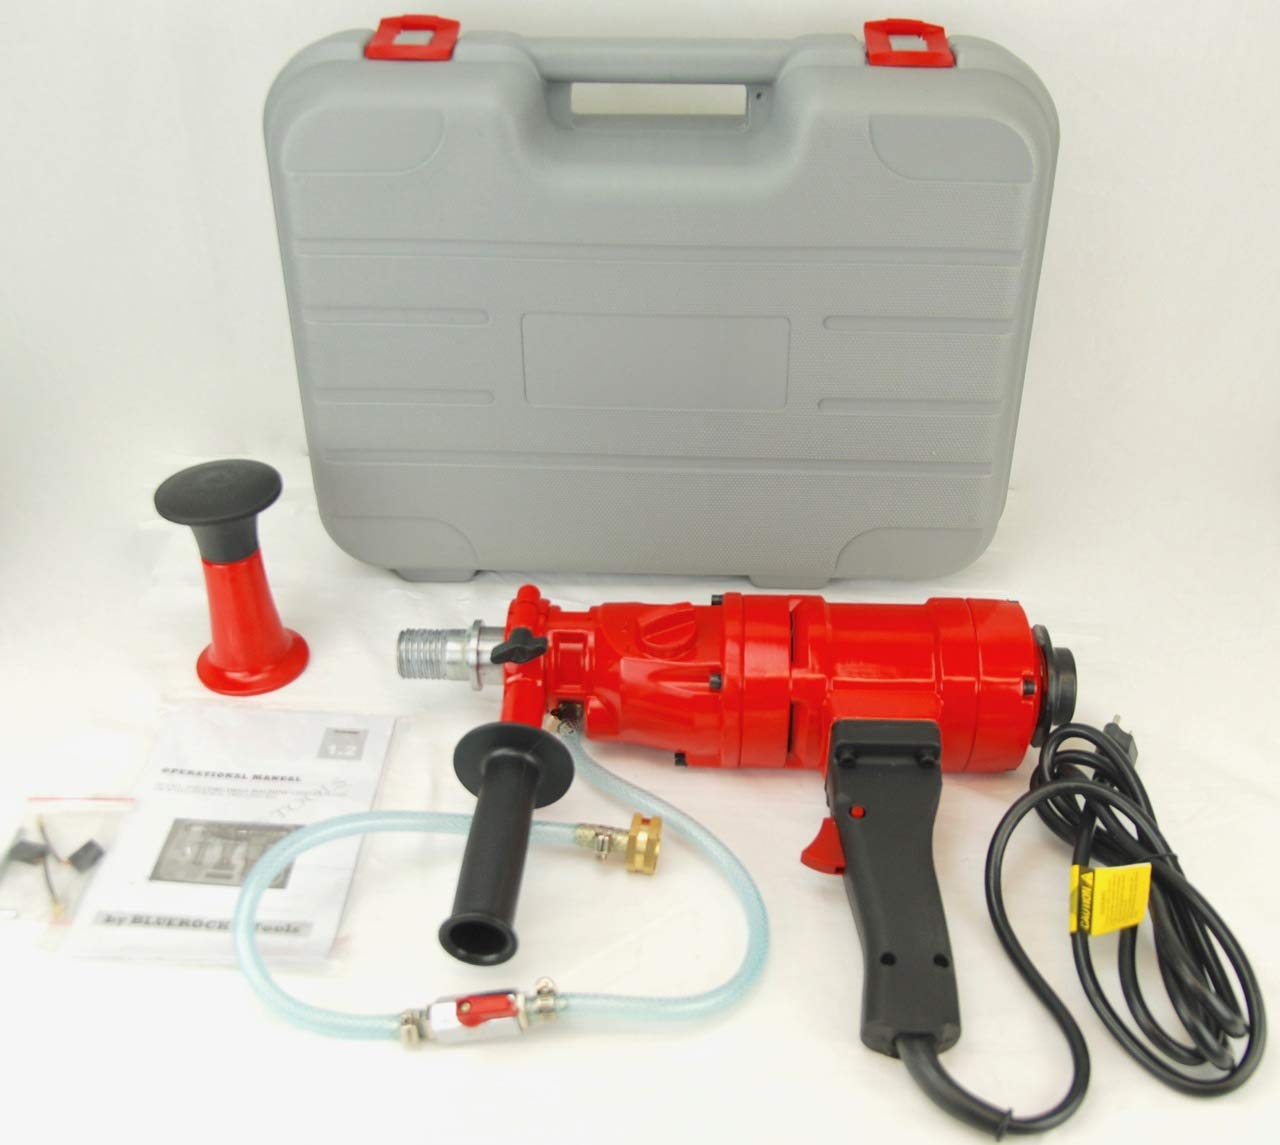
This post will hopefully help you decide  if a core drilling machine is a tool that you should add to your arsenal.  There are a few different types and sizes of core drilling machines.  We are going to take a look at hand held units but the principles will apply to any size core drilling machine you may be considering.  When you need to diamond core a hole in masonry material, you have a a couple of choices.  You core it yourself or you hire it out.  While there are some benefits to hiring it out, you may find in your case, that you may come out ahead, way ahead by owning even a very basic hand held core drilling machine.  Let’s take a look at a very affordable unit from Blue Rock Tools as an example.

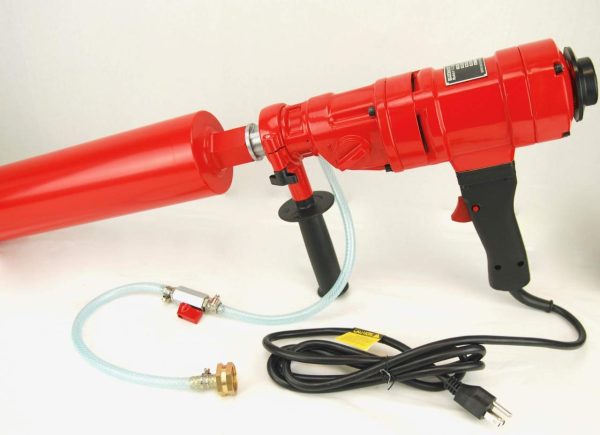
Blue Rock Hand Held Diamond Core Machine

See Price On Amazon

Blue Rock Hand Held Core Machine

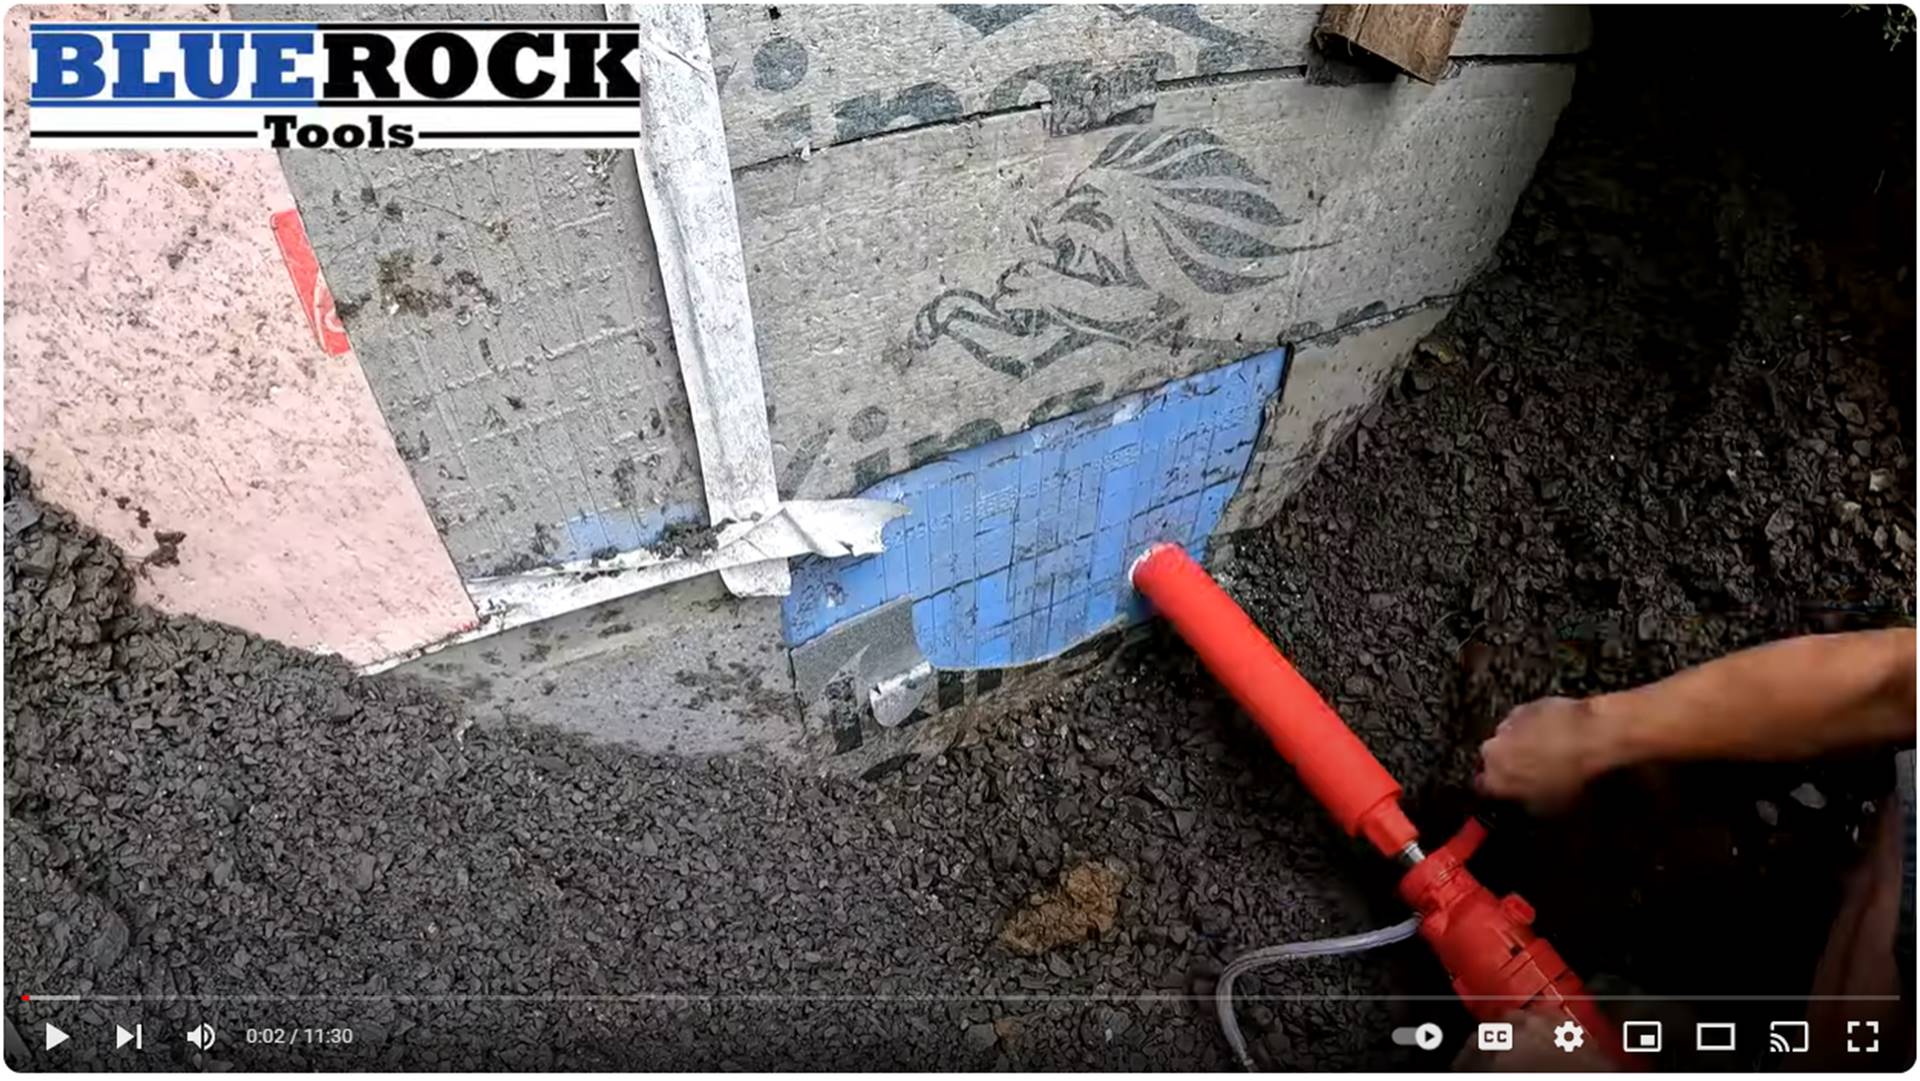
The Blue Rock Tool hand held core drill machine, model number 4Z-1, is a great example of a low cost unit.  As with most hand held units it is meant to hand diamond cores up to 4″.  If you need bigger holes, you really need to look at a drill rig that either bolts to the concrete with anchors or uses a suction device.  The 4Z-1 uses industry standard 1-1/4″ thread diamond core bits and has a water attachment.  It has two speeds, 2100 RPM and 950 RPM.  A built in safety clutch protects you and the machine if you bind up the core.  A couple of little things I thought were cool were the removable shoulder stock and the bubble level on the side of the unit to keep you hole level.  Reviews really are pretty good for the tool.  Most agree it’s well worth the price. But the real point of featuring this core drill machine is to show drilling your own core holes can really save you money in a couple of ways.

Saving Money By Coring Your Own Holes

See Video On Amazon

So can you save money coring your own holes?  Yes!  Considering having a couple of core holes drilled would likely cost you a couple hundred bucks or more.  If you can drill 5 or 6 hole in a month or two, the unit is paid for.  If you need a bunch of holes cored, you will likely be able to get a better price per hole, however, often times, you only need 2 or 3 holes.  The second thing to keep in mind is if you are coring your own holes, you can do it now rather than setting up with another contractor and working with their schedule.  I think this actually gets to be one of the biggest plusses of having your own core drilling machine.  Now I am sure that if you are a core hole drilling contractor you can make some great arguments as to why you should hire them out instead of doing it yourself.  As matter of fact if you are a diamond coring contractor, you may be steaming right now.  In fairness, let’s take a look at a few reasons you may hire a professional at  times.

Benefits Of Hiring Out Your Core Drilling

One  instance where you would really benefit from a pro is drilling in post tension concrete.  Post tension concrete has cables embedded in the concrete under tension and if you hit one, you have big problems.  A pro can X-ray the slab to find the cables and drill safely.  Another advantage is if the diamond core bit gets damaged for any reason, it’s their bit not yours!   Good quality diamond bits are spendy.  A pro also has the ability to core some pretty big holes with their drill coring machines.  I have seen some huge bits on the job!  A coring contractor will also have more than one unit so if they have an equipment issue, they know how to keep the job moving.  And I don’t care how smart you are, a pro will know more about diamond coring.  You just can’t beat experience.

Final Thoughts On Buying A Core Drill Machine

So there are a few things for you to think about if you are looking at a core drilling machine.  Consider how often you could use it and if you can pay it off on a couple of jobs it may be worth it.  Consider the hole sizes you drill, how many you drill on a job and what type of application you have.  Don’t hesitate to use a pro.  They know what they are doing and it may be a better fit for you.  Or, get a core drill machine for smaller easy jobs and set up with a reliable pro and you will have all your bases covered.


s-l1600-1.jpg

My son has loved building Legos since he was a kid.  I have loved the Concorde passenger plane since I was a kid.  So when Lego introduced the Concorde kit (#10318) in their ICON series, I had the perfect plan. I would buy the set, my son would love to build it and I would have an awesome display piece in my office.  I am here to tell you that the plan worked perfectly and we were both extremely satisfied with the Lego Concorde set.

Lego Concorde 10318

Available On Ebay Now!

Lego 10318 Concorde Specifications

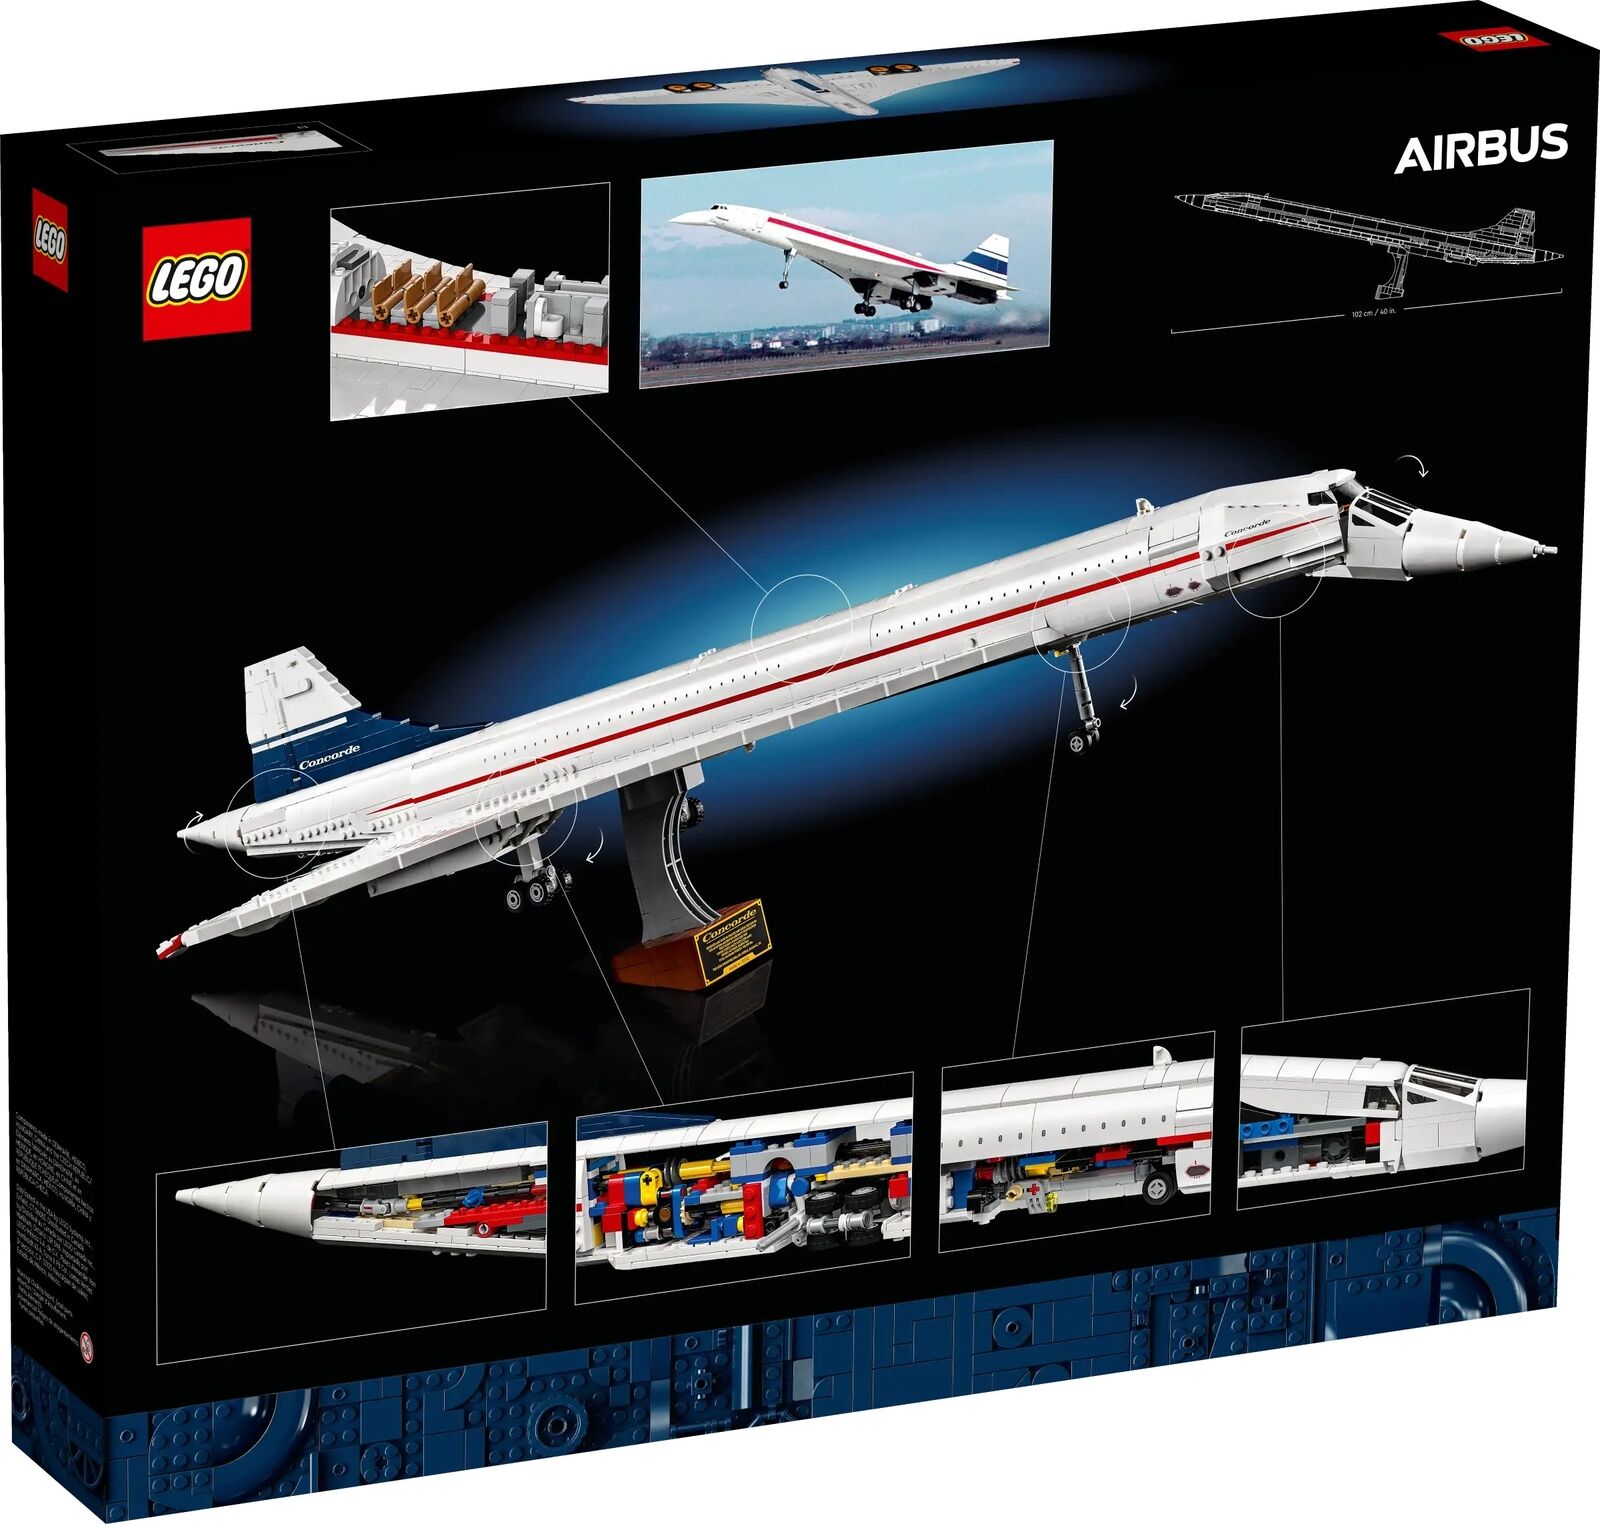
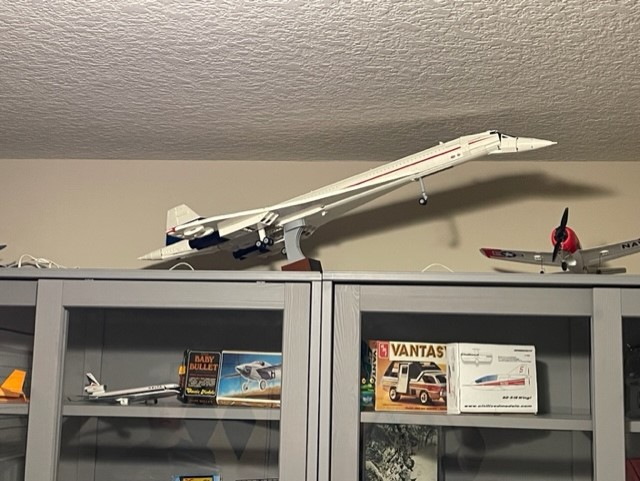
The Lego Concorde is a massive kit.  It has 2038 pieces total.  My plan was to fit it in my display case.  I should have measured first!  Length is 42″, wingspan is 17″ and height is 6″.  So, it ended up displaying on top of my display cabinet, which is fine.  It almost touches the ceiling but it fits and looks so cool.  The instruction booklet is more like a small catalog, about 1/2″ thick or so.  My son is mid 20’s and build time was under 7 hours.  He actually built it in just 2 or 3 sittings.  Once he get’s going on these things he is committed.  He raves about the build and the kit specific parts.  The display stand is well built and holds the model securely if you choose to use it.

Right Now on eBay 
Clicking a link to eBay may result in a referral commission being paid if a purchase is made.

Loading…

Right Now on eBay 
Clicking a link to eBay may result in a referral commission being paid if a purchase is made.

Loading…

A Couple Of Cool Features On The Lego Concorde

The Lego Icon Series Concorde has a few cool details you will want to know about.  First, it wouldn’t be the Concorde with out the droop nose.  The real Concorde would droop the nose so the pilots could have better vision while maneuvering the aircraft on the ground. You will note in my picture that I have the nose drooped while the plane is in flying position.  Let’s just call that artistic license, the nose can be moved to up or down positions.  The landing gear retracts by turning the tail cone.  Again another great bit of engineering that makes the Concorde set so neat.  You can remove a section of the fuselage to reveal a few seats as well as the lavatory.  It’s little things like these that what make Lego Lego.  An after market feature you may consider is a lighting kit available on ebay.  I haven’t added one yet but I just might!

Simply Put The Lego 10318 Concorde Is A Great Kit

Simply put, the Lego Icon Series Concorde, kit #10318 is just as advertised, an Icon.  Not only is the build a rewarding experience but you will end up with a real statement piece to do display.


gopher-pole.jpg

If you are looking for a Gopher pole, use the one that is the choice of installers and has been for decades.  The  90520 Gopher pole made by SECO.  I have been selling power tools and fasteners to the trades since 1995 with a large customer base in the voice and data cabling field.  This is the gopher pole of choice!  The pole has been a little harder to come by over the years as some of the big suppliers have made it a secondary offering of Gopher poles.  I still have customers ask me “do you guy’s stock that white gopher pole?”.   No doubt this is still the tool of choice

Crain 90520 Gopher Pole

FREE SHIPPING!

Stats Of the Crain 90520 Gopher Pole

Even though the pole is heavy duty, it is still lightweight coming in at just 4 pounds.  Collapsed the pole is 52” but can telescope out to a full 22’ feet.  That’s where the light weight of the Crain Gopher Pole really shines.  It’s simply so much easier to handle when you are pushing and pulling poles over long spans.  The diameter of the pole is 2” so it fits your hand as well as into tight spaces.  The rigid white fiberglass is super durable, and it will serve you for years

Fully Assembled

The SECO 90520 Gopher Pole is fully assembled.  While some gopher poles have special interchangeable ends, which no doubt have their place, the Crain gopher pole doesn’t have different pieces to keep track of.  The pulling end of the pole has a metal hook that you can form if need be or tape your cable to if you prefer.  There is also a ring you can tie your cable or pull string to as well.

Where To Buy The Crain 90520 Gopher Pole

As mentioned earlier, the pole has become harder to find.  Buy it here with free shipping!   Again, if you are looking for the Gopher pole of choice that will serve you for years, the Crain 90520 is my recommendation.


713MDfCndL._AC_SL1500_-1280x842.jpg

A drill impact combo kit is a versatile powerhouse that every DIY enthusiast and professional tradesperson should consider adding to their toolbox. Combining a cordless drill and an impact driver, these kits provide the essential tools needed for a wide range of tasks, from drilling holes to driving screws with precision and ease. With numerous options available on the market, choosing the right combo kit can be a daunting task. In this article, we’ll help you navigate the choices by presenting some of the best drill impact combo kits that cater to various needs and budgets.  Why do you need a combo of the the two tools?  In a nut shell, the impact is best at installing and removing fasteners.  The drill is better at doing just that, drilling.  Some of the drill are hammer drill which may be of use for Tapcon screws and other masonry applications.  Once you have them both, it will be very clear why you want both!

DEWALT DCK240C2 20V MAX Combo Kit

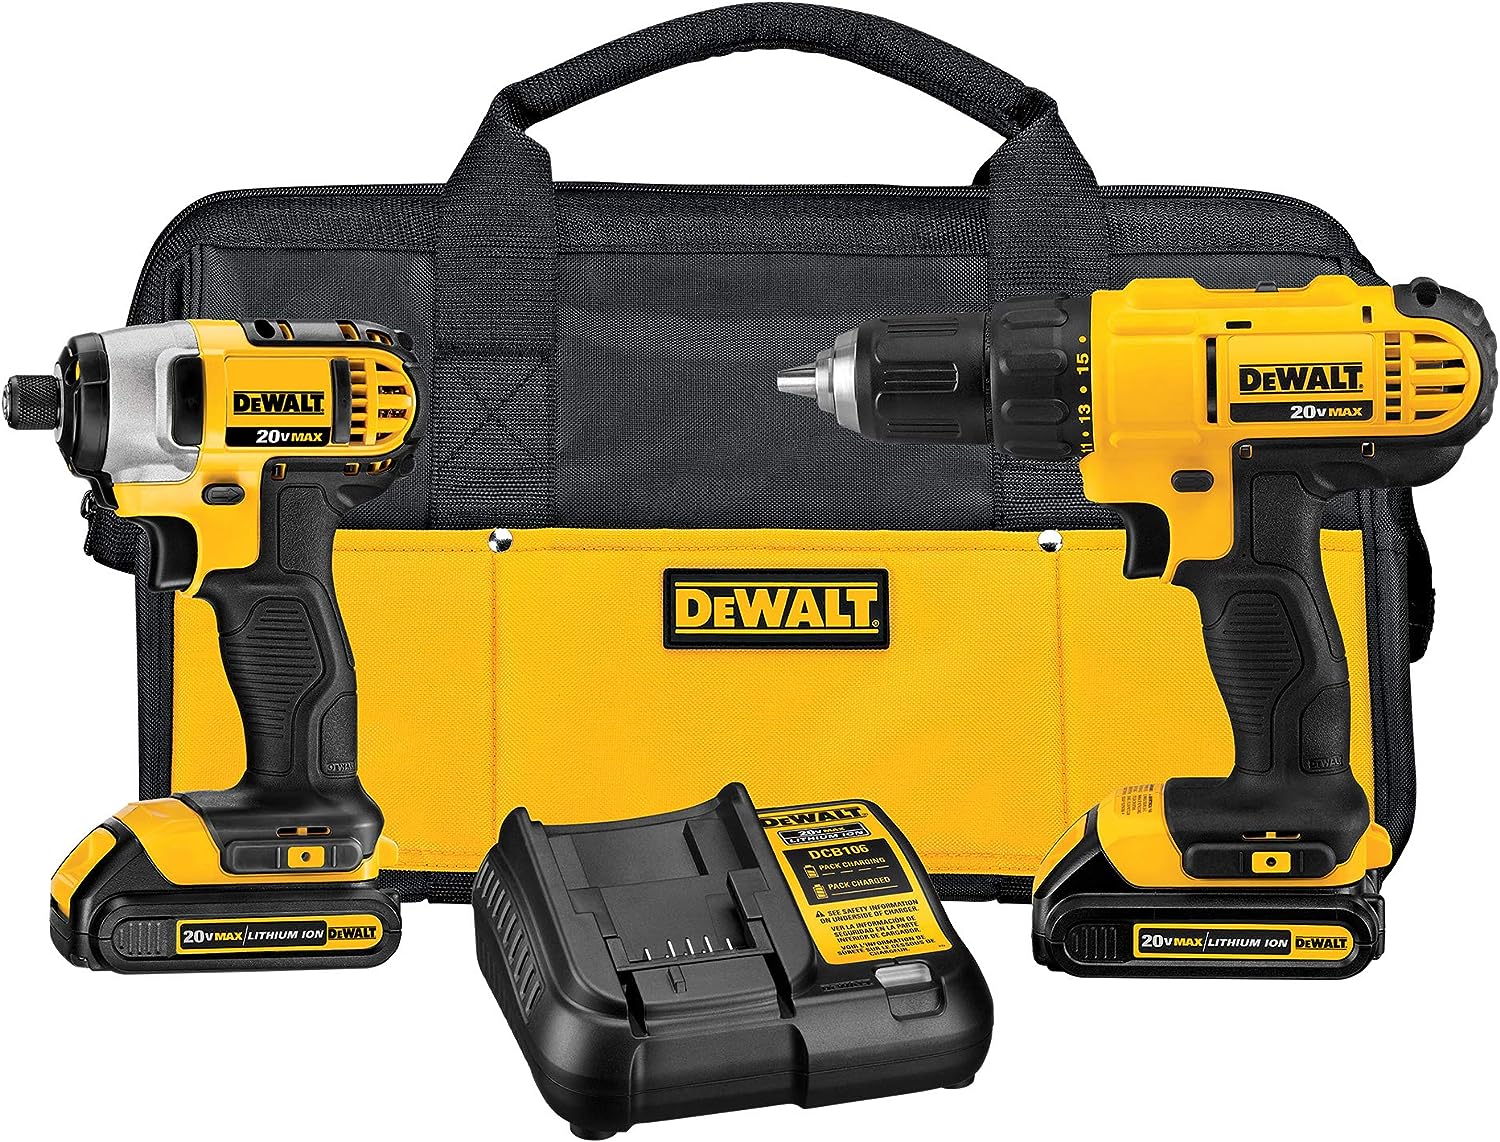
Dewalt impact combo

DEWALT DCK240C2 20V MAX Combo Kit

DEWALT is a trusted name in the world of power tools, and their DCK240C2 combo kit lives up to their reputation. This 20V MAX combo kit includes a drill/driver and an impact driver, both featuring compact and lightweight designs. The drill offers two-speed settings for versatility, while the impact driver delivers impressive torque for driving screws and fasteners effortlessly. The kit comes with two lithium-ion batteries and a charger, ensuring you’re always powered up for your projects.

Makita XT269M 18V LXT Combo Kit

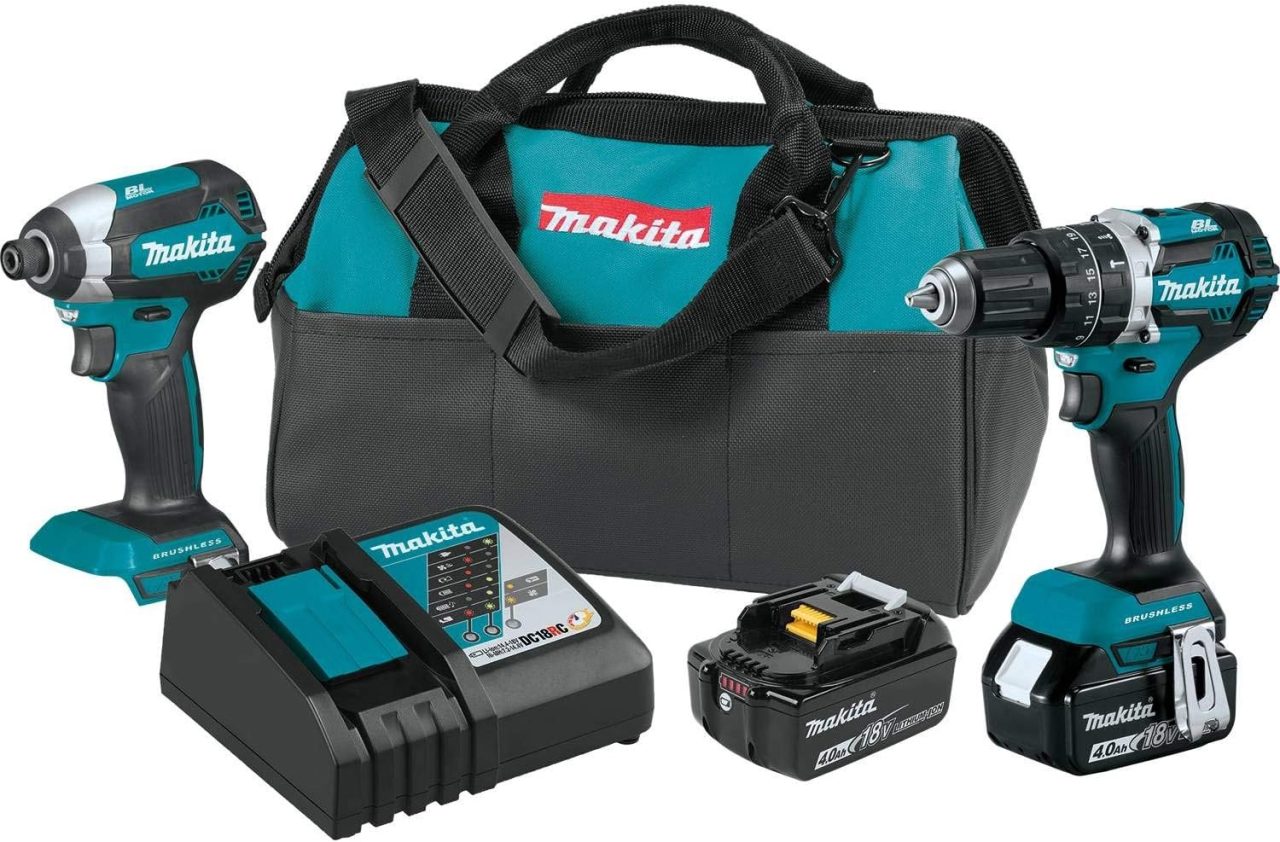
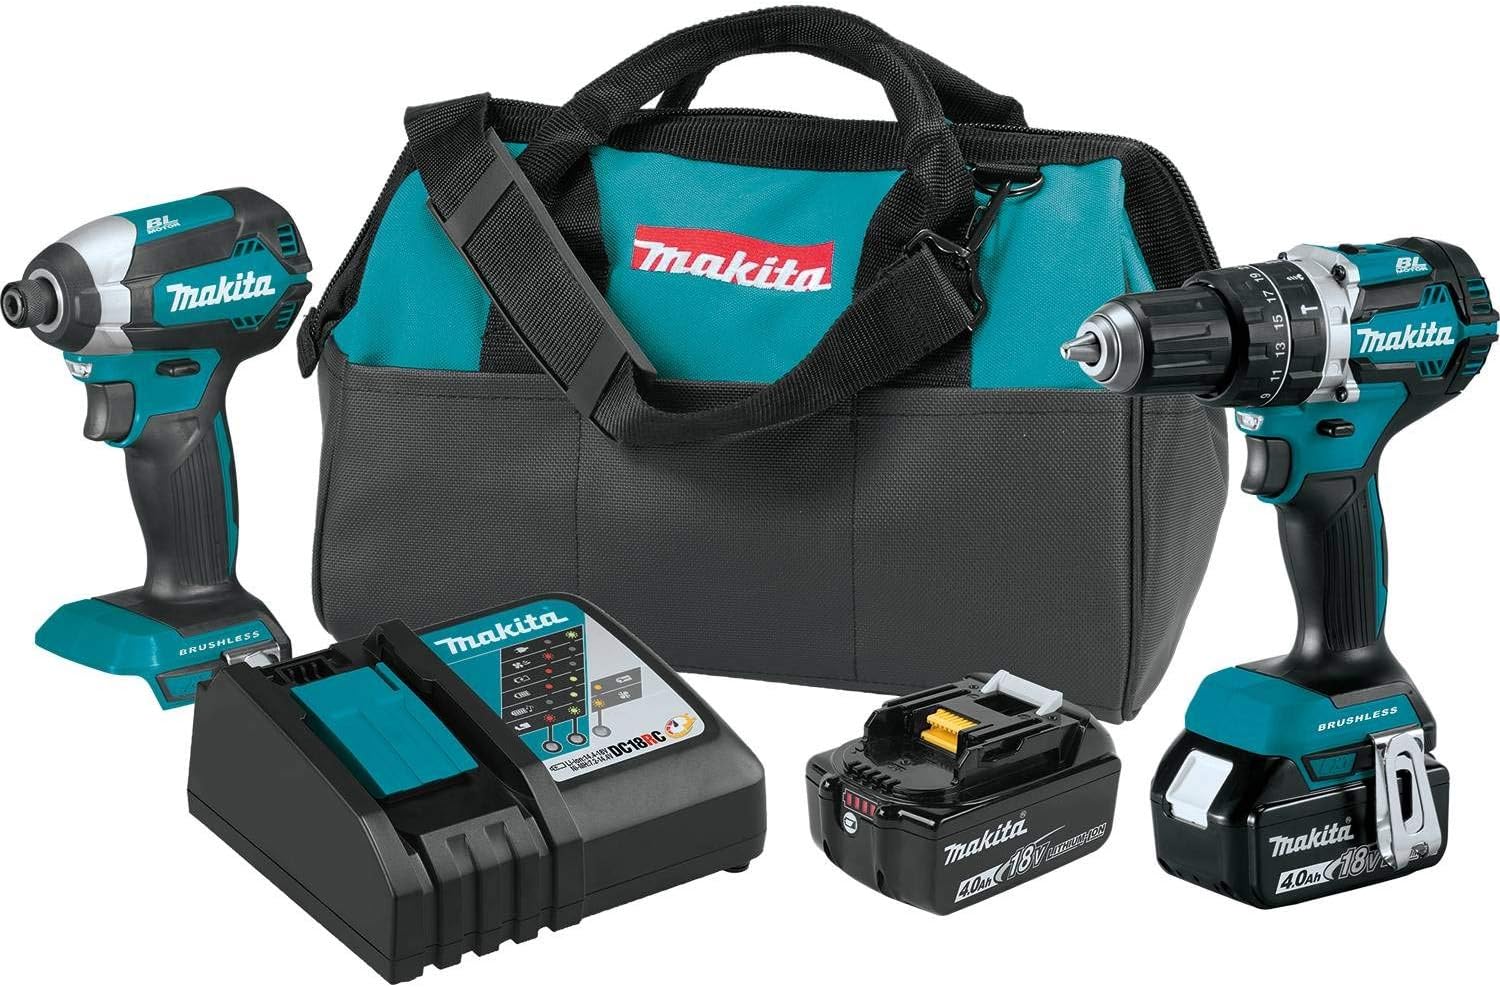
Makita XT269M

DEWALT DCK240C2 20V MAX Combo Kit

Makita is another well-respected brand known for its quality tools, and the XT269M combo kit doesn’t disappoint. This 18V LXT kit includes a hammer drill/driver and an impact driver, both powered by Makita’s efficient brushless motor technology. The brushless motors offer longer runtime, increased power, and longer tool life. With the included rapid charger and two 4.0Ah batteries, you’ll spend less time waiting for your tools to charge and more time working.

Milwaukee 2997-22 M18 Combo Kit

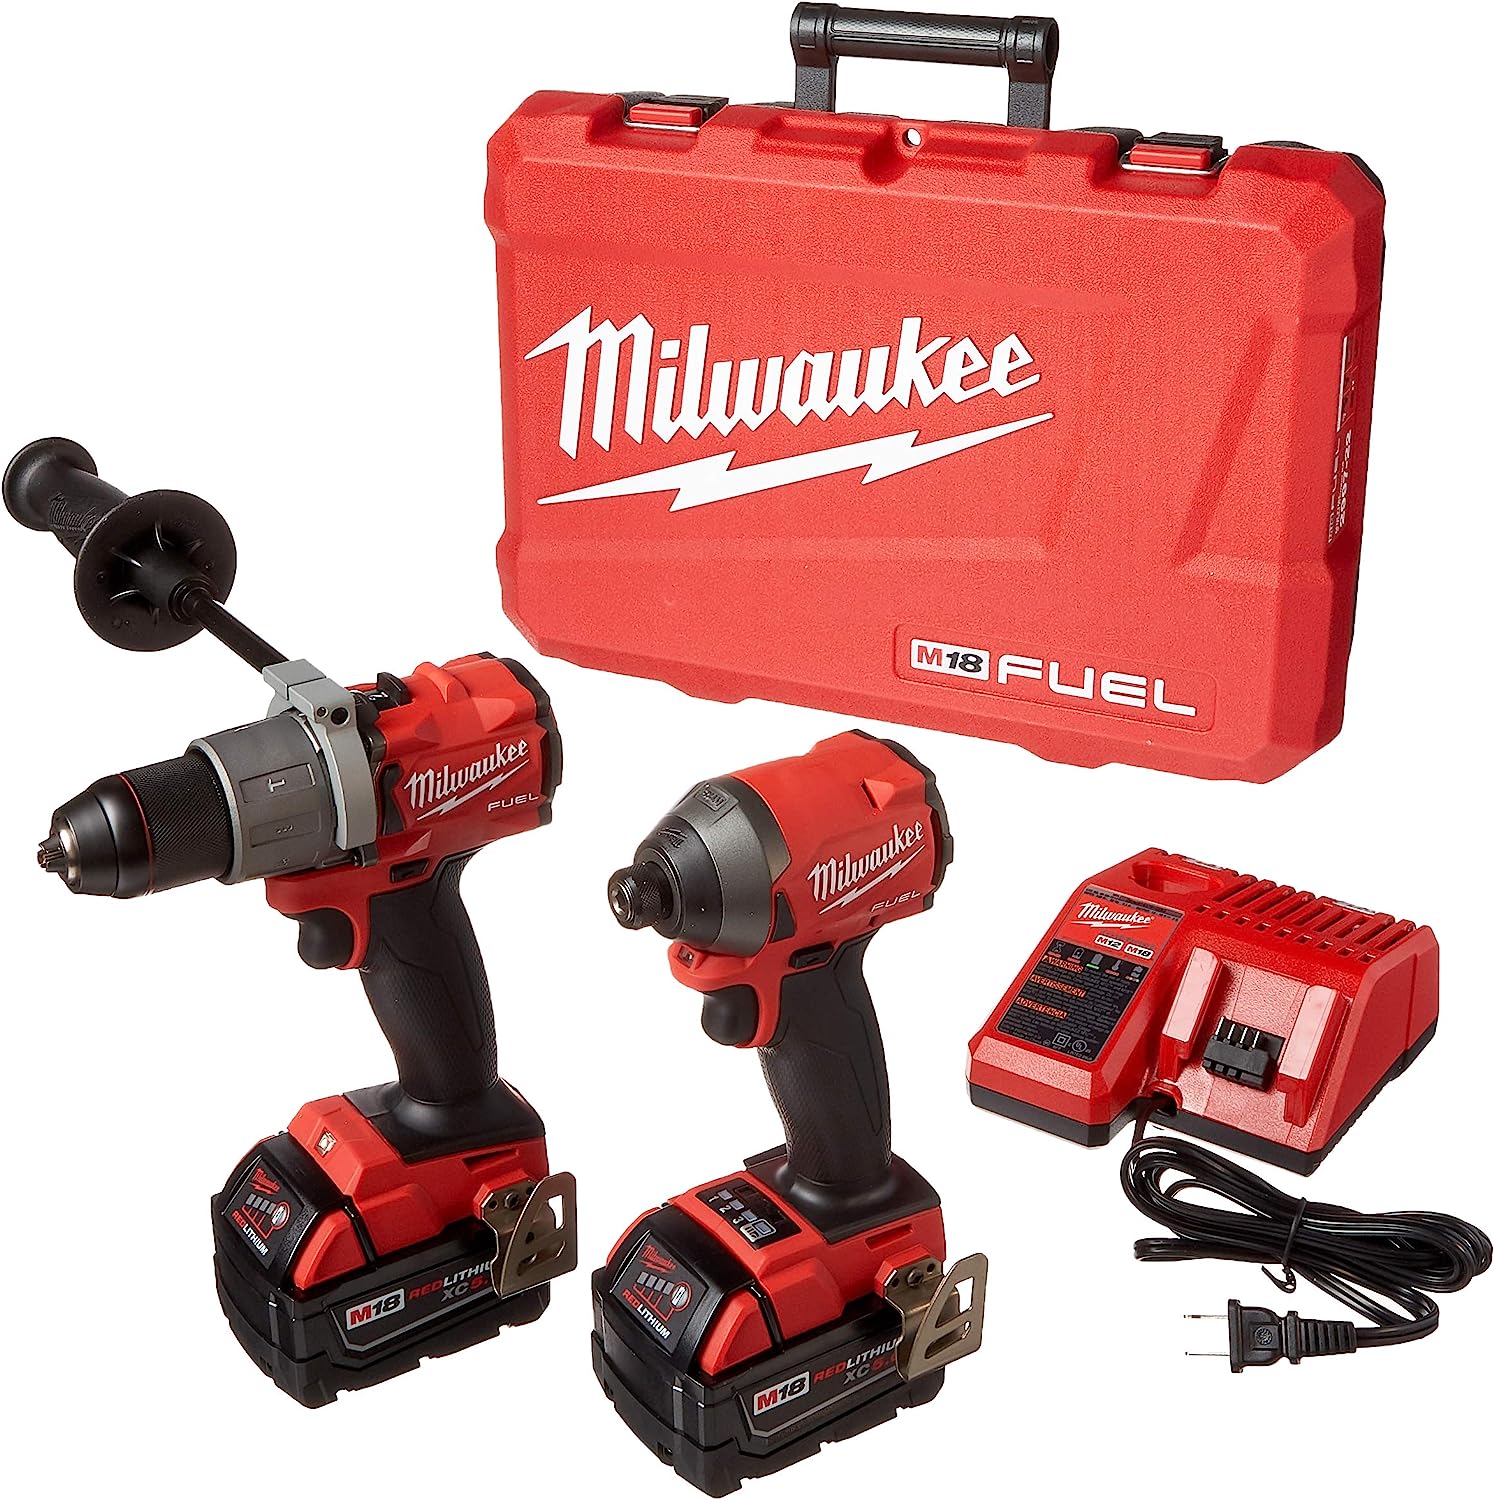
Milwaukee 2997-22 M18 Combo Kit

Milwaukee 2997-22 M18 Combo Kit

Milwaukee’s M18 combo kit, model 2997-22, is designed for professionals who demand top-tier performance. It features an M18 FUEL hammer drill and an M18 FUEL impact driver, both equipped with brushless motors for maximum efficiency. These tools are built to tackle even the toughest tasks with ease. The kit includes two high-capacity 5.0Ah batteries, ensuring extended runtime, as well as a rapid charger and a sturdy carrying case.

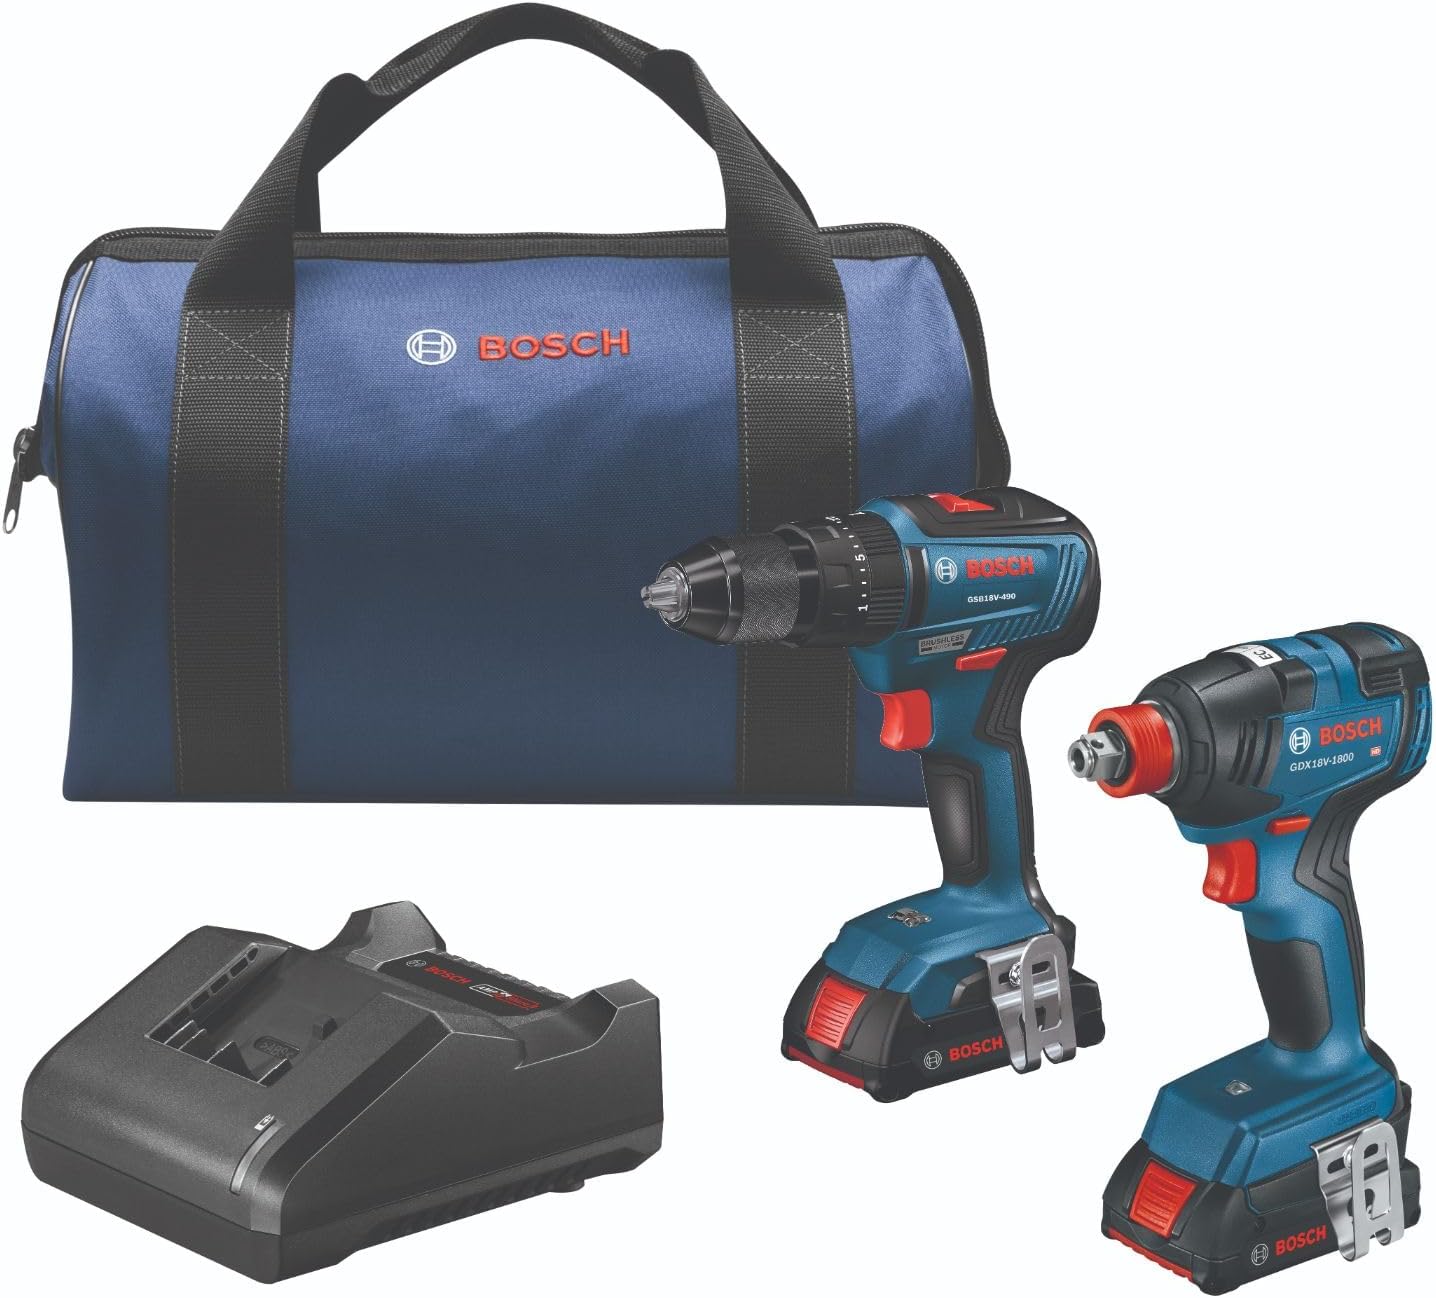
Bosch GXL18V-240B22 Combo Kit

BOSCH GXL18V-240B22 18V 2-Tool Combo Kit

BOSCH GXL18V-240B22 18V

The Bosch GXL18V-240B22 combo kit is an excellent choice for those seeking quality and reliability without breaking the bank. This kit includes a 18V drill/driver and a 18V impact driver, both designed for efficient performance and comfortable handling. The tools are backed by Bosch’s Electronic Cell Protection technology, which protects the batteries from overload, overheating, and deep discharge. The kit comes with two 2.0Ah lithium-ion batteries and a charger.

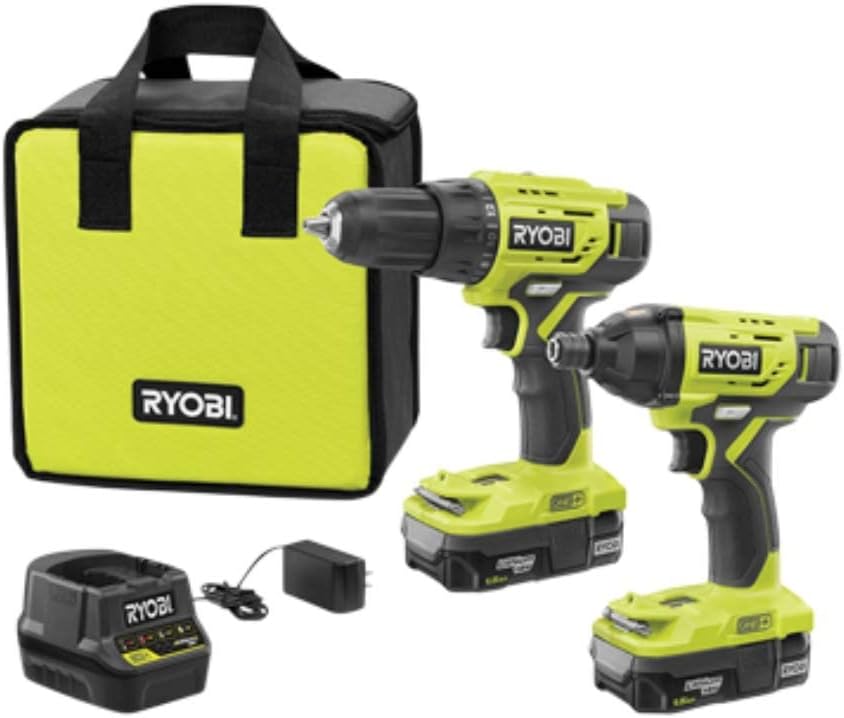
Ryobi P1817 18V ONE+ Combo Kit

Ryobi P1817 18V ONE+ Combo Kit

For budget-conscious DIYers who still want a reliable combo kit, the Ryobi P1817 18V ONE+ kit is a solid choice. This kit includes a drill/driver and an impact driver, both compatible with Ryobi’s ONE+ system, which means you can use the batteries with other ONE+ tools. While not as powerful as some of the higher-end models, this combo kit provides decent performance for most common tasks. It comes with two 1.5Ah batteries and a charger.

Choosing the Right Combo Kit

So, which is the right tool.  I really don’t think you can go wrong with any of the tools.  The biggest consideration in my opinion is what I have for tools now.  You will see that is the first consideration listed below.  If you have a blank slate so to speak, check out the breadth of each tools cordless line up and see if of them offers a must have tool.  So, consider the following factors:

  1. Battery Platform: If you already own tools from a specific brand that uses a common battery platform, it may be wise to stick with that brand for compatibility.
  2. Power and Performance: Evaluate the tools’ power and performance based on your intended applications. Professionals may require more powerful models, while DIYers may find value in budget-friendly options.
  3. Ergonomics and Comfort: Comfortable grip and ergonomic design can significantly impact your work experience, especially during extended use.
  4. Included Accessories: Assess the kit’s contents, such as the number and capacity of batteries, charger quality, and any additional features like LED lights or belt clips.

Conclusion

Investing in a high-quality drill impact combo kit can greatly enhance your efficiency and productivity, whether you’re working on DIY projects or professional construction tasks. The choices listed above offer various features and price points, allowing you to find the best combo kit that suits your specific needs and budget. Remember to consider factors like battery platform, power, ergonomics, and included accessories to make an informed decision. With the right combo kit in your hands, you’ll be ready to tackle any drilling or driving challenge that comes your way.

Untitled-design-6.jpg

I have been selling nuts, bolts and fasteners for almost 30 years.  For the most part our fasteners are 1/4-20 through 1-8 coarse thread fasteners so matching thread is usually pretty straightforward.  However, from time to time a customer comes in with a fine thread or maybe a metric that I will have to order in for them and the guessing game starts.  I had a plastic gauge that you could match the thread up with but it wasn’t always easy to get the correct match.  Plus if you had a nut, there wasn’t a way to match up the threads.  Recently I had a customer come in with a bolt that I wasn’t sure if it was metric or fine thread.  So finally after almost 30 years, I decided to do this the easy way.  I ordered a thread finder set from Amazon.  And what do you know, I used it 3 times in the first week or two!  It now hangs on my showroom wall and it not only makes my job easier but helps me take better care of my customers.

Thread finder for nuts and bolts

Fast Delivery From Amazon

The Bolt/Screw Thread Finder I Ordered

There are several thread size finder for nuts bolts and screws available on Amazon.  I chose one that has both standard and metric thread.  The one I chose has a male and a female end so finding thread size on either a bolt or nut is super easy.  The set has both metric and standard threads and are clearly marked.  The gauges are all strung together on a cable with a loop on either making it easy to hang on your wall for easy access.  They are also available in a few different sizes so if you typically using just smaller bolts and screws the 26 piece set would do well but they also offer a 34 piece set as well as a 44 piece set.   The standard are in a chrome finish and the metric is in a black finish.
Why A Thread Finding Gauge Is Worth It

I can justify the price of a thread size gauge with one word, time.  And I am not just talking about the ability to get correct thread size in a few seconds.  Consider a real life example.  You are mounting a mounting a television and you need longer screws to screw into the back of your tv.  So you take a guess, drive to the hardware and grab a few screws.  Ooops, close but not right, they must be metric.  Back you go and try again.  You get the idea.  No consider you may have to order the screws online.  Wouldn’t it be nice to get the right one the first time?  In my opinion having the gauge finder is money well spent.

How To Measure Bolt And Screw Length

Now that we have the correct thread count, here is how to get the correct length of a screw or bolt.  The length of hex bolts and screws as well as pan head and roundhead bolts and screws are measured from underneath the head.  Counters sunk (flathead screws) are measured from the top of the screw.  So with the the help of your thread finding gauge and knowing how to correctly measure length, you can order up the correct screw first try!


cordless1214impactdriver18vboschGDX18V1800lag2.png

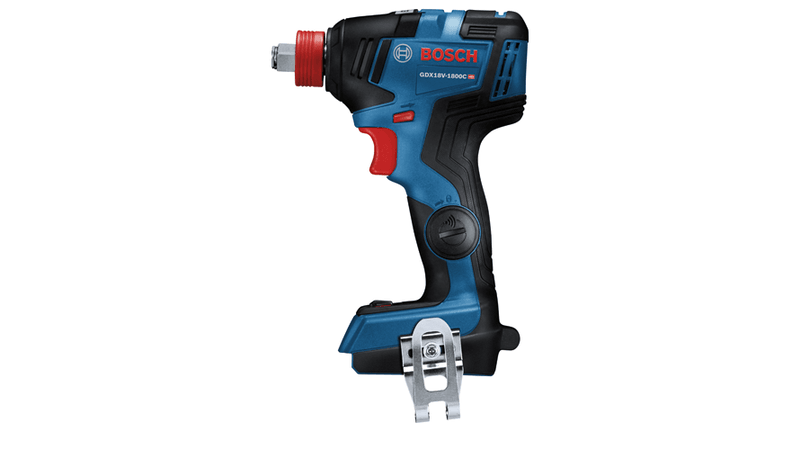
The Bosch GDX 18V EC  impact driver is a great choice for an 18V impact driver.  I want to share a few features of the tool that are unique to Bosch, one in particular that I really like that simply isn’t on  any other 18V impact drivers.

Check Price On Amazon

My Favorite Feature The Bosch GDX 18V EC Impact Driver

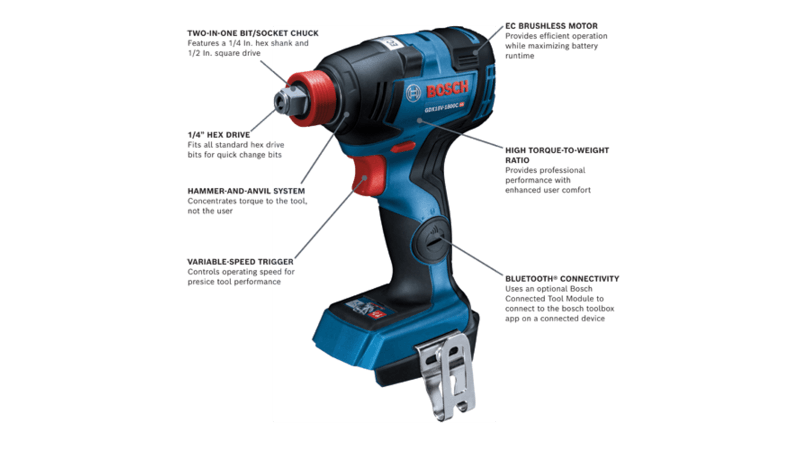
Usually I like to save what I think is best until last but I want you to consider what I think is one of the standout features of the Bosch GDX 18V EC, the 2 in 1 bit socket driver.  While most impact drivers use a ¼” hex chuck for nut setters, the Bosch has a ¼” chuck socket for that but it also accepts ½” sockets.  This is currently the only impact on the market that does both.  So what does that mean to you?  That means you can use the ¼” drive nut setters that most of us have laying around, usually ¼”, 5/16”, 7/16” & 3/8”.  It also means you now can use your standard ½” drive sockets from your ratchet set.  That includes all the sizes, standard and metric, standard and deep sockets, swivels and extensions.  You can do all of this without having to use an adapter.   One real problem with socket adapters is that you still have a very thin shank on the ¼” shank so with larger bits, adapters can easily snap.  And I don’t know about you but where did I put my adapter.   That is why I think the 2 in 1 chuck of the Bosch GDX18V is the most important feature.

Click Images To Check Current Price On Amazon

Specifications For The Bosch GDX18V EC

Ok, so here is the technical information from Bosch that shows that the tool isn’t just a clever idea, it’s built to work.  First off, what does the EC stand for?  EC stands for electronically controlled brushless motor.  While brushless motors have been the norm for some time now on impact drivers, it’s nice to know you have the power and speed.    As for power, you are looking at 1,800 inch pounds of torque.  I have never played with the feature but if you want you can download the app and fine tune the tool.  The chart below covers the specifications of the tool.  Please note that there is also versions of the tool that are Bluetooth enabled if you are interested.  These will have “connected” in the name.  A separate module must be purchased separately.  I can live without the Bluetooth.

Specifications
  • Lithium Ion Battery Powered
  • 1/4″ Hex + 1/2″ Square Drive
  • Height in 8.2″
  • Length in  5.8″
  • No Load RPM  0-1,100 / 0-2,300 / 0-3,400
  • Forward & Reverse
  • Torque 1,800 (in. lbs.)
  • Variable Speed
  • Weight 2.6lb
  • Width in               3.0″
  • Works With Bosch Bluetooth® Connectivity Module GC42

Check Current Price On Amazon

Check Current Price On Amazon

What Is Included With The Bosch GDX18V EC Tool

The GDX18V EC is available in several configurations including a bare tool that just has the tool, a few bits and a belt clip.  From there you can find it with different capacity batteries, all 18V chargers and a case as well as a few nice combo kits.  To make the tool even more valuable, the tool has a 5 year warranty on the tool and the batteries and chargers have a 3 year warranty.  You will need to register the tools with Bosch but that is super easy and well worth it.

If you are looking for an 18V impact driver, the Bosch GDX18V EC deserves at least a look.  If you already have Bosch 18V tools, it’s a no brainer.  If you don’t, well, maybe a nice little combo kit with impact driver will make you a died in the wool Bosch fan.

Bosch GDX18V EC

Click For GDX18V EC Manual


31w5xHqugyL._AC_SL1000_.jpg

If you have just a little bit of framing to do in your basement and you hate the idea of drilling in the concrete with a hammer drill and using Tapcon, the Ramset HD22 single shot powder actuated tool may be an option for you.  This is an inexpensive tool readily available on line that will fasten your 2×4 to concrete quickly and safely.  Here is what you need and how to do the job with the HD22.  Please note the tool is also known as the ITW Ramset 00022 HammerShot.  Search either one on Amazon and you will find them.

RAMSET HD22

Check Price On Amazon

Check Price On Amazon

What You Need To Fasten 2 x 4’s To Concrete With The Ramset HD22

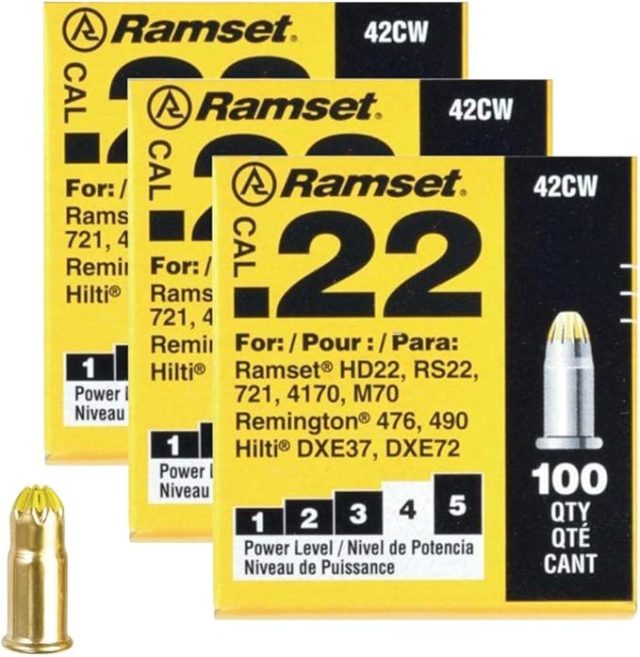
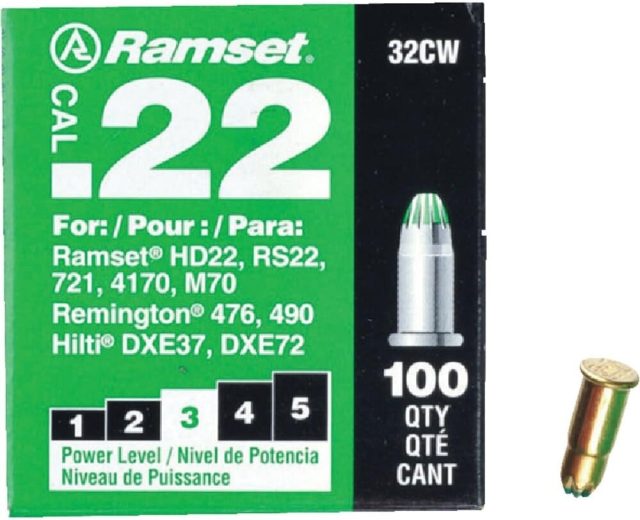
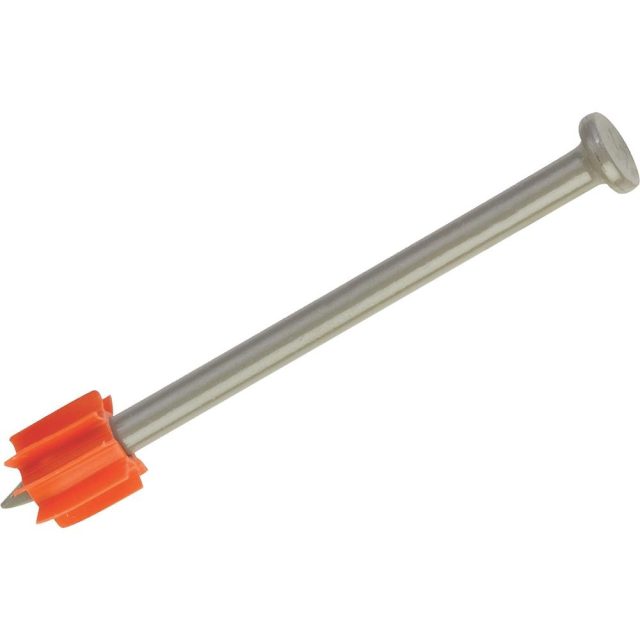
Well of course first thing you need the tool.  After that, you will need to select the proper pin for you application.  If you are shooting down 2x material to concrete, you will use a 2-1/2” pin.  If the lumber is treated, make sure you use the Ramset 1516SDE nail as the chemical treating can interact with a standard pin.  For loads, you have 3 power levels to choose from.  Starting with the lowest level you have brown, green and then yellow.  The idea is to start with the lowest power level and work up to the level required.  If I could only pick one load, it would be yellow and then probably green.  You will also need a hammer to actuate the tool.   Two very important things that many times get overlooked are safety glasses and hearing protection.  Please don’t overlook either of these!  Technically, you need complete a simple online license test.  It’s very simple and easy but I am pretty sure not many DIY are doing it.  But now you know.  Here is the link  for Ramset Licensing.

Get What You Need On Amazon Click Image

RAMSET HD22

Ramset Nails For 2x

The Process Of Fastening The 2 x 4

The fastening process is fairly straight forward.  I was always taught load the nail first then add the charge.  The official video shows load the charge first and then the pin, the manual shows nail first and then load the charge.  Well, I was a certified Ramset instructor for years and we always taught nail first then the power load.  I would rather load the nail in the end of an unloaded tool than vice versa.  Now position the tool on your work surface and strike the end of the end of the tool deliberately.  Bang you are done!

The Ramset HD22 (again also known as ITW Ramset 00022 HammerShot) is a tool designed for limited use.  You won’t find replacement parts for the tool but the cost is so low that if you just need it now and then it may be the right tool for you.  If you do basement framing on a routine basis, consider stepping up to a semi-automatic tool that uses a 10 shot strip of loads and has replacement parts available for faster fastening and longevity.

Ramset HD22 Hammershot Manual


TOOLANDPROJECT.COM

Tools, projects, fun.

WWW.TOOLANDPROJECT.COM

contact@toolandproject.com

blogging

From MN