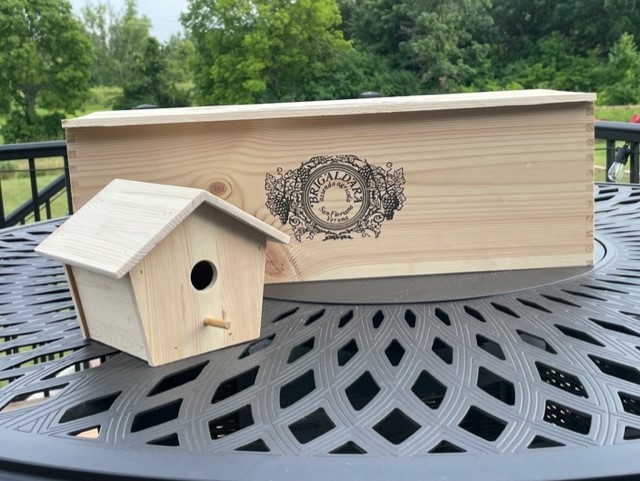
This post isn’t as much about building a birdhouse as it is about utilizing an old wine crate for the lumber. A few months ago I was at total wine and they had a few wood wine crates in the stack of boxes. Boxes are free but the crate was $3 I think. I have used wine crates in the past for wall hangings and shelves so I thought I would grab one and make something out of it. So today I was bored and wanted to try out my new table router so I went about building a small decorative birdhouse. I didn’t have any plans but had thoughts of how big it should be and what shape and so I had at it. I ended up making this cute little bird house using the lid and half of the bottom of the crate. What I like about the wood in wine cases is that it’s usually super dry, relatively clear and any knots are usually pretty solid. The wood is around 5/16” or so not as clunky as ¾” pine. It’s easy to cut and sand and the price is right. I started by pulling the nails of the lid to make sure I didn’t bump them with my saw. The bottom was stapled so I knocked the bottom out and then cut off the areas with the staples.
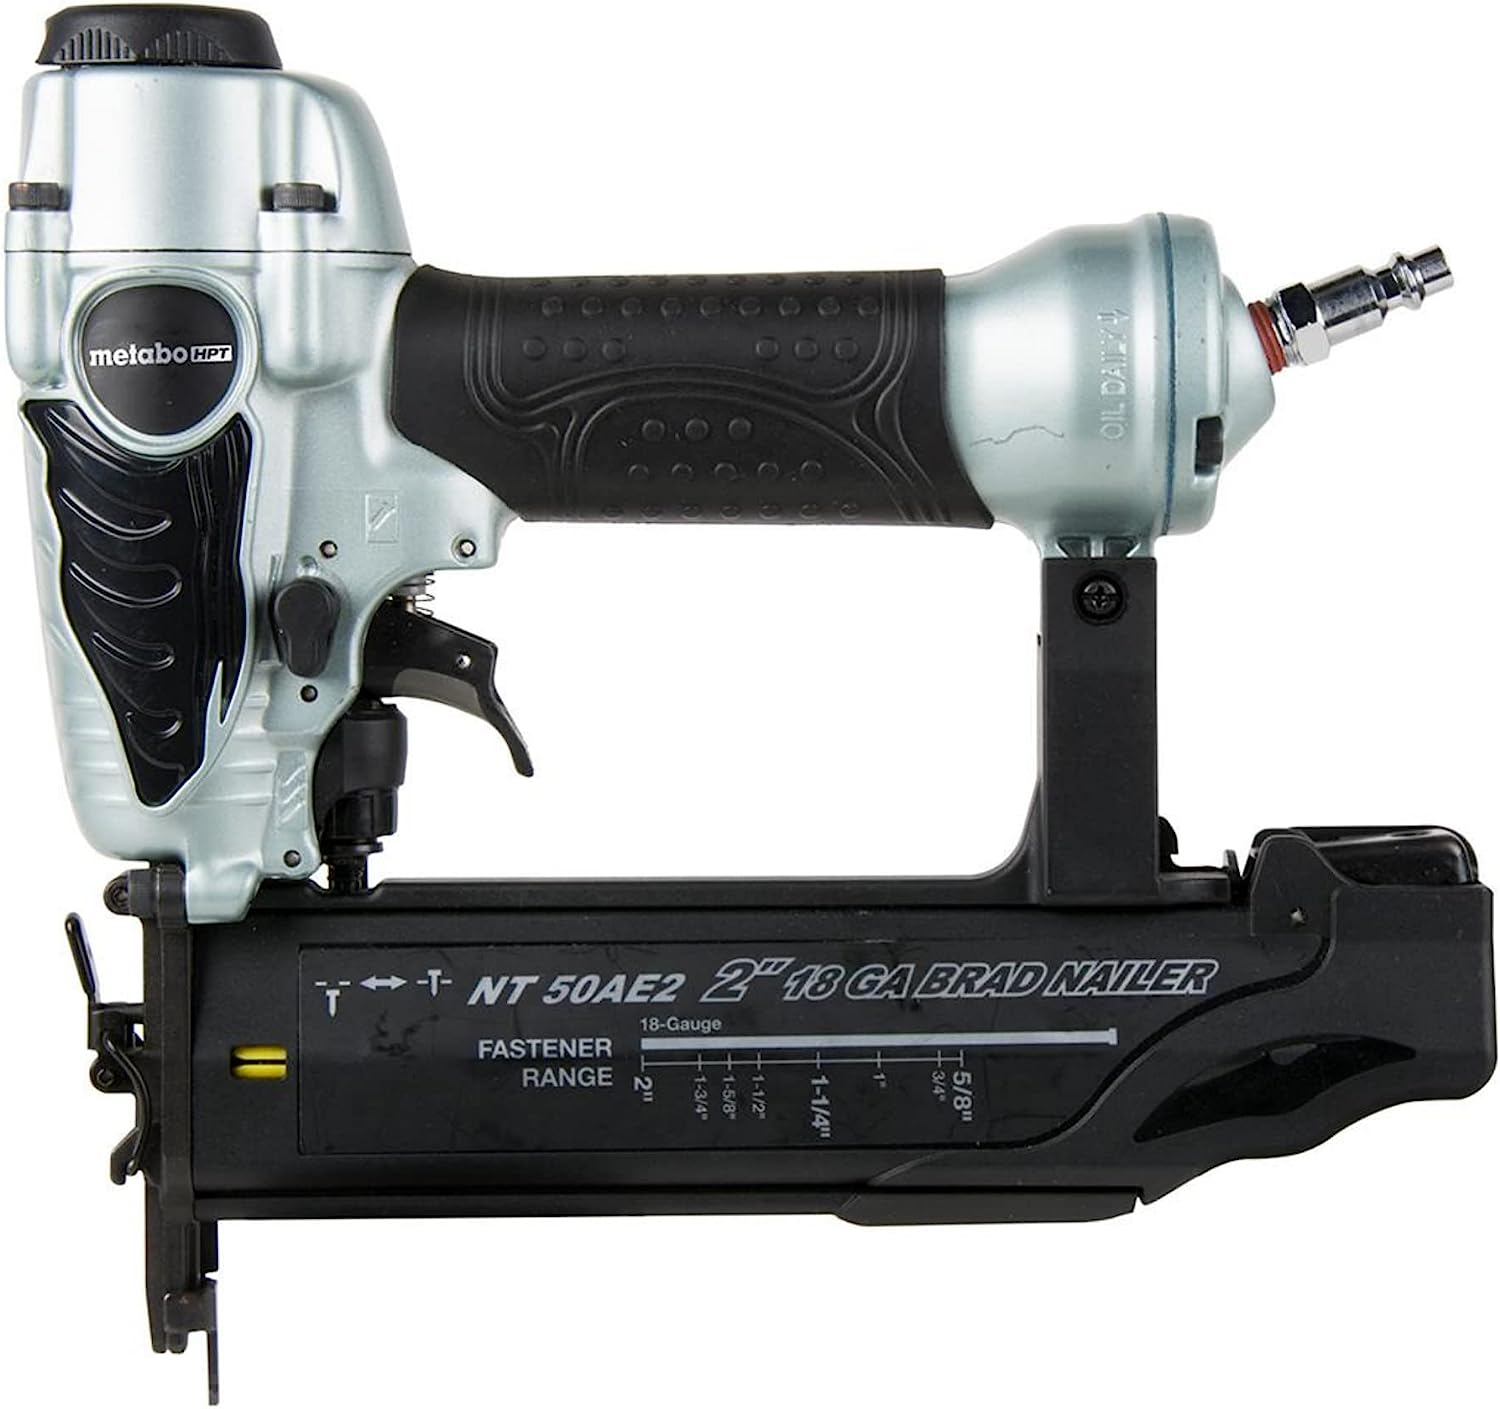
I used would glue and pinned the bird house together with my trusty Porter Cable brad nailer and 5/8” nails. You can find a lot of different brad nailers online at Amazon. The Porter Cable I have was super inexpensive and I have been really happy with the tool. I gave the birdhouse a quick sanding and it’s ready for paint. Being it will be an indoor birdhouse, I will paint it with simple acrylic or latex and I may add a little sign and a front porch light from my model railroad supplies. All and all, this was a fun little project. I enjoy building simple one off projects without plans as I can change on the fly to whatever fits my whim. If I wanted to make more than one, I would create some simple templates and record measurements. But again the purpose of this project was to fight off boredom, try my new router table and show how useful wine crates can be in creating projects. I know I accomplished the first two objectives, hopefully the last as well.
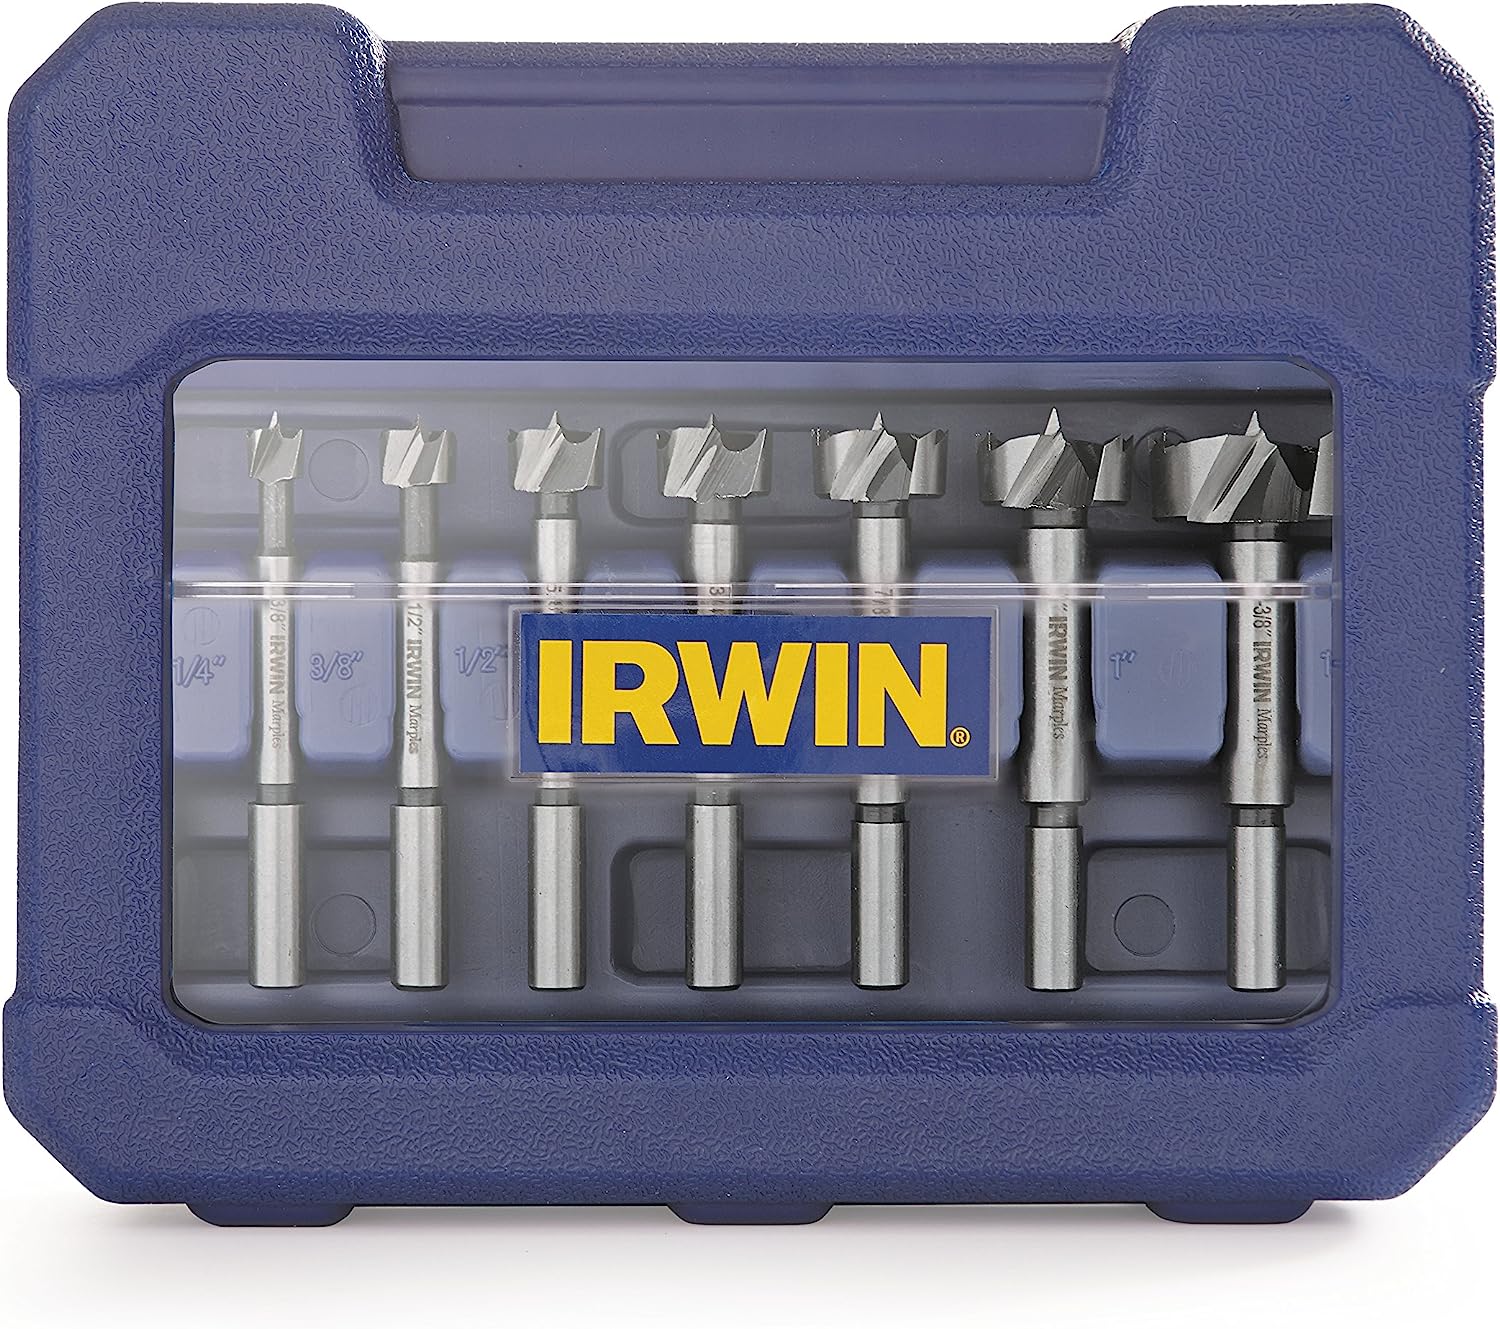
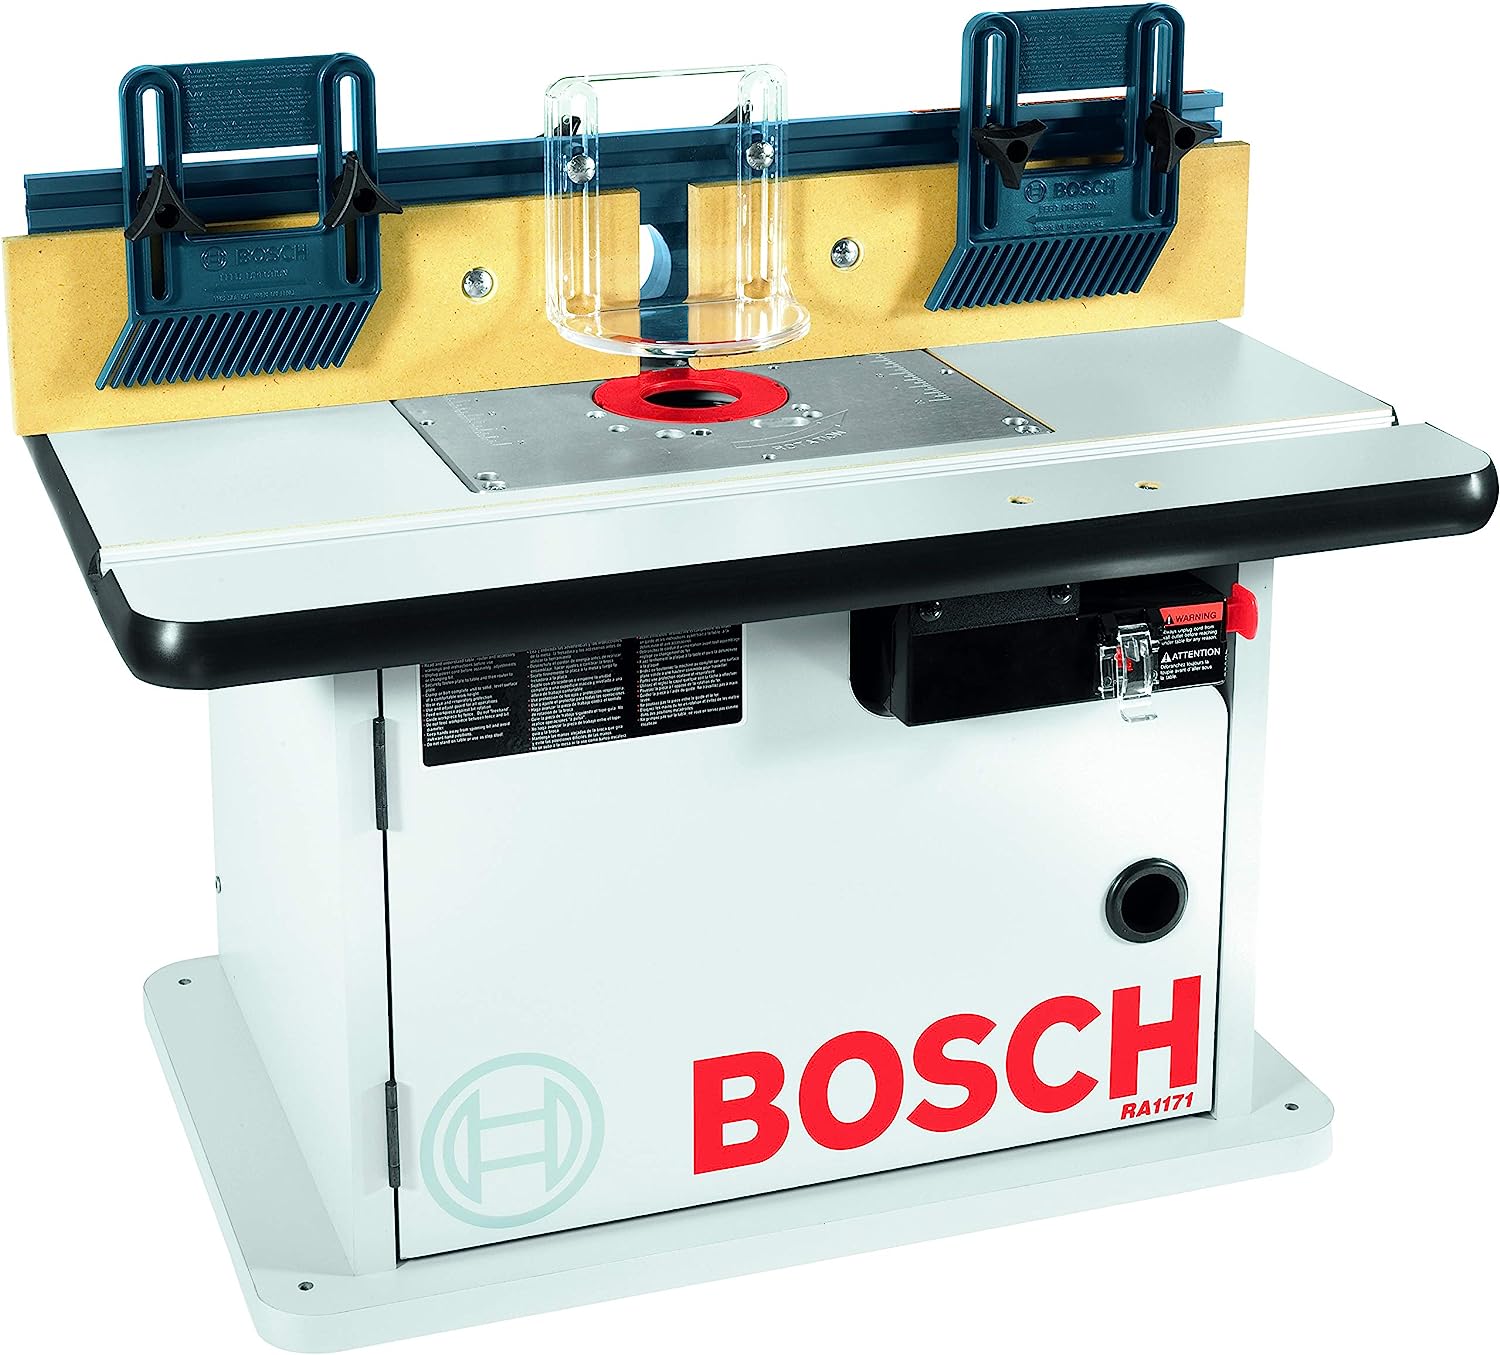
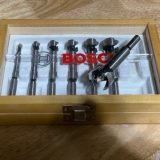 I wanted more than just a square box so I tapered the front and back about 10 degrees and guessed on the roof angle. Size came in around 4” wide by 5” deep and 5-1/2” tall. Again I didn’t have plans just built what I thought looked right. I used a ¼” straight bit on my Bosch router table using the fence to make a groove to accept the sides. I did have to make two passes, shifting the fence as the wood is wider than the bit I had, but no big deal. Using the front as a guide for my table saw blade angle, I cut the bottom from a scrap of ships lap I had laying around. To cut the hole in the front as well as the hole for the perch, I used a forstner bit. If you don’t have a set of these, get one they are awesome for cutting clean holes.