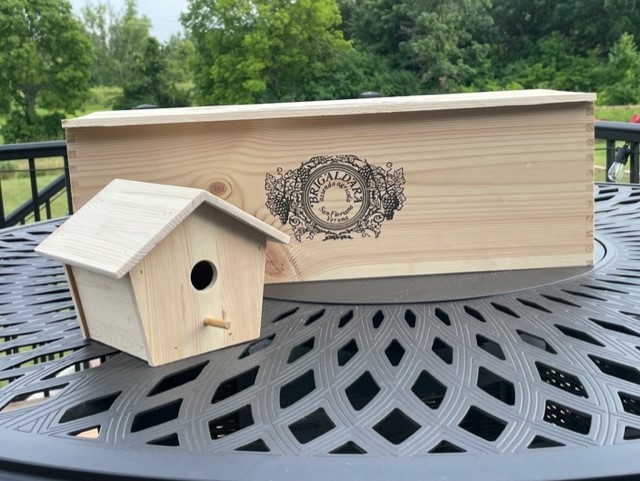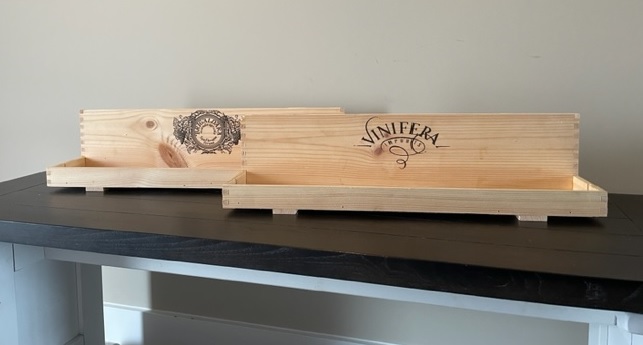
A while ago wrote a short post on making a birdhouse from old wine crates. I wanted to show how you can recycle the wood on a simple wine crate into a project. Wine crates are easy to come by and if you can’t get them for free, you can get them for just a few dollars. My birdhouse used the bottom and half of the top of the wine crate. With the rest of the crate, I had enough wood to make to simple shelves and utilize the branding on both sides of the crate.
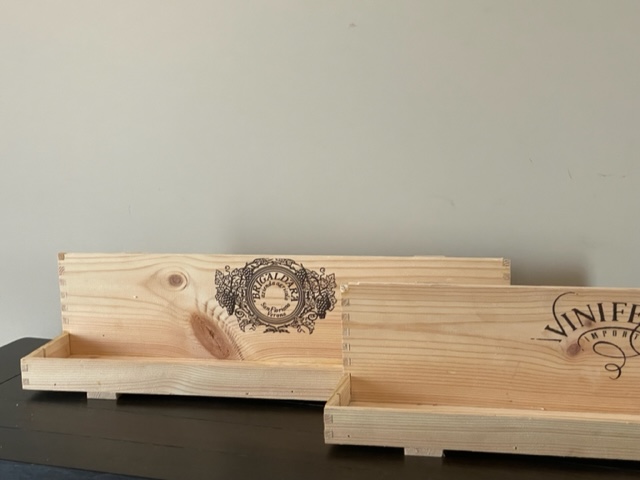
The wine crate I used had finger joints that I thought would add to the charm of the shelves. It also had branded logos on both sides that I was hoping to use. If I couldn’t make the logos work, I could just flip the boards over and go with a blank look. As it turned out, I was able use both logos. I can’t say the design of the shelf is really mine. My wife had picked up a similar shelf at Hobby Lobby and thought it was a neat little design and the dimensions lined up close to the wine crate I had.
Construction of the shelves is really pretty basic. If you have done any type of woodwork, look at the pictures and go from there. Mine are 22” long, about 4-1/2” deep and 5” tall. The little pieces on the bottom and the back (I call them straps for lack of a better term) that make it look more like a crate are 1-1/2” wide. The front of the shelf is 1-1/2” tall and so there is an edge around the whole shelf surface. This is another one of those projects that you build without plans eyeballing dimensions and details. For instance with the straps, I played with the idea of 2 or maybe 3, decided on 2 and then moved them around to find out how far to keep in from the edge of the shelf. I started by setting the fence on my table saw to 1-1/2” wide and checked again that my logos would be intact. Again not a big deal if you do not want them to display. I cut the short ends of the crate first and moved on to the long sides. Take care as you cut as the finger joints aren’t that strong and the crate gets wobbly fast. You may want to consider tacking a corner brace in place to make it more rigid. I was just careful and deliberate with the cut and it worked out well. Using my miter saw and stop blocks, I cut the shelf edge to about 4”. That was the hardest part of the project. Next I set my fence to just cut inside the front edge of the sides with the logo. You may lose one of the finger joint fingers in the cut. I actually grabbed my off the floor and glued them back in later. I then cut the bottom of the shelf to fit perfectly inside the shelf edge. Now I was ready to assemble. Using glue and my brad nailer I pinned the shelf bottom to the shelf edge and then added the back of the shelf. Work slowly and make sure your nailer is positioned correctly to avoid shooting through the thin material. I then added the straps to the bottom and finally the back.
So, from one wine crate that cost me about $3 I have a decorative birdhouse and two shelves. These are not craftsman quality project by any means. After all, they are built out of an old wine crate. These are simple projects that are simple and easy to build and that you can not only hang in your own home but give as gifts or even sell on Etsy or at craft fairs. The tools needed are minimal. A table saw, miter saw and a small brad nailer will make quick work of these shelves. I suppose you could use a jig saw or hand saw as well if need be.
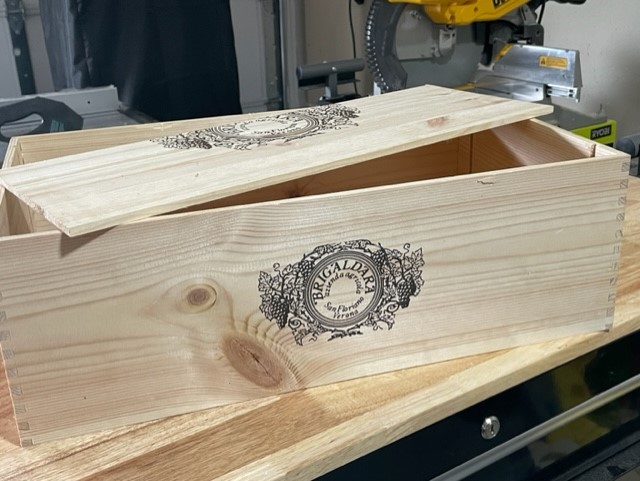
Choosing A Wine Crate For This Shelf
Click On Images To Shop Top Selling Wine Accessories On Amazon
Construction Of The Shelves
From One Wine Crate