
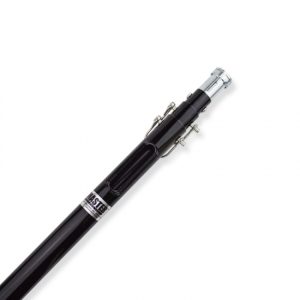
An eye lag pole is typically used to install eye lags overhead into wood or metal deck. The advantage of the eye lag pole is that it can install the eye lag and tie on ceiling grid wire from the floor. They really are fairly simple to use. While they may start out to be somewhat clumsy, after a few wires you can get into a very nice rhythm. While eye lag poles work pretty much on the same principal, there are few variations of the tool you may want to be aware of. As for how they all work, check out the video below.
Eye lag poles usually come in a few different sizes ranging from lengths up to 24’ when fully extended. The most common is a 12’ version fully extended as it will handle most ceilings. The next most common length is an 18’ unit. The 12’ version is available in a 4’-12’ triple stage version or a 6’-12’ double stage version. I favor the 12’ triple tool for a couple of reasons. First off, shipping. None of the poles are that heavy but as they get longer, the shipping jumps up. The second reason is that a 4’-12’ triple will fit in most gang boxes collapsed while a 6’-12’ double.
Most eye lag poles will just install eye lags. There are couple of versions that you may want to consider that will make the tool more versatile. For instance, consider the Lagmaster Plus tool. The Lagmaster Plus has interchangeable heads that allow you to not only install the eye lags but adds a few more uses. The tool comes with a head for the DeWalt Sniper tool and the Stiffy PAT tool. You can also install Sammy Screw Rod hangers with all thread attached in wood and steel. The Lagmaster Plus actually comes with 8 different heads in all. There is also the Purlin Master tool that will do eye lags as well as bar joist and purlin clips. Again, they install the fastener and then twist the wire on for you. Depending on your trade, you may want to check both of these variations out. One little plug for the Lagmaster Plus and Purlin Master tools is the fact that parts are readily available online.
There is a variety of eye lag screws now available for your eye lag pole. For wood you will find lengths from the standard 3” all the way up to 6”. You will also find 316 stainless eye lags for wood. For metal decks, you will find self drilling eye lags in a couple lengths. For a little thicker metal, the ELDX from Doc’s Industries will drill steel up to 3/16”.
While ceiling contractors certainly are the foremost users of eye lag poles, they are being used by electricians to support light fixtures, low voltage contractors for cable runs, installation of signs and more. I hope that this info is helpful for any of you looking for an eye lag pole. They are another of those tools that once you have one, you will wonder how you did without it. Being able to install eye lags and grid wire from the floor is not only more efficient, it’s much safer.
What Length Eye Lag Pole Do You Need?
Variations Of The Eye Lag Pole
Eye Lag Screws
Uses For The Eye Lag Pole


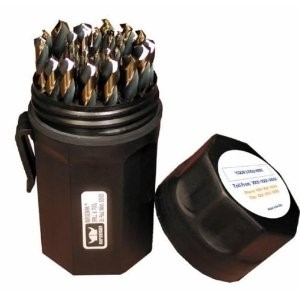


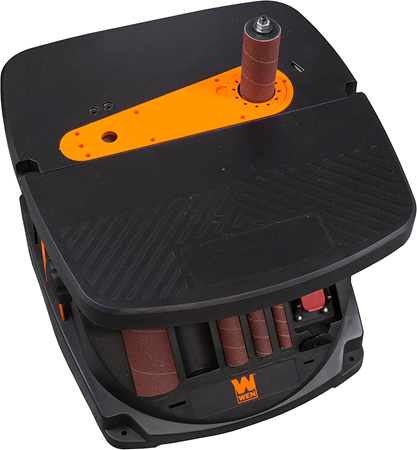

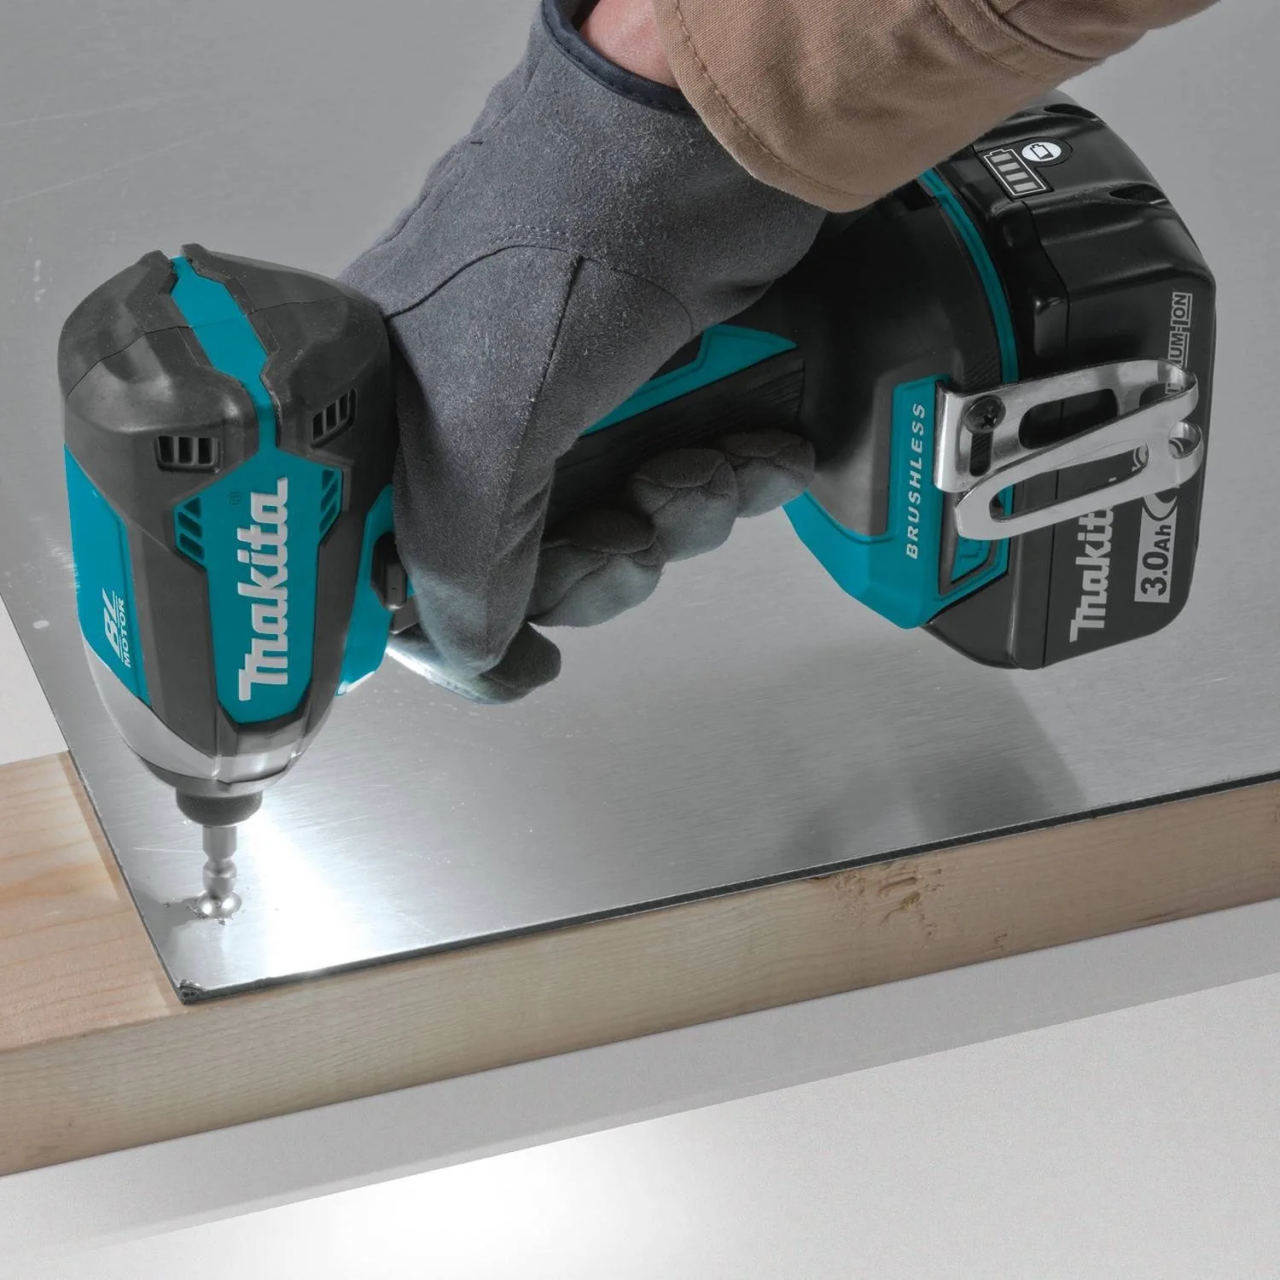




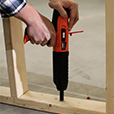 The Ramset Cobra will do a nice job of fastening 2x material to poured concrete and grout filled block. The standard pin to use for fastening a 2x to concrete and grout filled block is a 2-1/2″ pin. There are some codes that will require a 3″ but it’s more common in rental multi story projects. If you are attaching treated lumber, it is important that you use a pin that has a coating on the nail for that application. Treated lumber can react with a standard pin and actually cause the nail to fail. The Ramset 1516SDE has a coating that is designed for this application. As for what power level to use, it will likely be yellow or red. The idea is to use enough power to set the nail all the way but not to over drive the nail. While I know many will fasten 2x to hollow block with the tool, it really isn’t designed for that and there is no published data for that application.

