Projects

81naNuYF3uL._AC_SL1500_-1280x1280.jpg

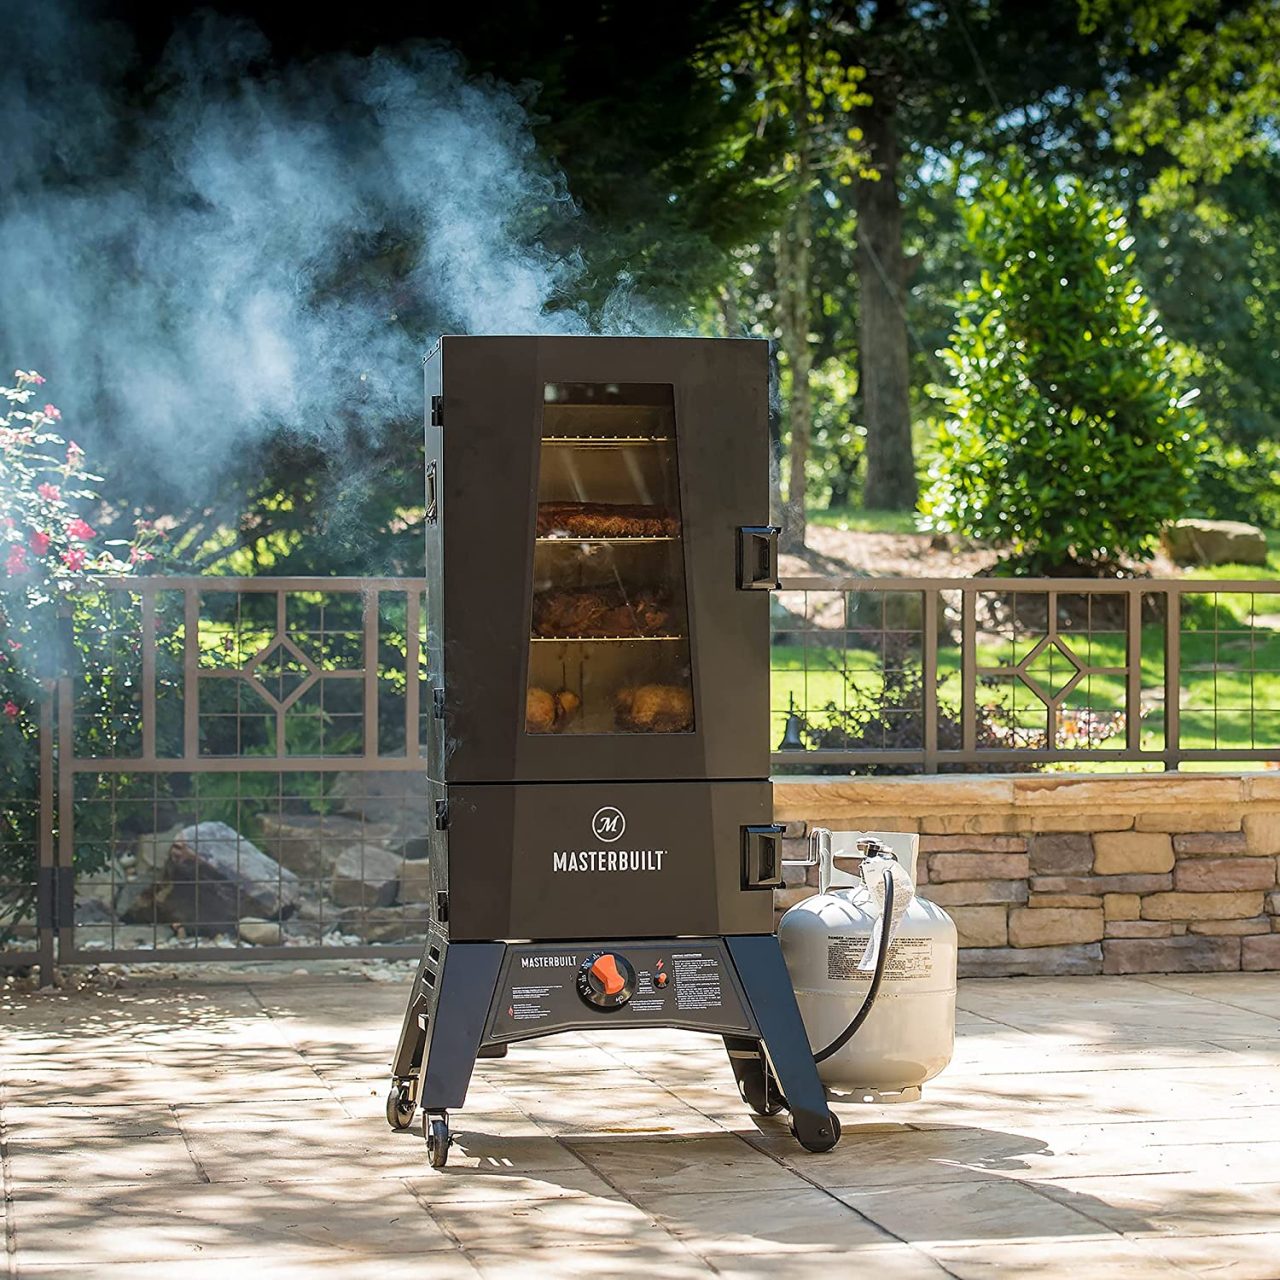
I only smoke meats 5 or 6 times a year.  I started with a very inexpensive Brinkman charcoal smoker that really did the job for me at the time.  However, I wanted longer smoke times without having to change the charcoal out.  Eventually after a few years I purchased a Masterbuilt propane smoker which did a real nice job and had more room.  One thing I was always struggling with was temperature control.  It seemed hard to maintain the ideal temp through the smoke.  Still it did a nice job and I was really able to smoke some awesome ribs and steaks.   Now I am on my third smoker, a Masterbuilt Thermo Temp XL propane smoker with a thermostat that my wife bought for me.    So I thought I would share my thought on the unit.  I am not going to go into how fast I got it, how assembly went etc.  I am going to tell you what I like about the smoker and what it does well.  Here is my review after almost 2 years with the smoker.

Masterbuilt Thermo Temp XL

See Video On Amazon

See Video On Amazon

What I Really Like About The Masterbuilt Thermo Temp XL Smoker
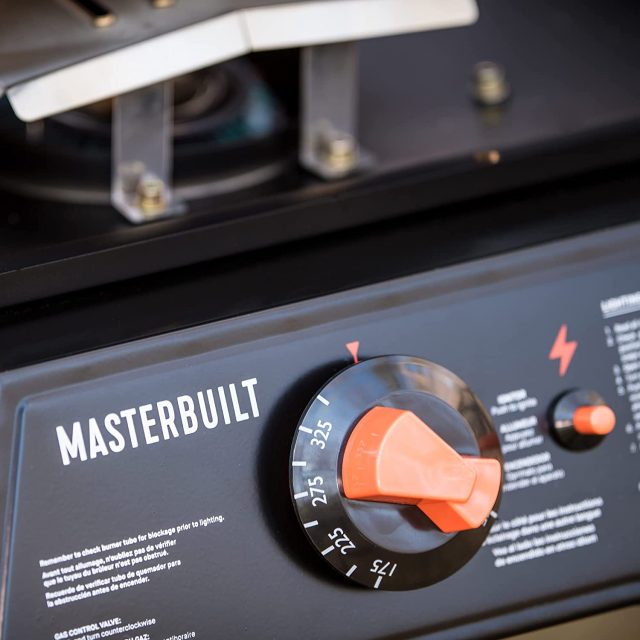
The main reason I bought the Masterbuilt Thermo Temp was the thermostat.  I know you can get a thermostat on an electric smoker but I wanted propane.  I think propane gives a better bark than electric.  There are smaller versions of the Thermo Temp, I went with the XL.  I am glad I did.  Just this last weekend we had some guests over and I was able to fit 6 full racks of ribs and a pork shoulder in at once.   I read a little trick to get the temp dialed in on the smoker.  Bring the temp up higher than you want and then bring it back down to where you would like.   You can use the dial to adjust the temperature but I really didn’t rely on it but it was a good reference and starting point.  Once the door is shut you may have to spend a little time monitoring the temperature and fine tuning but once you get it set, it really holds pretty close.  I used an external thermometer with an app on my phone to keep an eye on it.  I got it set at 225 degrees and it really held within a few degrees most of the smoke.  When I opened the door to add wood or add water to the pan, I would have to spend a little time dialing the temp back in but then I was good to go.  The smoker lit and stayed lit no problem.  We had a little rain come through and the temp stayed right on.

A Couple Of Small Things That I would Change

I only have a couple of things that I would change.  The pan that holds the wood chips is really clever.  It is mounted with a bracket to the lower door so when you open it the pan swings out which makes it very easy to add wood chips.  I just think it is too small for my taste.  I actually took it off and placed a small pan on the cover over the flame and loaded my chips there.  Not as convenient but I wanted to be able to place more wood in the smoker.  The second thing that I didn’t like and it’s not just unique to the Masterbuilt Thermo Temp Smoker is the water tray.   In particular, it doesn’t slide out that smooth to add more water.  I have it happen on this smoker and others when I slide the tray out to top off the water it catches and splashes water on the fire and the grease and it can flare up.  Again neither of these things is a big deal but something I noted.  I have heard others adding gaskets around the doors for a tighter seal, I just don’t think that is an issue, the smoke is going to vent out though the vent and some may slip out the doors but the smoke needs to keep moving.

Final Thoughts On The Masterbuilt Thermo Temp Smoker With Thermostat
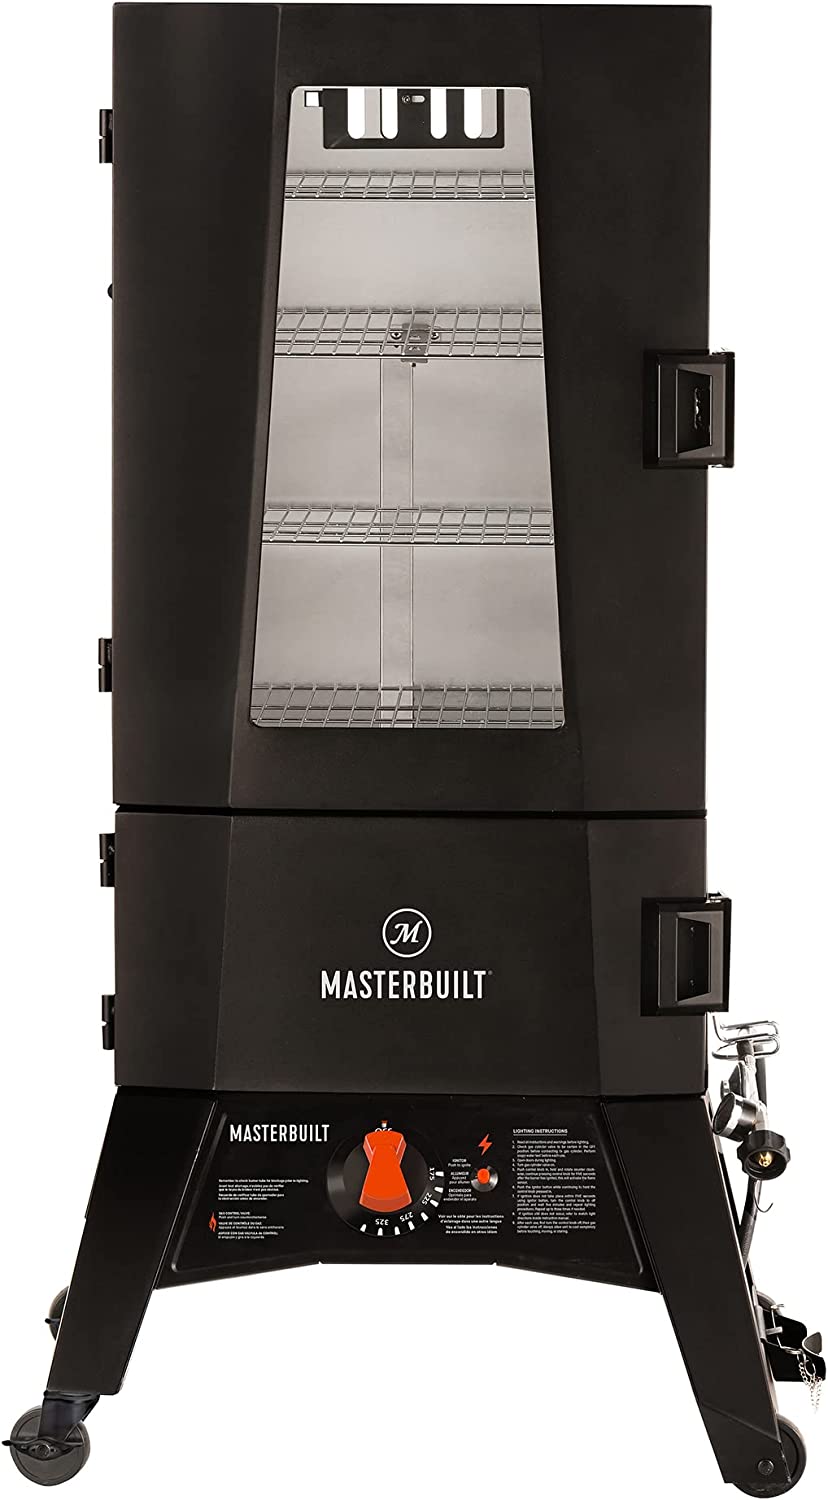
I would recommend the Masterbuilt Thermo Temp.  I think it is a good value and for me solved one of my biggest issues with smoking meat.  With the thermostat control, I was even able to take a little nap during my last smoke!


71uWD6ILlbL._AC_SL1500_-1280x1369.jpg

My wife has a Dyson cordless vacuum that she absolutely loves.  It is so handy and hangs on its charger in the closet ready to roll.  When the roller quit working, I figured we would just replace it.  That was before I knew what she paid for the unit!  So as I like to do I decided to take upon myself to repair the Dyson vacuum.  After all hard could it be?

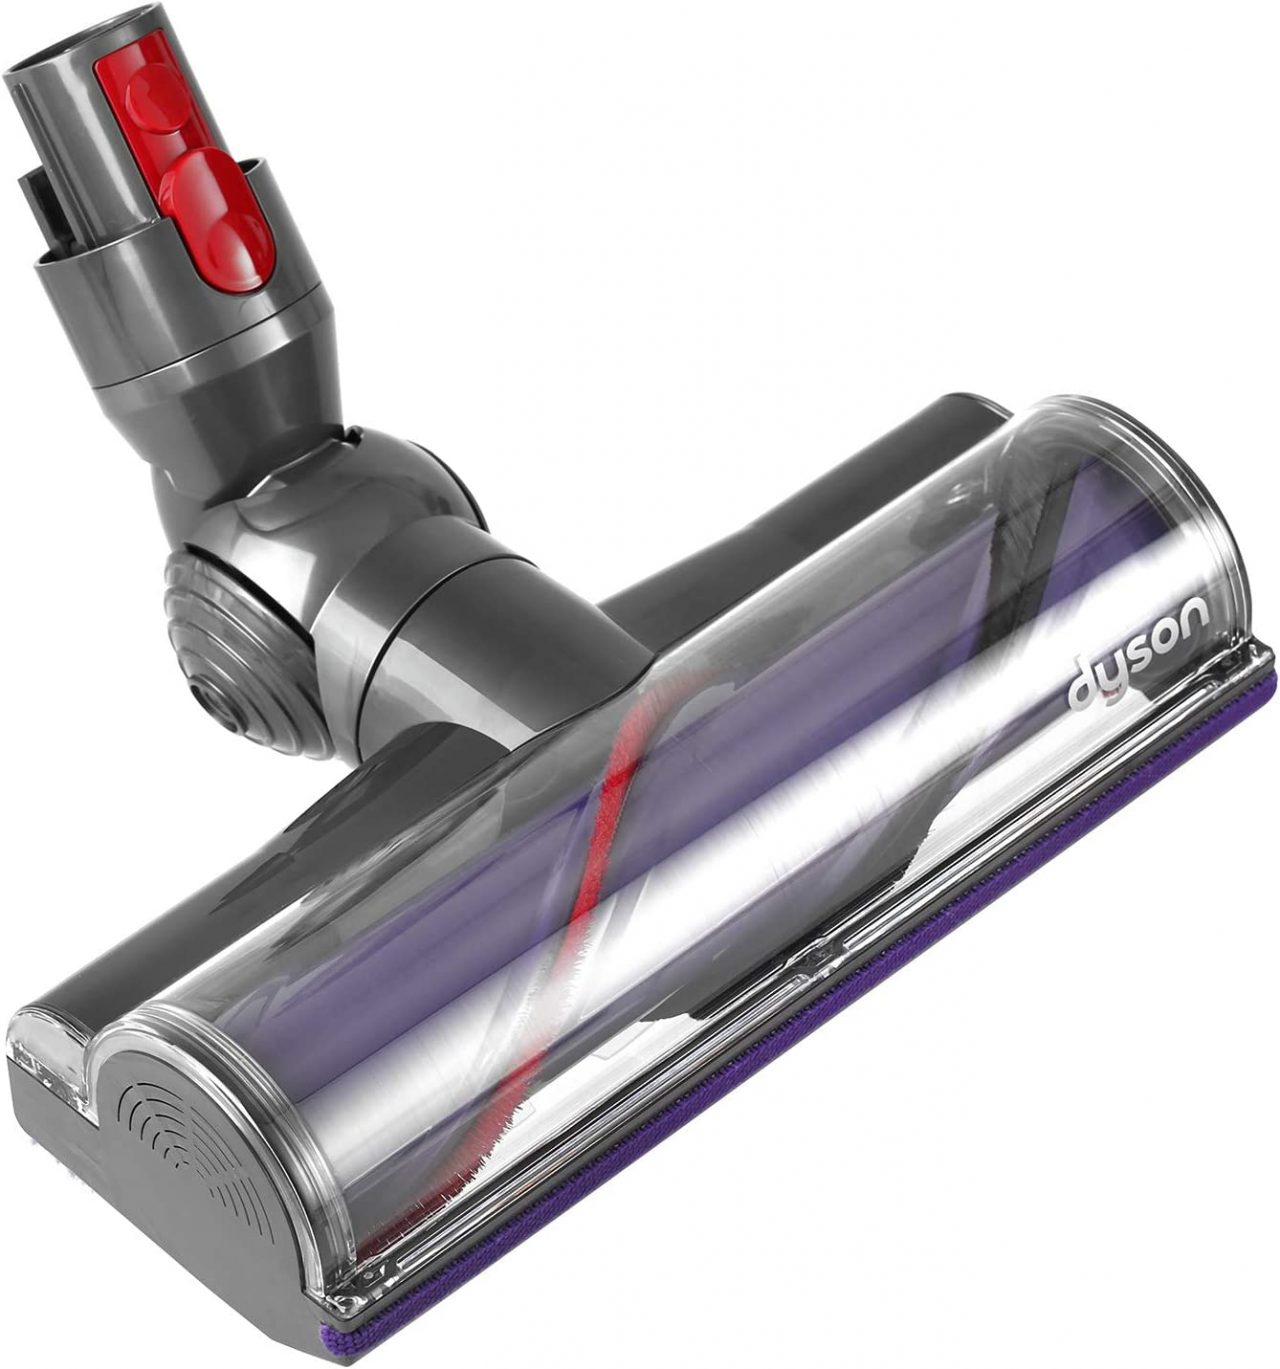
The vacuum still worked on the unit so my first thought was that it must be the power roller.  Power is fed down the tube to the head.  The first thing I did was take out the long tube and put the roller head right on the body of the Dyson vacuum unit.  Still no go.  So I did a little digging and found a roller head assembly on Amazon.  It was about $80 I think and what a simple repair that would be.  The roller assembly arrived and I clicked it on and still no go.  I really should have found my volt meter and tested to ensure the power was coming down the tube.  So I boxed up the Dyson replacement roller and got it ready to return to Amazon.

Dyson Replacement Parts On Amazon

Dyson Replacement Parts On Amazon

Dyson Parts On Amazon

Dyson Parts On Amazon

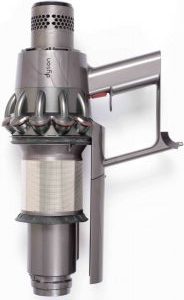
So the next step was to open the back of the unit to check for any broken wires.  Well, nothing was obvious.  Something must be bad in the electronics, something well  beyond my capabilities.  I did a little more searching and found the Dyson main body as a repair part on Amazon as well.  At about $100 I thought it would likely do the job and save me a little money.  The part came right away and I dug right in.  It really was a fairly simple repair, I think it was only 4 screws.   The unit came with replacement screws which was nice as I had thrown the old ones out.   I would say that the total repair of the Dyson once I had the right part was 10 minutes or so.  I had a little bit of trouble aligning the canister portion but with a little patience I got it back together and we are back in business.

Looking back in my case I should have checked power to the head with a voltmeter before I ordered the roller head.  That would have saved me (and Amazon) the trouble of returning the part.  If the roller head doesn’t spin and you have power, it’s an obvious repair.  If you have no power to the head, the only other major components would be the battery or the main body, both of which are available at Amazon.  I would recommend picking up a small driver set if you don’t have one.  The screws are a very tiny star drive if I remember correctly.  Having the right driver will make the simple repair on your Dyson vacuum even easier!


Untitled-design-16.png

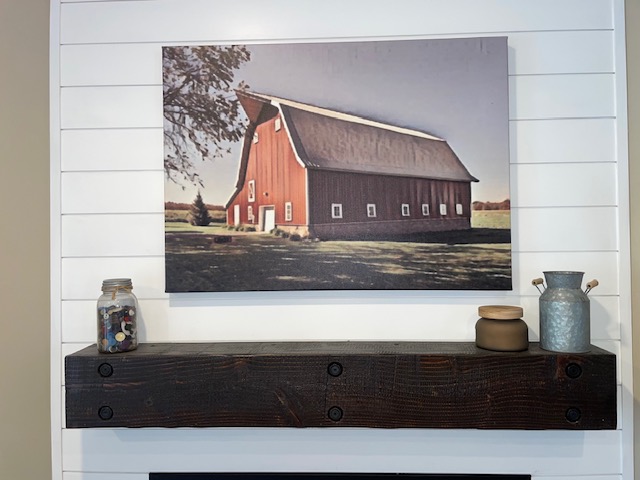
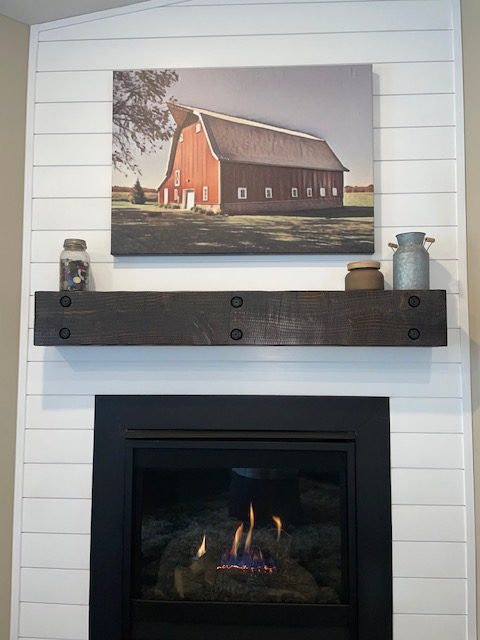
Here is a simple to build DIY fireplace mantel that you can build with minimal tools and time.  It has a rustic look that will fit in to many types of décor.  The mantel is build from standard lumber and utilizes a product from Simpson Strongtie called architectural accents that really set it off.  This DIY fireplace mantel is offers a little more character than some I have seen of late and is every bit as easy to build.

simple diy fireplace mantel

What You Will Need

diy rustic fireplace mantel

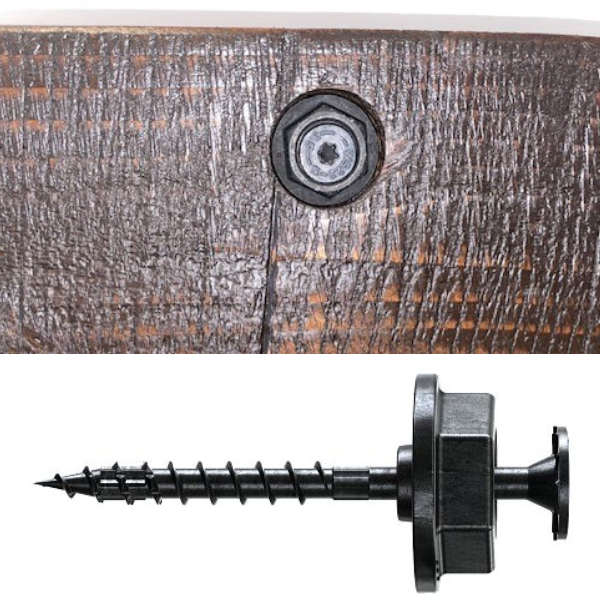
For this project you will need four 2×8 boards at 6’-8’.  You could go with a couple at 10’ but shorter boards may have less twist and imperfections.  Choose wisely!  You will need a 2×4 for mounting and some 2-1/2” construction screws like GRK or others as well as maybe some 3-1/8” ones.  For mine, I added 6 of the Simpson hex washer nuts so you will need 6 of them as well the corresponding screws to mount them.  As for tools, you should have a table saw, a jig saw and or a circular saw, a sander, level, cordless drill or impact and clamps.

Cutting The Parts For The Mantel

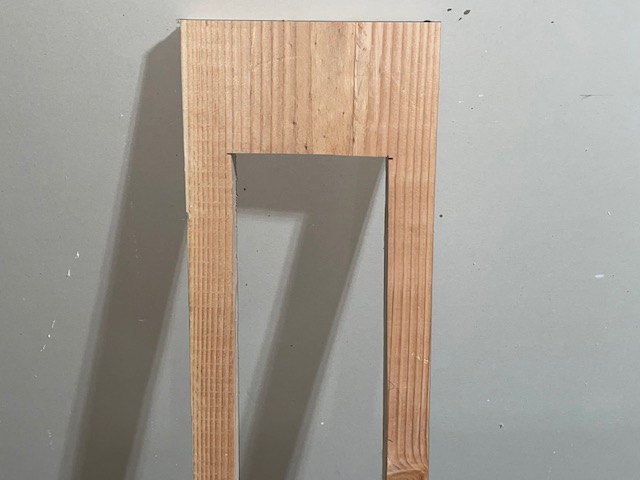
This DIY fireplace mantel really is a simple project.  The depth of the mantel will be 6” with the four 2×8 stacked up.  I made mine 7” tall which seemed to be a nice balance.  As for length, I had a corner area that dictated the length at 52”.  Of course you can build to suit.  The first thing I did was cut the four 2×8 a little long, maybe 56” or so and then squared them up on the table saw.  I suppose you could do it with a circular saw if you have a straight edge.  I actually fastened my boards to a piece of mdf shelfing overlapping by a ¼” or so to get a nice straight edge.  After that I ripped the boards all to 7” and cut them to my finish length. I then picked the board that I wanted for the front and set it aside.  The other three boards will need to have the center cut out for weight and mounting.  I cut out the center of these boards leaving a 1-1/2” boarder on the top and bottom on the long sides and 4 or 5 inches on the short side.  A circular saw worked well for the long cuts and then I cleaned it up with my circular saw.

Assembling The Mantel

The first thing I would do is mark where I am going to recess the decorative nuts with my forstner bit so I don’t put a screw in there.  I forgot to do this on mine and hit the screw and chipped my bit.  After that I laid the full board face down applied glue and positioned the first recessed board on top of that.  I clamped it in place and when I was happy with the position, I screwed that board in place with 2-3/8” screws, removed the clamps and repeated the same for the following two boards.  Spend a little time aligning the boards to reduce any sanding.  I had mine pretty close so sanding was minimal.  One thing I noted as I fastened my boards together was some cracking here or there.  It really wasn’t a big deal.  I filled them with putty and sanded before staining.

Adding The Hardware

The recessed decorative bolts and the distressed face of this diy fireplace mantel is what really makes this project stand out and it is so easy to do.  The first thing I did was layout the location of my holes.   The choice is yours as to how it would layout.  Don’t worry about the screws that hold on the decorative nuts hitting the void.  If it looks like they will, just install them after the mantel is hung on the wall and the screws will go into the mounting board.  I used a 1-1/2” forstner bit to make the holes.  I just did a little at a time to get the depth I wanted .  You could use a hole saw but you will have to break out the center and the nuts may not sit straight.  You can leave the nut sticking out as well if you want a different look.

Giving Your Mantel A Rough Cut Look

Now here comes the fun part.  I can’t take credit for this idea, I found it on youtube.  It was so easy to do.  Using a reciprocating saw, you drag the saw backwards at an angle along the length of the mantel.  I think I used a 10 TPI blade.  I did one test piece and then my mantel.  I did it from both side of the mantel to make sure I got the affect across the entire face.  You can start and stop, speed up or slow down to give the face different looks.  I also did the top and bottom of the mantel. This is such a cool technique that I am looking for other projects to use it on.

Finishing The Piece

I finished the mantel using an oil based stain.  I prefer oil based stain as it just seems a little more user friendly when you wipe it on.  I used a Minwax Kona for a nice dark look.  Usually I would use a sanding sealer or varnish and sand in between coats for a nice smooth finish.  I really didn’t want to sand the face of the mantel as it may take off some of the color so I used. Minwax Polycrlic in a satin finish.  This water based finish  is really different than typical finish.  If flows very well and is very thin.  It doesn’t raise the grain at all when you apply it.  I didn’t sand the mantel at all in between coats.  I applied a total of three coats.

Installing The Mantel

Installation is very easy.  Cut two 2×4’s to fit into the recess in the back of the mantel.  I cut mine an inch short so I could fine tune the position.  Mount the first 2×4 on the wall keeping in mind the mantel will sit about an1-1/2” higher than the 2×4.  Make sure you hit at least a couple of studs and that your screws are long enough to get through the 2x and drywall and any ship lap you may have and get into the studs an inch.  If you are mounting to brick, click here for info on how to mount your 2x to brick.  Now I would add the second 2x on top of the second but only use a couple of screws.  Now place the mantel on the 2×4’ and check for level.  I had to adjust mine a touch.  I then slid the mantel off and added a few more screws.   After that I set the mantel in place and added a few screws from the top.  Install the decorative nuts if you haven’t as yet.

Final Thoughts On The Project

This is a project that really turned out as I had hoped.  It was truly fun to build and really stands out.  My wife added the canvas print (that is something for another blog) as well as couple basic pieces to finish the look.  I hope you get inspired to build your own fireplace mantel.  All DIY projects should be this easy!


s-l225-1.webp

I love airplanes especially the out of the ordinary.  I have always loved the BD-5 since I saw it in the 007 movie.  I also had the opportunity to see the Coors Light Silver Bulled BD-5 jet fly.  I will never forget that thing whipping by doing a 12 point roll crisp as could be.  I have built and flown a bunch of RC airplanes over the years but as I have grown older, I have started enjoying more simple building projects and the BD-5 series of planes offered by Civilized Models was just what I needed.  They offer the model in both 1/32 and 1/48 scale in a variety of versions.  You will find short wing, long wing and micro jet versions.  The above mentioned Coors Light Silver Bullet is available as well as the Bud Light, Pepsi, Budweiser and Acrojet models.

Building The Model

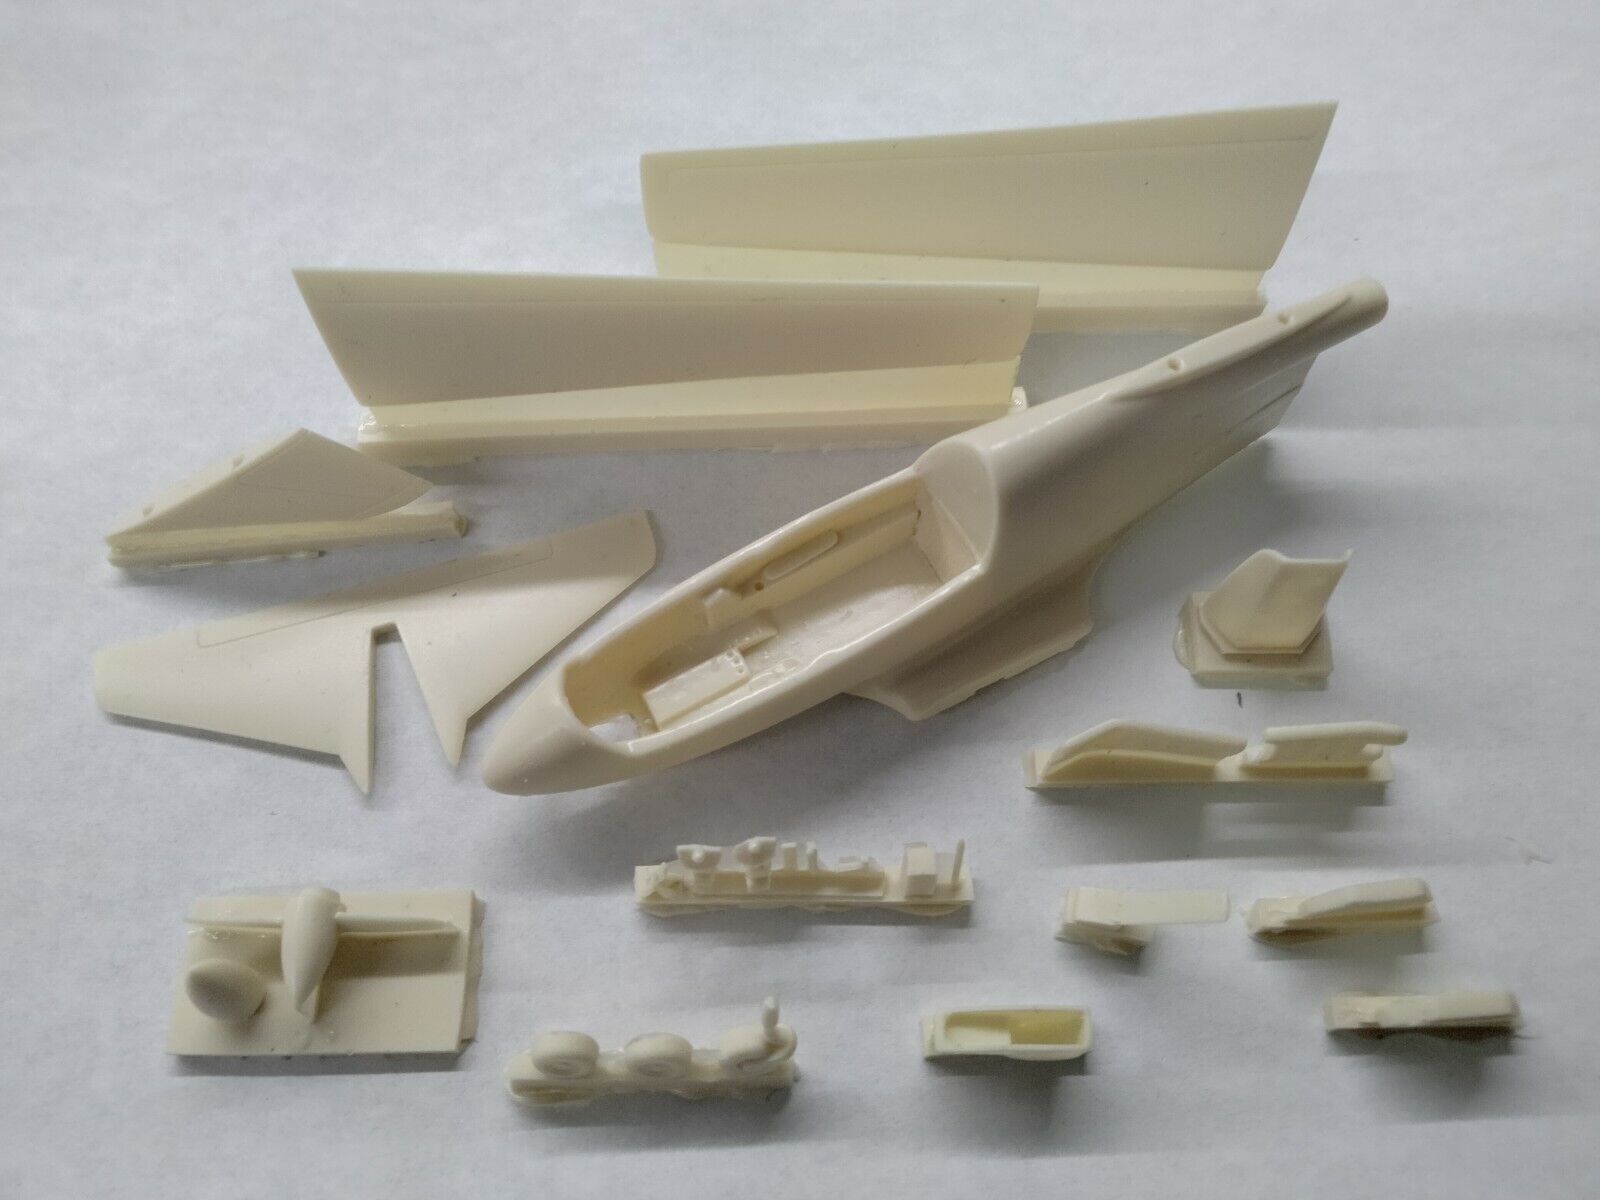
The BD-5 model is fairly simple.  It is different in that it is a cast resin kit rather than you typical injection molded kit.  Part count is fairly low as you can see from the image to the left.  Mine came with two canopies which is nice, if I am going to make a mistake it will be on the canopy.  I did have a problem with the decals that came with the kit.  I think it was bad paper but they promptly replaced them for me.  Great customer service, thank you!  I did a little painting on the interior and then painted the model with a satin spray paint.  After I applied the decals I added a crystal clear coat.  You can build with gear up or down and canopy open or closed.  I did something different on the canopy.  Rather than paint the frame, I split some old RC trim tape in half and laid it on.

Adding A Display Base

I wanted a simple base to display the BD-5 model.  I did a little rummaging around in my garage and found a half inch piece thick piece of black walnut and an aluminum tube.  I cut a trapezoid shape on my miter saw and gave at a quick sand and covered it with a clear coat, sanding in between coats.  I then took the aluminum tube and formed it just using the radius of a roll of tape.  I drilled a hole in the wood base for a tight friction fit and flattened the end that would mount to the belly of the BD-5 and attached it with a small sheet metal screw.

The BD-5 Kit Was A Fun Build!

The BD-5 kit by Civilized Models was just what I was looking for.  I needed a simple build that I could proudly display.  I am no expert by any means but I am happy with the results.  Someone with more patience and skills could really complete a top quality display model of this cool piece of aviation history.  Learn more about the full size BD-5, it really is interesting!


TOOLANDPROJECT.COM

Tools, projects, fun.

WWW.TOOLANDPROJECT.COM

contact@toolandproject.com

blogging

From MN